Cleaning Guides · 6 min read · 14 August 2026
How to Clean Water Bottles and Lunchboxes: The Mould-Free September Routine
That black line inside the straw is mould, and washing-up liquid alone won't shift it. A cleaner's routine for bottles, valves, seals and lunchboxes — and the honest point where you bin it and buy a spare part.
By the Nims Casa editorial team — written from professional cleaning experience and checked against our editorial standards.
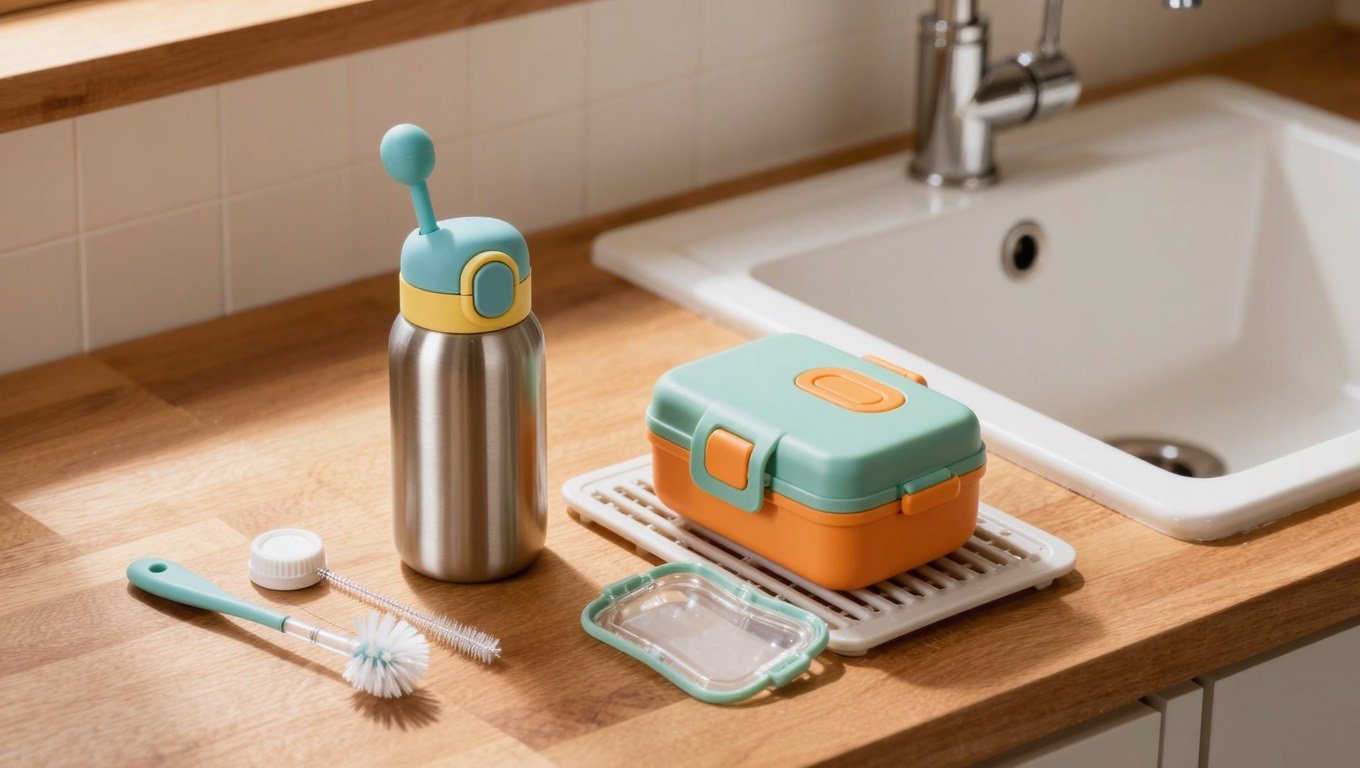
Pull the silicone straw out of a water bottle that has sat in a school bag since late July and you will usually find a speckled black line running its full length. It is not a sign of a dirty house. Straws, bite valves and lid seals trap a film of water in the dark, ride around in a warm bag all day, and grow mould faster than almost anything else in a UK kitchen.
The fix is a routine, not a miracle product: a two-minute daily wash, a twenty-minute weekly strip-down, and the honesty to bin a straw past saving. A £4 pack of brushes does more here than any spray. Here is the full method, plus the frequency logic we apply to everything else in the house.
Safety First: Mould, Sterilising Fluid and What Never to Mix
Bottle-straw mould is mostly the same black species you see on bathroom sealant. The odd trace won't hurt a healthy child, but daily sips from a colonised straw are worth taking seriously, especially for asthmatic kids. If black specks survive a brush-and-sterilise cycle, the mould has rooted into the silicone and the part gets replaced, not re-scrubbed.
Two hard rules. Never mix sterilising fluid or bleach with vinegar or anything acidic — it releases chlorine gas; treat separately with a rinse between. And never pour boiling water into a sealed insulated bottle or plastic lunchbox: it warps polypropylene at around 90°C and can pressurise a vacuum flask enough to fire the lid across the kitchen. Hand-hot water, around 45°C, does everything you need.
Tools, Materials, Time and Cost
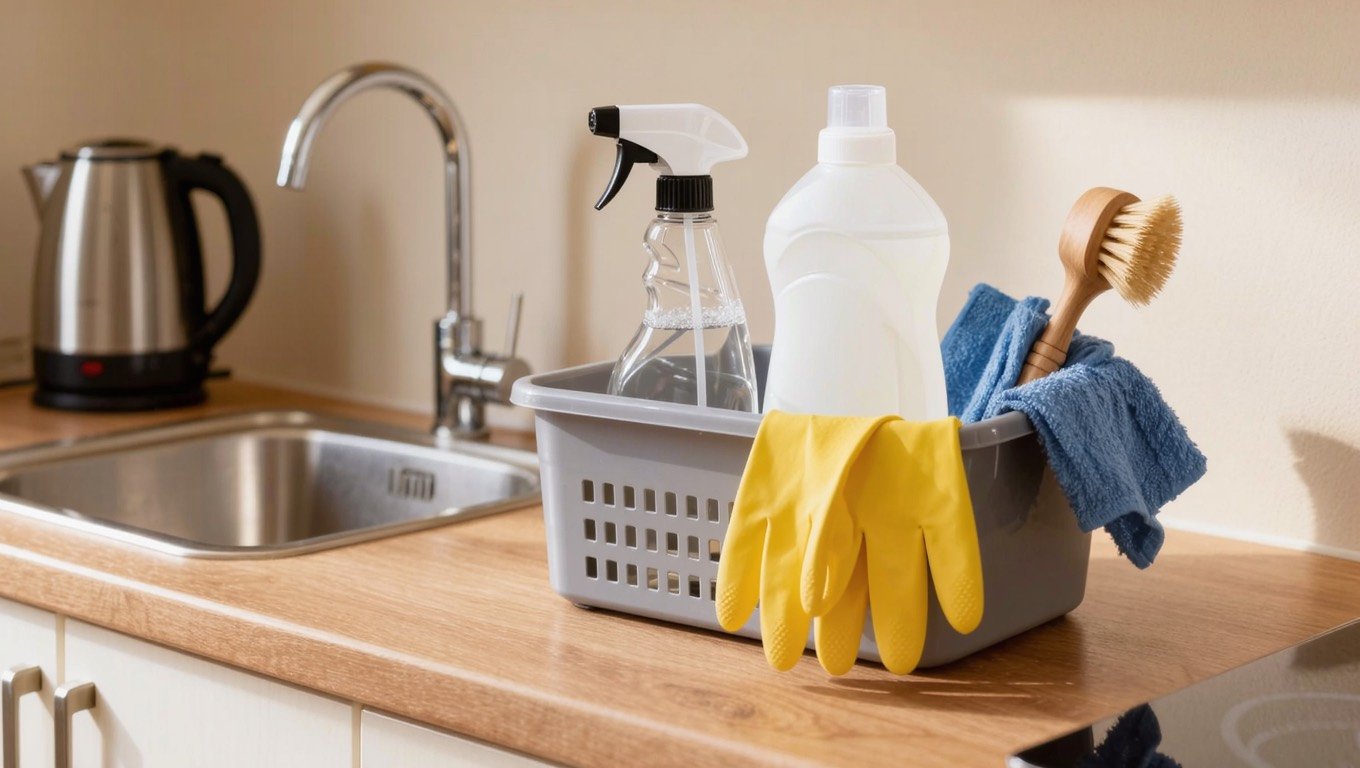
The whole kit costs under £15 from any supermarket or Lakeland and lasts a school year. Budget two minutes per bottle daily and 20–25 minutes for a family's weekly strip-down. Nothing here needs a professional — the only outside help is the manufacturer's spares department.
- •Long-handled bottle brush with a stiff head (£3–£6)
- •Straw and valve brushes, 3–5mm (£2–£4) — the most important item here
- •Bicarbonate of soda (about £1.50 for 500g)
- •White vinegar (under £1) — for limescale, never mixed with steriliser
- •Milton sterilising fluid or tablets (£3–£4) — the food-safe baby-bottle standard
- •Washing-up liquid and an old soft toothbrush for lid threads and seal grooves
The Weekly Strip-Down, Step by Step
Everything below happens with parts fully dismantled — a bottle washed assembled is a bottle half washed.
- •1. Dismantle completely: lids off, straws out, bite valves popped from their housings, every silicone seal prised out with a fingernail — including the ring under the lunchbox lid rim.
- •2. Wash every part in hand-hot water with washing-up liquid. Bottle brush around the base and shoulder; straw brush through every straw from both ends — mould clings at the tips.
- •3. Scrub lid threads and seal grooves with the toothbrush — trapped food paste in the thread is where most 'mystery' smells live.
- •4. Deodorise smelly plastic with a bicarb soak: one tablespoon per 500ml of warm water, 2–3 hours or overnight.
- •5. Sterilise anything that has shown mould: 15 minutes fully submerged in Milton at the label dilution (30ml per 5 litres). It's made for baby bottles; a quick rinse is all it needs.
- •6. De-scale stainless bottles with a cloudy white film using a 50/50 white vinegar and warm water soak for 30 minutes, then rinse well — check what vinegar shouldn't touch before it goes near printed graphics.
- •7. Dry everything disassembled, overnight, on a rack. Drying matters as much as washing — a bottle reassembled damp is a petri dish by Monday.
- •8. Reassemble in the morning, never the night before.
Straws, Valves and Seals: Where the Mould Actually Lives
Ninety per cent of the problem sits in three parts. Straws: brush from both directions weekly, then hold it up to a window — silicone is translucent enough to show any surviving spots. Bite valves: flex them open under a running tap to flush the slit, then leave them pressed open to dry. Seals: the silicone ring in a lunchbox or flask lid lifts out, and the groove beneath it is usually wet and grey-black by half-term.
On dishwashers: check each item for a dishwasher-safe mark first. Most plastic bottles and lunchbox bases are fine on the top rack at 55°C, and silicone parts go in the cutlery basket. Insulated stainless bottles are the exception — cycles degrade the vacuum seal and dull the finish, so they are hand-wash only. If dishwasher-washed items come out smelly or gritty, the machine is the problem — our guide to a dishwasher that isn't cleaning properly covers the 30-minute filter and spray-arm fix.
Lunchbox Smells, Stains and the Sunlight Trick
Tomato, curry and bolognese pigments migrate into polypropylene's surface. A paste of bicarb and a little water, left on for an hour and scrubbed off, lifts most of it. What finishes the job is free: a few hours on a sunny windowsill. UV light bleaches the staining and kills the odour-causing bacteria — the most effective deodoriser for plastic costs nothing.
A lunchbox that smells musty despite washing almost always has a wet seal groove or a warped lid that no longer dries out. And do not ignore the bag itself: a week of crumbs in the bottom of a school bag is exactly what draws fruit flies into the kitchen every September. Shake it out over the bin on Friday.
Troubleshooting: When It Keeps Coming Back
- •Smell returns within a day — the bottle was reassembled damp. Dry parts separately overnight and store with the lid off.
- •Black specks reappear in the straw within a week — mould is embedded in the silicone. Replace it; multipacks cost £3–£5 and most brands sell spare straws, valves and seals.
- •Chalky white film inside a stainless bottle — limescale, not mould. Vinegar soak, rinse well.
- •Pink or orange slime on silicone — the same bacterial film you get on shower screens. It wipes off but recolonises fast; a Milton soak knocks it back for weeks.
- •Whole dishwasher loads smell the same — machine filter, drain or spray arms, not the bottles.
- •Bitter taste after sterilising — solution mixed too strong. Re-dose at the label dilution and rinse before use.
The Friday-Night Rule — and Knowing When to Stop Cleaning
The routine that makes this stick takes ten seconds: every Friday, lunchbox and bottle come out of the bag and get dismantled into the sink before dinner — not Sunday night, when the mould has had 48 warm hours. Wipe the fridge shelf where the packed lunch sits too; it folds neatly into a monthly fridge deep clean.
Finally, the honest boundary. Every task here is safe DIY — no version of bottle cleaning needs a professional. The boundary that matters is replacement: a straw or valve still showing mould after a brush and Milton cycle gets binned, a lunchbox with deep scratches harbouring grey staining gets replaced, and an insulated bottle that no longer keeps water cold has lost its vacuum and is done. A £4 spare part against a child drinking through colonised silicone every school day is no decision at all. Clean weekly, dry fully, replace cheaply — that is the whole system.
Found this useful?
There's plenty more — hundreds of guides and honestly-tested product reviews for every corner of your home.
Browse All Guides