Carpets & Flooring · 5 min read · 19 July 2026
How to Refinish Hardwood Floors: The UK Step-by-Step Guide (Grits, Costs & When to Stop)
Most tired hardwood floors are not worn out, just worn through. Here is the professional sanding sequence, honest UK hire costs, and the five situations where you should put the machine down.
By the Nims Casa editorial team — written from professional cleaning experience and checked against our editorial standards.
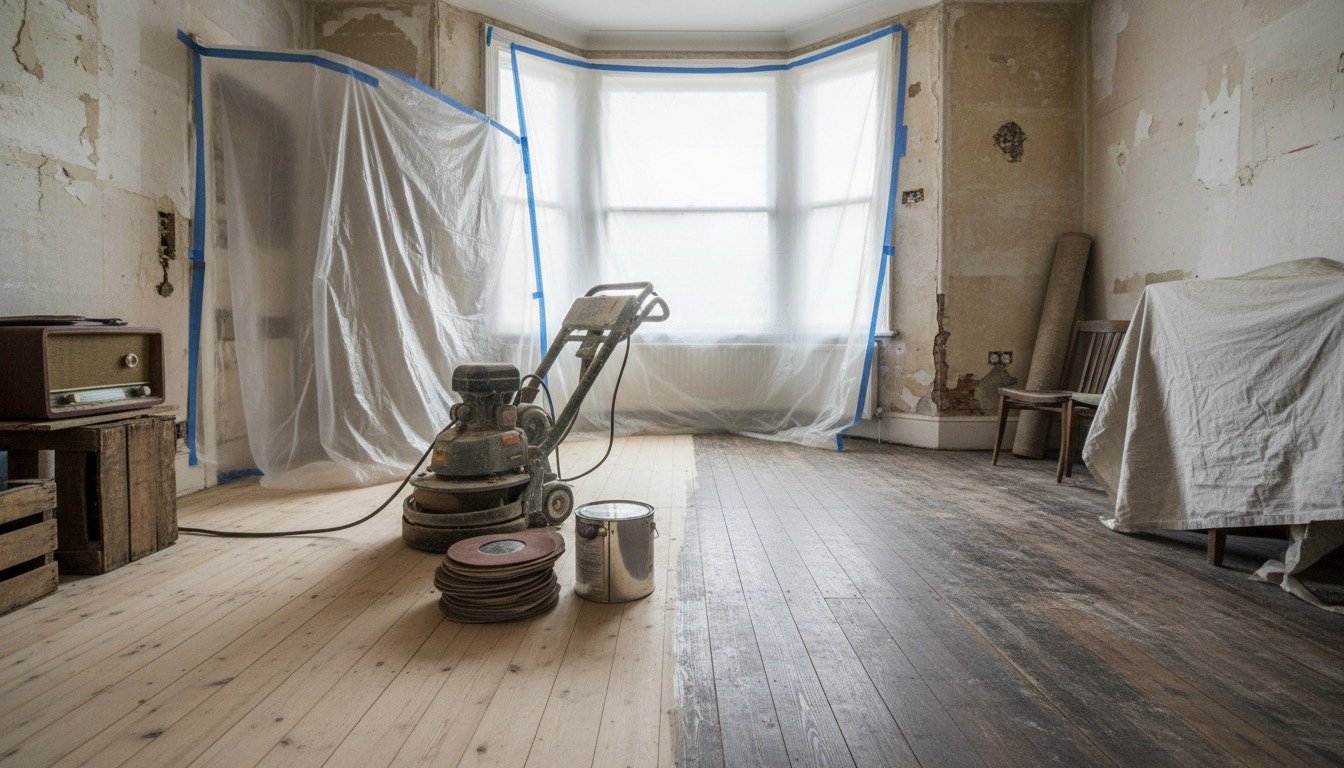
We can usually date a floor's last refinish from the doorway. The traffic lane from the hall to the sofa goes dull first, then pale, then grey, because once the lacquer is gone the bare timber absorbs every spill and every bit of ground-in grit. At that stage no cleaning product will bring it back, and people start pricing up new flooring for a floor with years left in it.
Refinishing an average 16 m² room costs roughly £180–£320 in hire and materials, against £20–£35 per m² for a professional crew. The saving is real, but so is the risk: a drum sander removes timber faster than anyone expects first time, and a dip or a sanded-through veneer is permanent. Here is the sequence we would follow, and the points at which we would stop.
Step 1: Check the Floor Can Actually Take a Sand
Solid boards in UK homes are usually 18–22 mm thick and each refinish takes off 0.5–1 mm, giving four to six sands across the floor's life. Engineered boards need more care: only the top wear layer is real timber. Lift a threshold strip or the board nearest a pipe cut-out and look at the end grain. A 4–6 mm wear layer takes one careful sand, 2–3 mm is marginal, and anything thinner should never meet a drum.
Laminate and vinyl plank cannot be refinished at all — the grain is a printed layer over fibreboard or plastic. If that is what is underfoot, replacement is the only honest answer, and our comparison of LVP, laminate and hardwood sets out what each costs over ten years. Check moisture too: a pin meter should read 8–12%. Anything wetter means damp that will lift the new finish within a year. Floors over underfloor heating should run at normal temperature for a week beforehand so the boards settle.
Step 2: Tools, Materials, Time and Cost
Skill level: confident intermediate. Time: a full weekend for one 16 m² room — Saturday to prep and sand, Sunday to finish, plus 24 hours before furniture returns.
- •Drum or belt floor sander hire: £55–£90 a day. Many charge one day for a Saturday-to-Monday hire — ask.
- •Edging sander hire: £25–£40 a day. Not optional — the drum leaves a 100 mm border untouched.
- •Abrasives in 40, 60, 80 and 120 grit: £45–£70. Over-order; unopened packs are refundable, worn sheets burn timber.
- •Nail punch, corner scraper and a detail sander: about £25.
- •Two-part resin gap filler, mixed with your own sanding dust for colour: £15–£25.
- •Finish: water-based lacquer £45–£75 per 5 L, or hardwax oil £50–£80 per 2.5 L — about 1 L per room for three coats.
- •Microfibre roller, 100 mm brush and a 150 grit sanding pole: £30.
- •FFP3 mask, ear defenders and goggles: £20. Hardwood dust is a recognised carcinogen — never skip this line.
- •Polythene sheeting and masking tape: £15.
Step 3: Prep the Room Properly
Every good floor is won in the two hours before the machine goes on:
- •Empty the room, lift the door off its hinges and pull out gripper and staples.
- •Tape polythene over doorways, air bricks and vents, and mask sockets — dust travels otherwise.
- •Walk the floor twice, punching every nail head 3 mm below the surface. One proud head shreds a £6 abrasive sheet instantly.
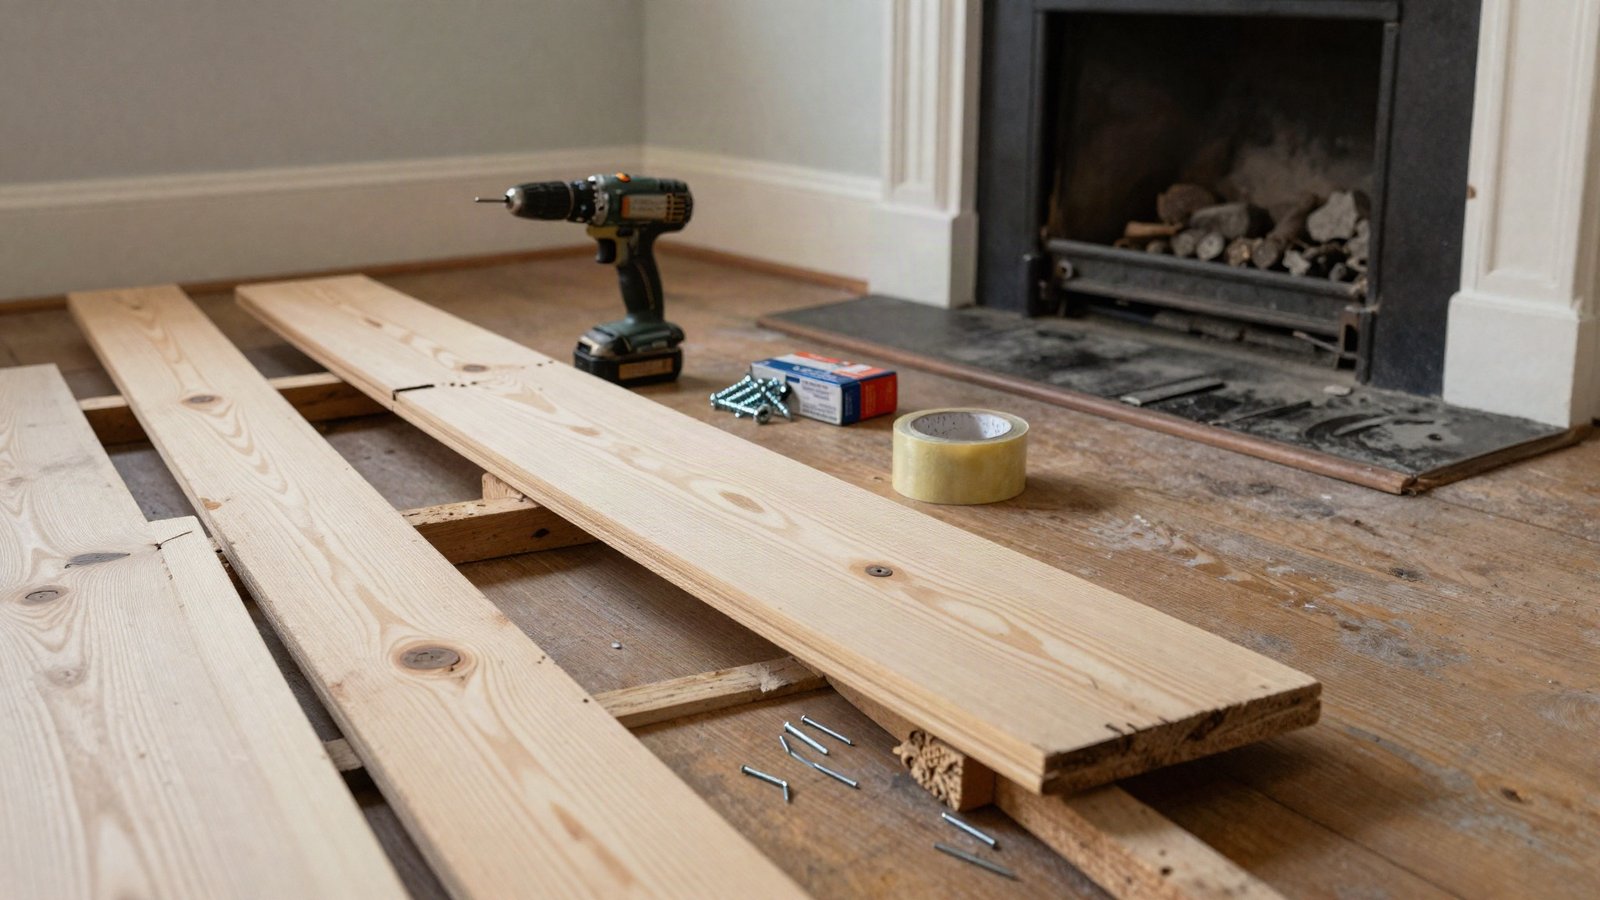
- •Screw down anything that moves — loose boards get worse under vibration, so fix squeaky floors now, not after.
- •In pre-1980s homes, black bitumen adhesive under parquet may contain asbestos. Do not sand it — have it tested.
Step 4: The Sanding Sequence, Grit by Grit
The craft is all in the grit progression and never letting a spinning drum sit still. Follow the order exactly:
- •1. Start at 40 grit along the grain, walking slowly and overlapping each run by a third of the drum width. Lower the drum while moving and lift it before you stop or turn.
- •2. On badly cupped or paint-covered boards, make the first 40 grit pass at about 15 degrees to the grain, then straighten up for the second.
- •3. Edge the perimeter at 40 grit, then hand-scrape corners and pipe surrounds.
- •4. Mix resin filler with dust from the sander bag, press it into gaps and nail holes and let it cure — usually 30–60 minutes.
- •5. Repeat the floor and edges at 60, then 80, then 120 grit. Jumping from 40 to 120 leaves swirls that only show once the first coat goes on.
- •6. Vacuum thoroughly, shut the room overnight so dust settles, then vacuum again.
- •7. Wipe with a barely damp microfibre cloth, then check under a torch beam at knee height — every remaining scratch throws a shadow.
Step 5: Lacquer or Hardwax Oil?
For most UK family homes we would choose a water-based lacquer: tougher surface, low odour, recoatable in 2–3 hours so three coats go on in a day. Roll thin coats working away from the window, keep the room above 15 °C, and give a light 150 grit de-nib between coats. Do not finish on a muggy day with the windows shut — water-based products bloom cloudy in damp air.
Hardwax oil wins on repairability: worn patches can be cleaned and re-oiled in place without redoing the room. Trade-offs: slower drying (8–12 hours a coat), less resistance to spills, a re-oil every two to three years in a hallway. Either way, stay off it for 24 hours, leave rugs off for two weeks while the finish cures, and fit felt pads to every chair leg.
When to Stop and Call a Professional
There is no shame in handing it over. Five signs we take seriously: boards cupped or crowned more than 2–3 mm; parquet or herringbone, where the grain runs two ways and blocks tear out; a visible tongue at board edges from previous sands; deep black water or pet-urine staining, which sits inside the timber and rarely sands out; and more than about 30 m² to cover in one weekend, because fatigue causes gouges.
Professional refinishing at £20–£35 per m² buys dust-contained machines and a flatter result than hire kit — our DIY vs pro cost breakdown shows where the numbers cross over. However well you tape up, fine dust reaches every room. Budget an afternoon on skirtings, light fittings and soft furnishings, or book a one-off professional deep clean once the finish has cured.
Protect the Finish You Just Paid For
A well-applied floor gives 8–10 years, but only with the right habits. Barrier mats inside every external door matter most, because grit is sandpaper under shoe soles. Never use a steam mop on wood — vapour forces moisture into the joints and lifts the finish from underneath. Mop barely damp with a pH-neutral wood cleaner and vacuum traffic lanes twice a week. Our guide to cleaning hardwood floors without ruining them covers the products that quietly dull a new lacquer.
Found this useful?
There's plenty more — hundreds of guides and honestly-tested product reviews for every corner of your home.
Browse All Guides