DIY & Maintenance · 5 min read · 3 July 2026
How to Fix a Leaking Pipe Joint (Before It Ruins Your Ceiling)
Most leaking pipe joints are a twenty-minute fix with two spanners — if you know which type you're facing. Here's the method, the cost, and the moment to put the spanner down.
By the Nims Casa editorial team — written from professional cleaning experience and checked against our editorial standards.
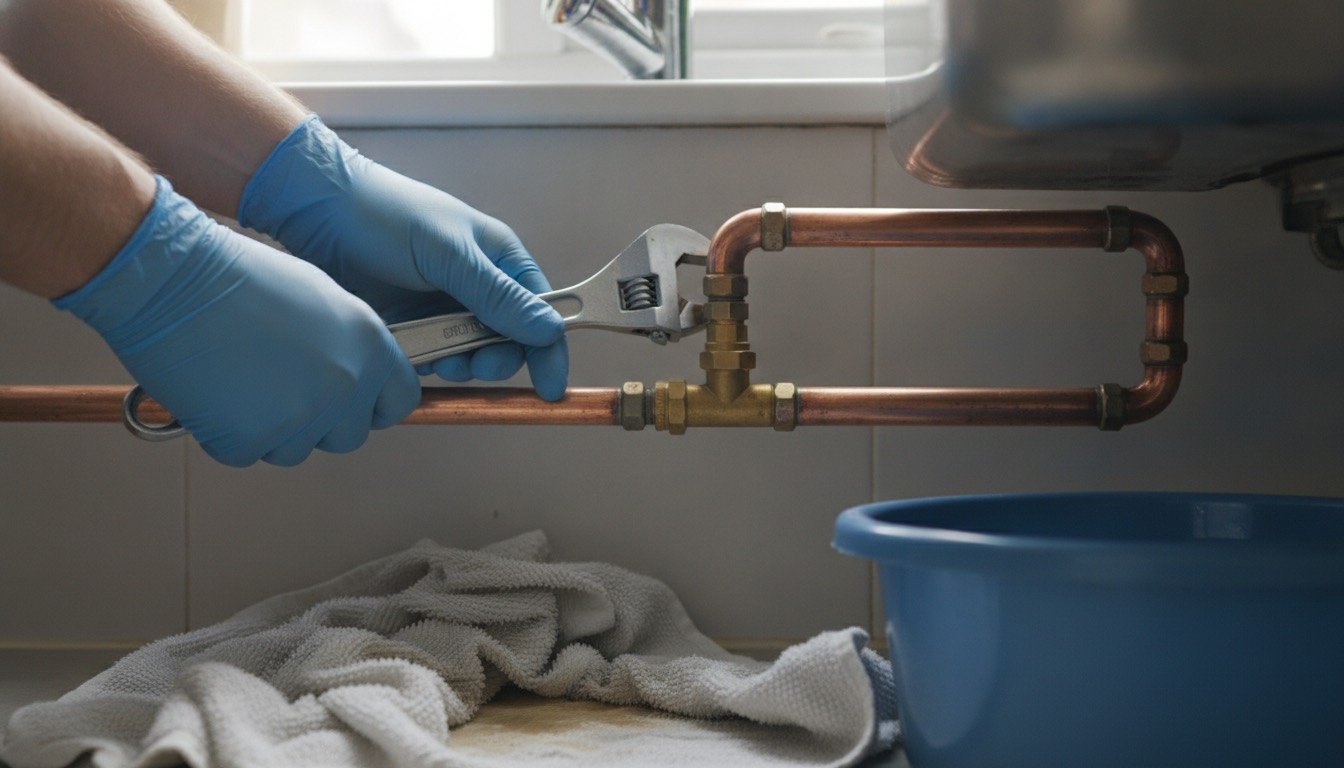
A leaking pipe joint rarely announces itself with a flood. It starts as a damp patch under the sink or a tide mark on the ceiling. We see the aftermath every week — swollen chipboard, lifted vinyl, mould behind kickboards — and it almost always began as a slow weep ten minutes with a spanner would have cured.
The good news: most leaking joints in UK homes are compression fittings, and re-seating one is beginner territory. Here is how to fix each type, what it costs, and when to put the spanner down.
Tools, Materials, Time and Cost
This is a beginner-to-intermediate job: 20–45 minutes for a compression joint, less for push-fit. Everything below is stocked at Screwfix, Toolstation or B&Q, and the kit is under £35.
- •Two adjustable spanners or water pump pliers, £8–£15 each
- •PTFE tape, about £1 a roll (buy two)
- •Spare 15mm and 22mm olives (£3 an assortment)
- •Jointing compound such as Boss White or an LSX paste, £4–£6
- •Epoxy putty (£6) and a pipe repair clamp (£8–£15) for emergencies
- •Old towels, a washing-up bowl and a head torch
First, Stop the Water — Then Identify the Joint
Find your internal stopcock before you touch anything — under the kitchen sink in most homes, in a utility cupboard in flats. Turn it clockwise until it stops. If seized, do not force it: a snapped stopcock is an emergency. Use the outside stop valve at the boundary (stop tap key, about £10).
Better, many runs have a quarter-turn isolation valve — the slotted brass fitting on tap and toilet feeds; shut it with a screwdriver and drain via the lowest tap.
Now get the torch on the joint — the fix depends on what you find:
- •Compression: brass fitting with hexagonal nuts — the standard joint under sinks and stopcocks, and the easiest fix.
- •Push-fit: grey or white plastic (Speedfit, Hep2O), common in homes plumbed since the 1990s.
- •Soldered: smooth copper, no nuts — cannot be tightened; repair means draining and re-soldering.
- •Threaded: tap connectors and radiator valve tails, sealed with PTFE tape or fibre washers.
Fixing a Weeping Compression Joint, Step by Step
One caution: soft, dull grey, fat pipework may be lead — leave it alone and book a plumber. On copper or plastic, work through this sequence:
- •1. Dry the joint, wrap a strip of toilet paper around it and briefly restore the water. The wet spot shows exactly where the leak is — often not where you assumed.
- •2. Isolate again. Brace the fitting body with one spanner, grip the nut with the other and tighten a quarter turn — never let the body twist.
- •3. Restore the water and watch for ten minutes with fresh paper — most weeps stop here.
- •4. Still leaking? Isolate, drain, undo the nut and slide it back to expose the olive — the brass ring compressed onto the pipe.
- •5. Replace a scored, cracked or skewed olive: cut it off with a junior hacksaw (cut the olive, not the pipe) or use a £10 olive puller.
- •6. Fit the new olive with a thin smear of jointing compound and tighten hand-tight plus one full spanner turn; on plastic pipe, check the metal insert is in place.
- •7. Refill and re-test with dry paper, then check after an hour and next morning.
Push-Fit, Threaded and Soldered Joints
Push-fit joints rarely fail from age: the pipe was never pushed fully home, the insert was left out, or grit sits on the O-ring. Isolate, depress the collet and pull the pipe out. Cut a scratched end square, fit an insert, mark the depth in pencil (25mm on 15mm pipe) and push until the mark meets the fitting.
Threaded joints seal on PTFE tape or fibre washers: unscrew, strip the old tape and rewrap five or six turns clockwise (viewed from the pipe end), or swap a crushed fibre washer for pennies. A tap dripping from the spout is a different fault — our dripping tap guide covers every type.
Soldered joints are the hard stop: re-making one means draining the system and a blowtorch inches from joists and dry dust — a fire risk in amateur hands, not a repair.
The classic mistake throughout is overtightening: going far past snug crushes the olive, deforms the pipe and guarantees a repeat. If two careful attempts have not sealed it, the pipe end is likely damaged — stop there.
Emergency Fixes That Buy You Time
A split or spraying burst pipe is different: stopcock off, taps open, boiler and immersion off — then patch:
- •Pipe repair clamp (£8–£15): screws over the split with a rubber seal. The most reliable overnight fix.
- •Self-amalgamating tape (£5): stretch to double its length and wrap well past the damage on both sides. Low pressure only.
- •Epoxy putty (£6): knead, press onto dry, roughened pipe and leave 20–30 minutes to cure. Good on awkward fittings a clamp cannot grip.
When to Stop: DIY vs Calling a Plumber
All three patches last days, not months — book the permanent repair now. If freezing caused the split, our frozen pipes guide shows how to stop a repeat.
Call a professional when the joint is soldered or lead; when the leak is inside a wall, floor or ceiling; when the stopcock will not close; when two tightening attempts fail; or when the joint feeds an unvented hot-water cylinder — legally a job for qualified fitters. Hidden leaks are worth a detection firm: thermal imaging and acoustic kit pinpoint the spot for £150–£300, far cheaper than lifting floors on a hunch.
Budget £50–£80 an hour for a general plumber, £100–£170 for an emergency call-out; a simple joint repair is usually the minimum charge — our UK plumber cost guide breaks rates down job by job. Many home policies include trace-and-access cover that pays to find the leak even if the repair is excluded.
Dry Out Fast, Then Prevent the Sequel
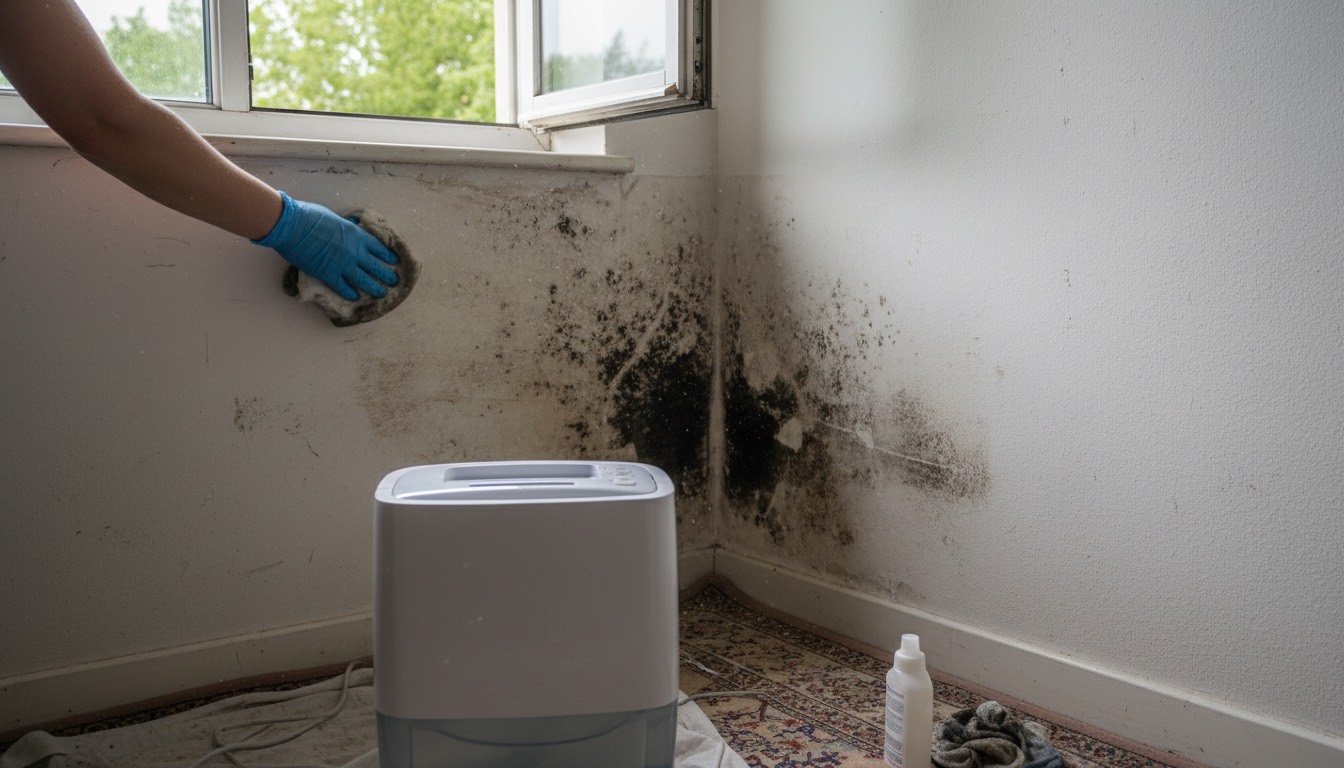
Once the water is off, the clock is running: mould can establish within 48 hours. Towel-dry, open windows and run a dehumidifier. If a leak has soaked carpet for more than a day, professional carpet cleaning with proper water extraction beats letting it dry musty — underlay holds litres. Black spotting afterwards? Follow our damp and mould guide before you repaint.
Then make the sequel unlikely. Lag exposed pipes in lofts and garages — foam insulation is £1–£2 a metre and stops freezing and condensation drips. If pipework bangs when taps shut (water hammer), clip loose runs: that shock slowly works joints loose. Twice a year, feel around every joint you can reach and try the meter test — with every outlet off, the meter should not move in 30 minutes. If it creeps, or taps have gone feeble, see our low water pressure guide; a pressure drop with no puddle often means a hidden leak.
Found this useful?
There's plenty more — hundreds of guides and honestly-tested product reviews for every corner of your home.
Browse All Guides