Home Decor · 6 min read · 21 May 2026
How to Find a Stud Without a Stud Finder (UK Walls, Honest Costs)
A magnet, a torch and your knuckles will find a timber stud as reliably as most detectors will. The harder question is whether your wall has studs in it at all.
By the Nims Casa editorial team — written from professional cleaning experience and checked against our editorial standards.
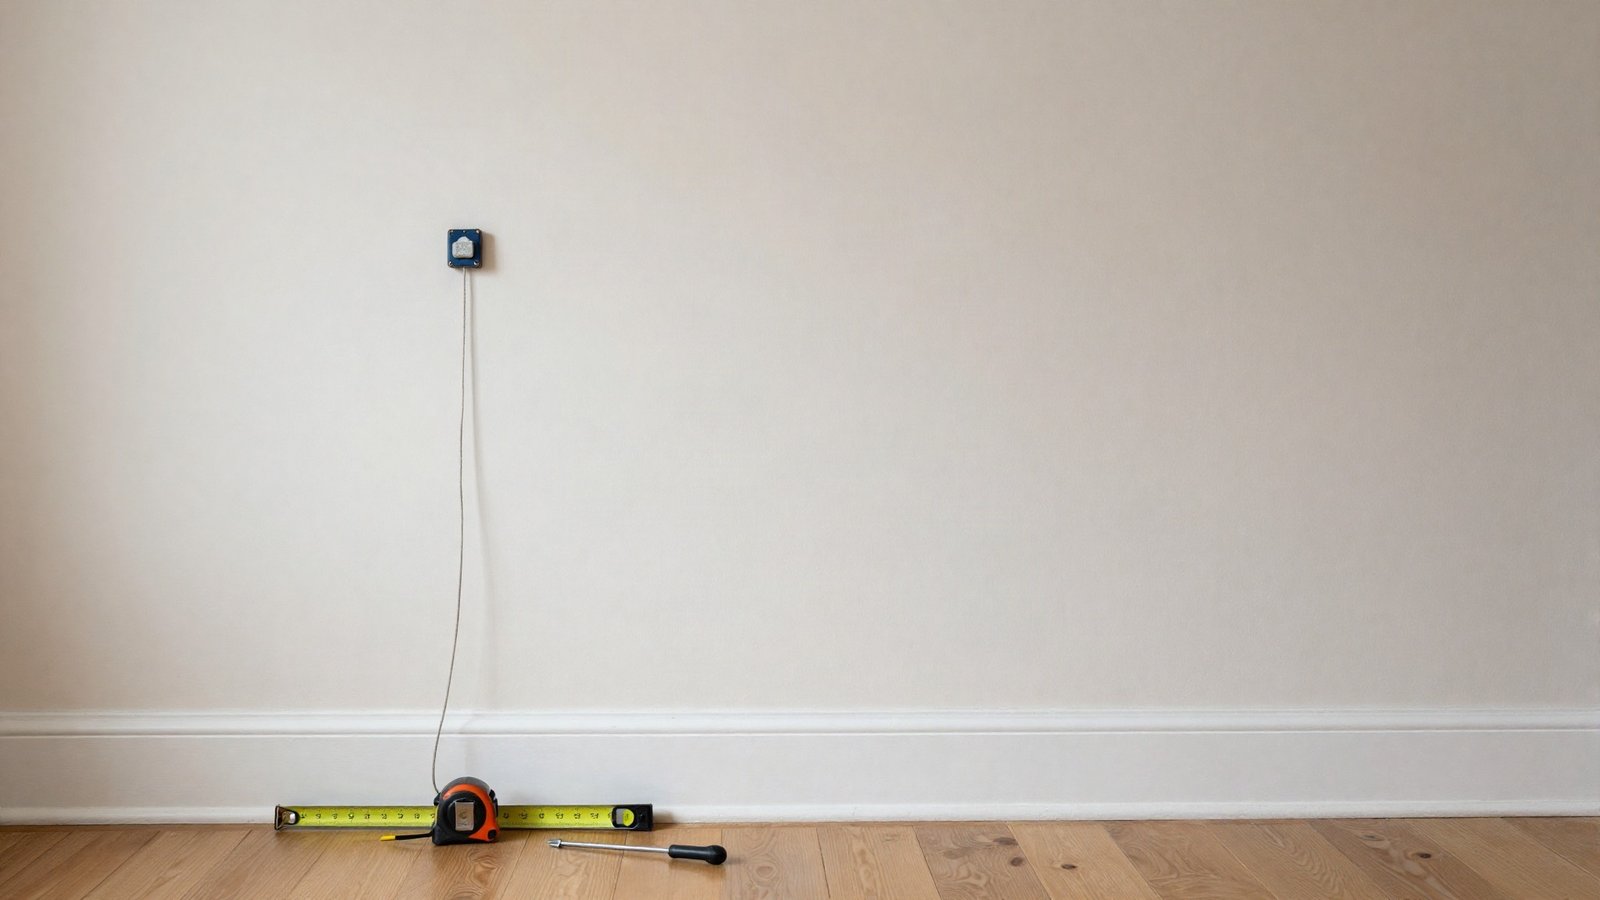
A good half of the walls we get called out to are not stud walls at all. In a 1930s semi the internal walls are usually solid brick under two coats of plaster. In anything built since about 1990 you get timber studs behind 12.5mm plasterboard. In between sits dot-and-dab: boards stuck to blockwork on blobs of adhesive with a 10-25mm void behind. Each needs a different fixing, so the first job is never finding a stud. It is proving there is one.
Everything below can be done with a magnet, a torch and your knuckles, and we have put real numbers on the alternatives. A £5 magnet and a £45 detector are not doing the same job, and neither costs what you pay when a television takes a lump of plasterboard down with it.
First, prove you have a stud wall at all
Two minutes here saves an afternoon of confusion. Work at waist height and use all of these, not just the first.
If it turns out to be masonry or dot-and-dab, stop hunting timber and change your fixing instead. Our comparison of plasterboard and traditional plaster walls covers what each will hold.
- •Knock every 100mm. A stud partition drums with a sharp, resonant note; brick or block gives a dead thud with no ring.
- •Dot-and-dab sounds hollow too, but the note tightens every 300mm as you cross an adhesive dab. That blotchy pattern is the tell.
- •Press firmly with your thumb. Plasterboard on studs flexes a millimetre or two mid-span. Dot-and-dab and solid walls do not move.
- •Measure at a doorway reveal. A timber partition is typically 75-125mm overall; a solid internal brick wall is 125-150mm.
The safety bit: what else lives in that cavity
Twin-and-earth cable and 15mm pipe run through the same void, notched through the studs at waist and shoulder height. Wiring installed to current UK standards sits in defined safe zones, which reassures nobody who has seen how much 1980s DIY cabling is still in service.
Treat the zones below as no-drill territory unless the circuit is isolated. Nick a cable and it becomes an emergency call-out: electrician rates start well above what the shelf was worth.
- •A 150mm band running vertically and horizontally from every socket, switch, thermostat and TV point, along the top of the wall, and down every internal corner.
- •Anywhere near a consumer unit, boiler or shower isolator, and kitchen or bathroom walls generally.
- •Where you have no choice, push a bradawl in by hand first. It stops at cable sheathing; a drill does not.
Four no-detector methods, ranked by how much we trust them
Ranked by how often each is right on a real wall, not a training board.
Drill that last one at the exact height of your fixing, where the bracket will cover it, and fill it the same day. The method in our guide to filling cracks and holes in walls makes test holes invisible.
- •Rare-earth magnet on dental floss (about 90% reliable, £5, five minutes). Plasterboard screws sit roughly 300mm apart up each stud, 12.5mm below the surface. Drag the magnet in a slow S until it snaps flat; two hits in a vertical line is a stud, not a coincidence.
- •Fixing evidence around the room (70%). Skirting, architrave and coving are nailed into studs, and a torch held flat shows the filled nail heads as shallow dimples at regular spacing.
- •Raking light (60%). Lights off, torch pressed flat to the wall. Screw dimples and taped joints throw shadows. Excellent on matt emulsion, useless on woodchip.
- •A 1.5mm test hole (certain, but it costs you a repair). Fifteen millimetres of resistance then sudden give means cavity; continuous firm resistance past 20mm means timber.
Stud spacing: 400mm, 600mm and the noggin that fools everyone
Find one stud properly and the wall gives you the rest. UK partitions are set out at 400mm or 600mm centres depending on the age of the build. Once two are confirmed, step the spacing off along the whole wall in pencil before you drill.
Noggins catch out more people than anything else. These are horizontal timbers between studs, usually around 1.2m up, and to a magnet they feel exactly like a stud. The tell is direction: a stud gives screws in a vertical line, a noggin a horizontal one.
- •Post-1990 new build: 400mm centres with 12.5mm board, or 600mm where 15mm board is used.
- •1960s to 1980s: often 406mm, the old 16-inch spacing. Close enough to 400mm to drift badly over a long wall.
- •Pre-war lath and plaster: 350mm to 450mm and rarely consistent. Measure every one.
- •Doorways get a doubled stud each side, with the next regular stud usually 400mm from it.
Stud finder apps versus a magnet versus an electronic detector
This is where money gets wasted, because the honest ranking is not the price ranking. Live-cable detection is the part worth paying for, not the stud finding. Our round-up of stud detectors worth buying explains which modes matter.
- •Stud finder app (free): reads the phone's magnetometer, so it finds screws, not timber. Any magnetic case or MagSafe accessory wrecks the reading. A curiosity, never a decision.
- •Magnetic finder from Stanley or Draper (£5-12): no batteries, no calibration, no false positives. Finds metal fixings only, which on plasterboard is what you want.
- •Basic capacitive detector (£15-30): reads density change. Needs recalibrating every pass and is confused by wallpaper, damp plaster and foil-backed board.
- •Multi-scanner with metal and live-cable modes, such as a Bosch UniversalDetect (£35-70): the sensible buy. Deep scan reads to around 38mm, enough for board plus stud face.
What getting it wrong actually costs
Doing it properly is cheap. A magnet is £5, filler £4, spring toggles or Grip-It fixings £8-15 a pack, and through-fixings for dot-and-dab such as Corefix £12-18 for four. Under £45 covers the lot.
Getting it wrong scales badly. A 50mm hole is £6 in materials and 20 minutes over two days. A bracket pulling out takes a 300mm section of board with it, which is a proper patch-and-skim. Clip a cable and you are into a £70-120 minimum charge, or £150-250 if the circuit has to be traced.
For paid help expect £30-45 an hour, £120-180 a half day and £220-320 a day, with a 25-40% premium inside the M25. The split here is roughly 80% labour to 20% materials, which is why a fixed price beats an hourly rate under two hours. Check typical handyman rates by job before accepting a quote.
A fair price to wall-mount a large television on a stud wall, brackets fitted, is £60-100. Be suspicious of a day rate quoted for 45 minutes of work, of plastic plugs proposed for a heavy bracket in bare plasterboard, and of anyone who never asks what is behind the wall.
When to stop and call someone
These are the points where handing it over is the cheaper decision.
- •There is no stud where you need one and the item weighs more than about 25kg loaded.
- •You are hanging kitchen wall units on dot-and-dab, where the board carries nothing useful.
- •The fixing falls inside the 150mm band around a consumer unit, or behind a shower.
- •The wall is lath and plaster in a pre-1920 or listed property, where laths crack away in sheets once disturbed.
Found this useful?
There's plenty more — hundreds of guides and honestly-tested product reviews for every corner of your home.
Browse All Guides