DIY & Maintenance · 6 min read · 7 July 2026
How to Install Crown Moulding (Coving): The UK Step-by-Step Guide
A hairline crack round the ceiling perimeter is the most common defect in British housing. Coving covers it permanently for less per metre than a tin of emulsion - here is how to fit it properly.
By the Nims Casa editorial team — written from professional cleaning experience and checked against our editorial standards.
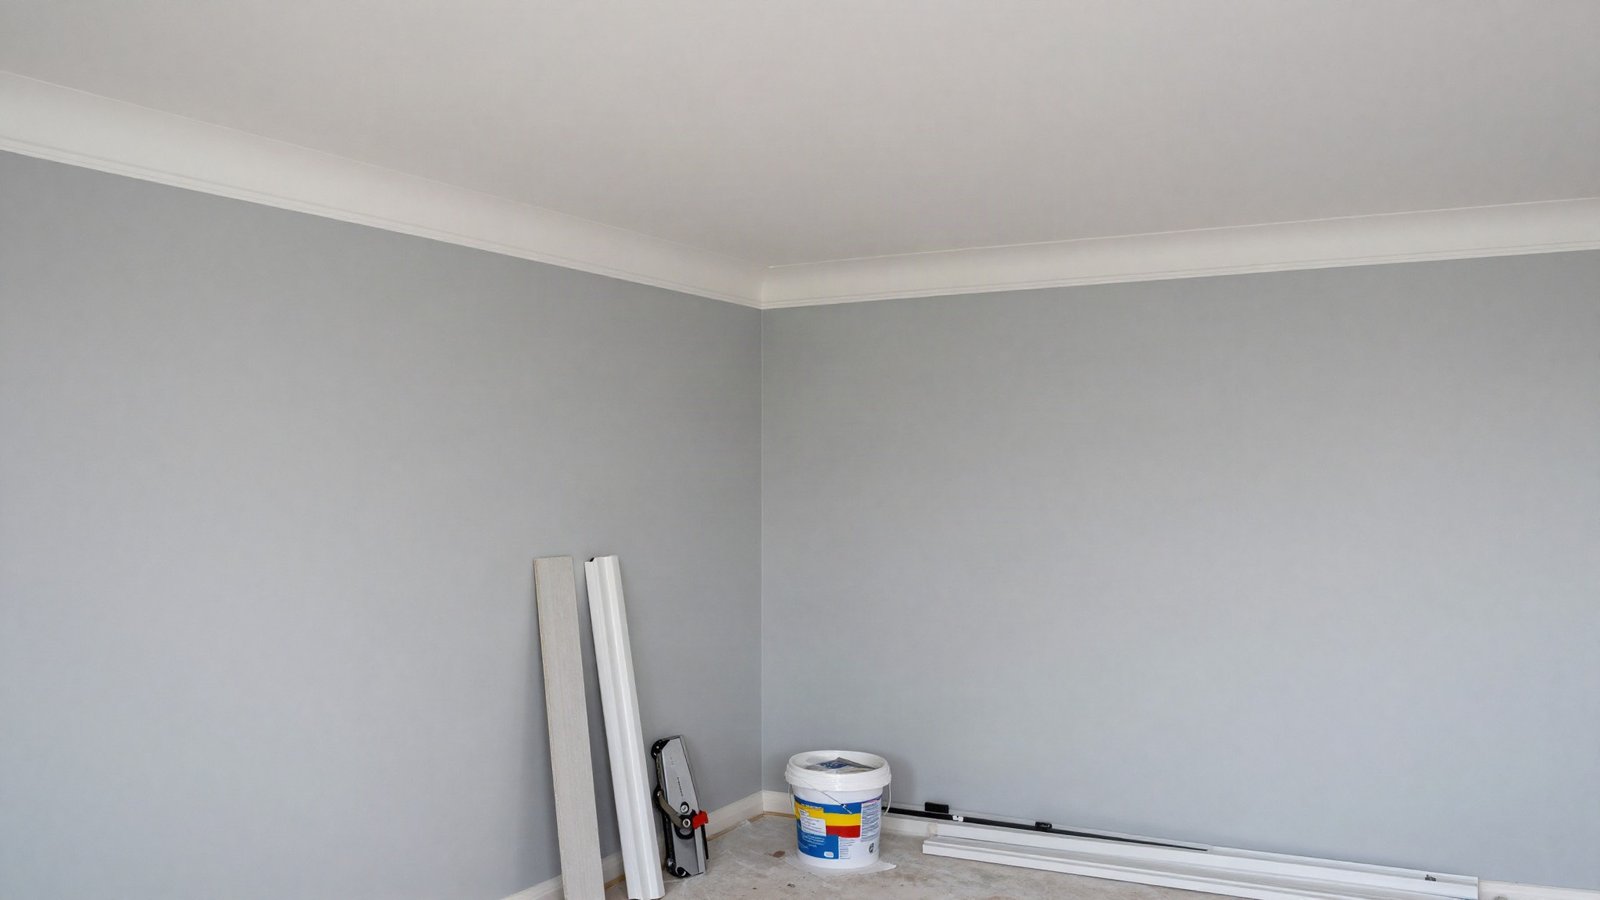
A hairline crack running round the perimeter of a ceiling is the most common defect in British housing stock. Plasterboard moves, timber shrinks, and the wall-to-ceiling junction reopens within a couple of heating seasons however carefully it was filled. Coving covers it permanently, for less per metre than a tin of emulsion.
In the UK the trade says coving for a plain concave sweep, cornice for anything ornate; American guides call the whole family crown molding. Either way it is gypsum, polyurethane or MDF glued into the wall-ceiling angle and mitred at the corners. Beginner-friendly, with one caveat: the cutting is unforgiving. It shares a mitre box with wall panelling if you are doing both.
Safety first: Artex, ladders and what is above the plaster
One hazard outranks the rest: a textured ceiling. Artex applied before 2000 can contain chrysotile asbestos, and the perimeter is exactly where you would scrape a key for the adhesive. Never sand or scrape it; coving suits a textured perimeter precisely because it covers the edge rather than disturbing it. Want the texture gone first? Read our Artex ceiling removal guide.
- •Work from a hop-up, never the top two steps of a stepladder - you need both hands free for 30 seconds.
- •Nitrile gloves - cove adhesive is gypsum-based and strongly alkaline - plus an FFP2 mask when power-cutting polyurethane or polystyrene.
- •Check for cables before driving support screws; lighting feeds often run along the top of a wall in post-1990 builds.
- •Two people for 3m lengths - gypsum cove snaps under its own weight.
Tools and materials you actually need
No need to buy a mitre saw for one room. A £12 coving mitre box - slots marked internal and external, not a plain 45-degree box - beats a chop saw in inexperienced hands, because it forces you to cut slowly.
- •Coving mitre box and a fine-tooth panel saw
- •127mm gypsum cove in 3m lengths (the UK standard), or lightweight polyurethane if working alone
- •A 5kg bag of powdered cove adhesive, or cartridge grab adhesive for polyurethane and MDF
- •25mm filling knife, mixing bucket, sponge, clean water
- •Chalk line, pencil, tape measure, sharp trimming knife
- •Decorator's caulk and gun, masking tape or 40mm screws, 120-grit sanding sponge, matt emulsion
Realistic time and cost for a UK room
For a 4m by 4m room - 16m of perimeter, six 3m lengths with waste - materials come to £75-£110 in 2026: about £11 a length for 127mm gypsum cove, £9 a bag of adhesive, the rest abrasives and caulk. Polyurethane is £18-£30 a length; fibrous plaster cornice starts near £45 a metre before fitting.
A confident fitter does that room in two to three hours; your first will take six to eight across two sessions, because the adhesive must set before you fill and caulk. Paying someone runs £15 to £30 a metre supplied and fitted - our crown moulding installation cost guide breaks quotes down.
Skip the cheapest polystyrene coving: it yellows under emulsion and the joints open inside a year. Use flexible decorator's caulk for the final bead rather than filler, for the same reason it wins when caulking skirting boards.
The step-by-step method
Work the room as one circuit, starting opposite the door so the least tidy joint sits behind you.
- •1. Strip and score. Adhesive will not bond to wallpaper or vinyl silk. Cut the paper along the cove line, peel it back, cross-hatch the plaster.
- •2. Gauge your lines. Hold a 100mm offcut in the angle, pencil the wall and ceiling edges every 500mm, snap a chalk line between the marks.
- •3. Dry-fit each length cut 2-3mm long so it springs into place, then cut mitres upside down: cove inverted in the box, ceiling edge down. Internal and external slots differ - test on a scrap.
- •4. Mix thick, roughly the consistency of buttercream, and only what you can use in 20 minutes.
- •5. Butter the cove, not the wall: a 10mm bead on both contact faces.
- •6. Press home along the chalk line and hold 30 seconds. Support long runs with screws under the bottom edge or tape every 600mm.
- •7. Sponge off squeeze-out straight away; hardened adhesive must be sanded, and sanding blunts the profile.
- •8. Cut each new mitre to the piece already fitted, not your original measurement.
- •9. Fill the mitres with the same adhesive, shape with a wet finger, leave overnight, then caulk the edges, sand lightly and paint two coats of matt emulsion.
Troubleshooting the five things that go wrong
Almost every coving job that fails does so in one of five ways, none of which needs the run pulling off.
- •Mitres gaping at the front: the walls are out of square, normal in anything pre-1980. Fill and shape wet, or cut both halves a degree tight so the front closes and the gap hides behind.
- •Cove sliding down: the mix was too wet, or you buttered the wall. Scrape both faces and remix thicker.
- •Nothing bonding: vinyl silk or paper still on the wall. Score through to plaster.
- •A wavy line: you followed the ceiling instead of the chalk line. Keep the cove dead straight and fill above it.
- •Hairline cracks at the mitres after one winter: ordinary movement. Rake out, caulk rather than fill, repaint.
The renter-safe version: cornice effect without losing your deposit
Be blunt: fitted coving is not reversible. Gypsum cove bonded to plaster takes the skim with it, and making good means re-skimming the perimeter of wall and ceiling, £200 to £400 a room. Anything sold as removable coving is describing its adhesive, not the plaster behind it.
So the tenant version is permission or illusion. Ask the landlord in writing - coving is one of the few improvements most agree to, because it covers the crack they keep filling. If not, our rental-friendly decor guide covers fixings that come off cleanly, and these give the same weight:
- •Paint a false cornice: mask a 100-150mm band at the top of the wall with low-tack tape and paint it the ceiling colour. Under £20; repaints out in one coat.
- •Reverse it in low rooms: bring the wall colour 100mm onto the ceiling. A 2.4m room feels taller, and it is completely undoable.
- •Avoid peel-and-stick foam coving - it takes the paint surface with it on removal.
- •Photograph the junction first; if a crack was already there, you want dated evidence at check-out.
When to stop and call a professional
Hand it over when the room has ornate fibrous plaster cornice to match, when the ceiling is lath and plaster and sounds hollow, when ceilings run above 3m, or when the profile is deeper than 150mm. Heavy cornice needs mechanical fixing as well as adhesive, and a failed run comes down in one piece.
Period reinstatement in a Victorian or Edwardian house is the same call: running cornice in situ is a specialist trade, and a poor match shows from across the room. If the ceiling is sagging, stained or heavily cracked, fix that first. Otherwise this is a weekend and about £90, finished the way you would fix cracks in plaster walls: fill, shape wet, sand minimally, paint twice.
Found this useful?
There's plenty more — hundreds of guides and honestly-tested product reviews for every corner of your home.
Browse All Guides