Tools & Workshop · 6 min read · 24 July 2026
How to Use a Torque Wrench Properly: A UK Step-by-Step Guide
Most torque wrenches in British garages have been used twice and calibrated never. Here is how to set one, pull it correctly, and where UK law says to put it down.
By the Nims Casa editorial team — written from professional cleaning experience and checked against our editorial standards.
Most torque wrenches in British garages have been used exactly twice. They get bought after a wheel wobble, set to whatever a forum said, then left wound up tight in a toolbox through three damp winters — by which point the spring has taken a set and the click arrives late.
Tightening a bolt stretches it slightly, and that stretch is what clamps two components together. Too little and the joint works loose under vibration. Too much and you strip the thread, or leave the bolt stretched so it shears later. Torque only measures that stretch indirectly, which is why technique matters as much as the number on the handle.
Safety first: what a torque wrench will not do
A torque wrench tightens. It is not a breaker bar and not a tool for undoing anything. Cracking a seized wheel nut with a click wrench can put three or four times its rated load through the mechanism and ruin the calibration in one pull.
The other rule people break is lubrication. Torque figures assume clean, dry threads. Copper grease or oil on a stud adds 20-30% to the real clamping force at the same reading, which is how studs get snapped. Our power tool safety checklist covers the rest of the bench.
- •Stay within 20-80% of the wrench's range. A 28-210 Nm wrench set to 30 Nm is guessing.
- •Never slide a scaffold tube over the handle. The scale is calibrated to that handle length.
- •Pull rather than push, hand on the marked grip point. Move it 50mm and the reading changes.
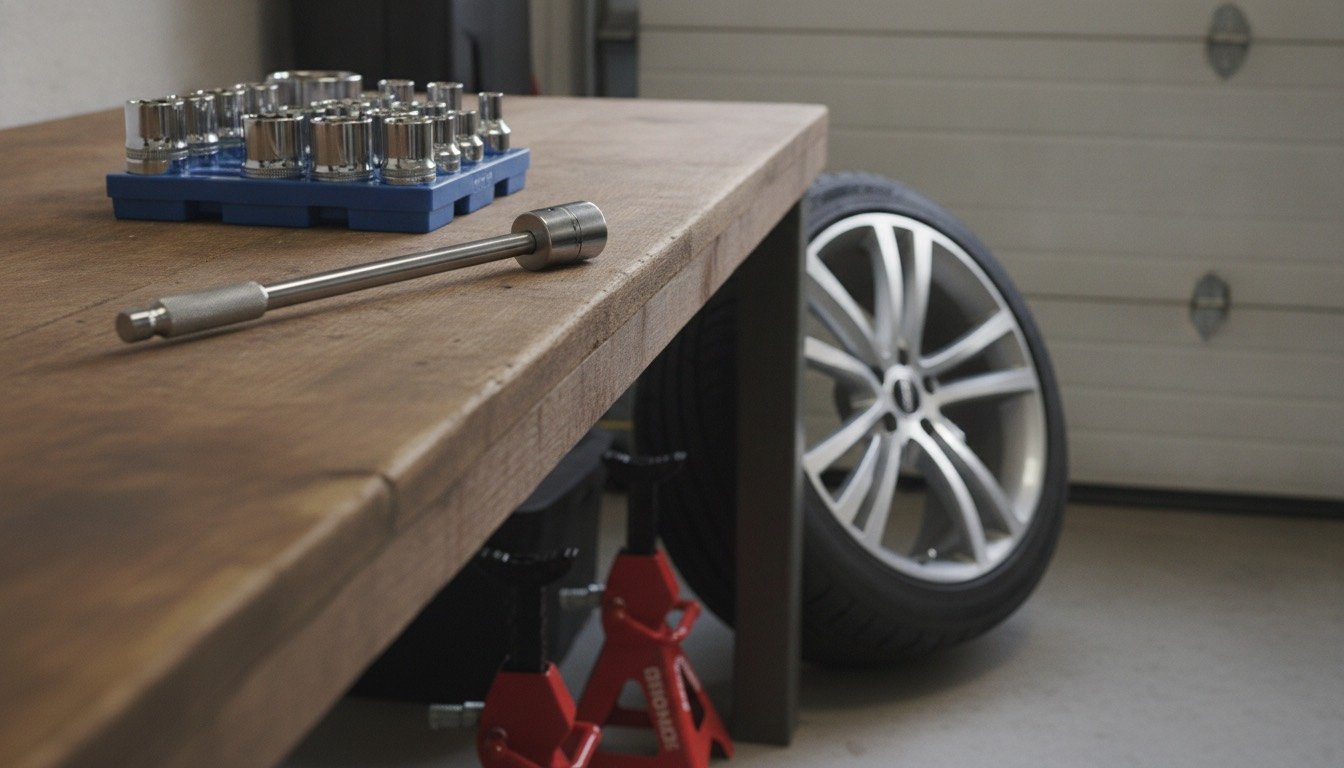
- •Under a car, axle stands on solid ground. A trolley jack lifts; it does not support.
Tools and materials
You do not need three wrenches, but you do need one matched to the fasteners you touch. Most households own a car and a bicycle — one at 120 Nm, the other at 5 Nm. No single wrench covers both.
- •1/2in drive, 28-210 Nm: wheel nuts, tow bars, mower blades. £25-£35 budget, £55-£80 for a Halfords Advanced or Draper Expert, £150-£250 for a Norbar.
- •3/8in drive, 10-60 Nm: spark plugs, sump plugs, motorcycle work. £35-£70.
- •1/4in drive or a torque screwdriver, 1-25 Nm: bike stems, disc rotors, electrical terminals, flat-pack fittings. £30-£150.
- •Six-point sockets rather than twelve-point, plus a breaker bar — £40-£80, and part of any sensible set of essential tools for homeowners.
- •Wire brush, clean rag, and thread lock only where the manufacturer specifies it.
Realistic time and cost
Torquing one wheel takes about 90 seconds once the car is back on the ground; a four-wheel swap is 30-40 minutes including jacking and stands. A bicycle checked bolt by bolt is roughly 20 minutes.
The running cost is calibration, and almost everyone skips it. Click wrenches drift, and manufacturers typically quote 12 months or 5,000 cycles. UK calibration houses charge £30-£55 for a standard certificate, £55-£90 with UKAS traceability. On a £30 wrench that maths never works, which is the honest case for spending £120 once. Store it cased and dry indoors, not in a shed swinging from 2°C to 25°C — see organising a workshop.
How to use a torque wrench: the steps
- •1. Find the correct figure first — handbook, fitting instructions, or the component itself.
- •2. Check the threads: clean, dry, undamaged. If a nut binds by hand, fix that first.
- •3. Set the wrench. Unlock the collar at the base of the handle, wind the sleeve until the main and micrometer scales add up to your figure, then lock it. Read twice — 105 Nm and 150 Nm are one careless glance apart.
- •4. Seat the socket square on the fastener. A worn twelve-point socket on a tight nut will round it.
- •5. Run the fastener down by hand until it seats. The wrench is for the last quarter turn, not the journey — and never an impact driver on anything critical.
- •6. Tighten in a star or diagonal pattern so the component pulls down evenly rather than cocking to one side.
- •7. Work in two passes: about half the figure on the first lap, full on the second.
- •8. Pull smoothly over roughly two seconds. Jerking overshoots; creeping lets it click before the joint has moved.
- •9. Stop at the click and release immediately. Chasing a second click adds torque you cannot measure.
- •10. Wind back to the lowest scale mark and put it in its case.
- •11. Re-check wheel nuts after 40-50 miles. Alloys bed in against the hub, which is why tyre depots print that on your paperwork.
Torque figures worth knowing
Working ranges rather than a replacement for your handbook, but enough to tell you which wrench you need and whether a quoted number is plausible.
- •Car wheel nuts: most UK family cars sit between 100 and 140 Nm. Treat anything under 80 or over 160 as suspect.
- •Spark plugs, M14 taper seat: 20-30 Nm. Over-tighten and you pull the thread out of an aluminium head.
- •Rotary mower blade bolt: 40-60 Nm, plug lead off first.
- •Bicycle stem and bar clamp bolts: 5-6 Nm. Carbon bars 5 Nm and not a fraction more.
- •Consumer unit and accessory terminals: typically 1.2-3.5 Nm, printed inside the lid.
- •Flat-pack cam bolts and threaded inserts: 2-4 Nm, where a torque screwdriver stops you stripping chipboard.
Troubleshooting
- •No click at all: you have run past the wrench's range, or the joint is already tighter than your setting. Stop before pulling harder.
- •Clicks the instant you load it: the fastener is already at torque, or the collar was left unlocked and wound down in transit.
- •Turns forever and never reaches torque: stripped thread or stretched stud. Stop — on a wheel that is a new stud and a garage visit.
- •Inconsistent feel: check grip position, check the extension bar is not flexing, check you are not below 20% of range.
- •Dropped on concrete: assume it is out of calibration.
Part P, Gas Safe and when to call a professional
Owning the right tool does not give you the legal right to use it everywhere. Two areas in UK homes are drawn by law rather than by skill.
Gas is the hard line. Under the Gas Safety (Installation and Use) Regulations 1998, only a Gas Safe registered engineer may work on gas fittings in a dwelling, including the compression joints where torque figures are quoted. There is no competent-DIYer exemption, and landlords owe an annual check on every appliance and flue.
Electrical work is about notification. Terminal torque matters — loose terminations show up as C2 defects on the EICR landlords in England must renew every five years, which is why serious electricians now carry a torque screwdriver. But work inside a consumer unit, and any new circuit, is notifiable under Part P of the Building Regulations in England and Wales: registered competent person, or building control sign-off. It is why installing an EV charger at home is a registered-installer job even though the fixings look trivial.
Otherwise, hand it over when the figure is critical and the consequence structural. Cylinder head bolts are torque-to-yield and single-use, and any fastener already over-tightened should be replaced, not re-torqued.
Found this useful?
There's plenty more — hundreds of guides and honestly-tested product reviews for every corner of your home.
Browse All Guides