DIY & Maintenance · 5 min read · 23 July 2026
How to Clean an Air Conditioner (Filters, Coils and the Bit That Smells)
An air conditioner that has gone two summers without a clean is one of the grubbiest things in the house — and you never see it, because all the mess lives behind the plastic. Here is the hour-long fix.
By the Nims Casa editorial team — written from professional cleaning experience and checked against our editorial standards.
Air conditioning has become normal in British homes: wall splits in bedrooms, portables wheeled out every July, air-to-air heat pumps doing double duty in January. Cleaning them has not. We open units every summer that look spotless from the sofa and have a blower wheel furred with damp black growth — that is the cellar smell people describe when the thing first kicks in each June.
A proper clean is an hour's work, about £30 of kit and no special skill. But there is a hard line: anything involving refrigerant — copper pipework, flare joints, service valves — falls under the F-Gas rules retained in UK law and needs a certified engineer. Everything below sits safely on your side of it.
Tools, Materials, Time and Cost
Buy the coil cleaner once and it will see you through three or four services.
- •Tools: stepladder, cross-head screwdriver, torch, spray bottle and a vacuum with a soft brush attachment
- •Materials: no-rinse evaporator coil cleaner aerosol (£8–£15 from Screwfix, Toolstation or an online HVAC supplier), white vinegar, washing-up liquid, four microfibre cloths, an old towel
- •Optional: a fin comb (£8–£12) and an air conditioner wash bag, sometimes sold as a bib (£25–£40), which catches dirty water off a wall unit
- •Skill level: easy to moderate — if you can change a vacuum filter, you can do this
- •Time: 45–75 minutes per indoor unit; 30 minutes for a portable
- •Cost: £25–£45 the first year, then about £10 a year. A professional service is £70–£120 per indoor unit, a full pressurised deep clean £150–£250
Isolate It Properly, and Know Where to Stop
Switching it off at the remote is not switching it off. A wall split has an isolator, usually a fused spur near the indoor head, in the airing cupboard or beside the outdoor unit. Flip it and wait five minutes for the fan to stop coasting. Portables come out of the socket.
You may remove the front grille, take out the filters, wipe the visible evaporator fins, clean the drip tray, flush the condensate drain and clean the blower wheel. You may not remove the electrical cover, disconnect anything, bend copper pipework or touch a service valve. If a job seems to need that, it has stopped being a cleaning job.
The Eight-Step Clean for a Wall Split or Mini Split
Work top to bottom, and keep water away from the electrics — on almost every unit they sit behind the right-hand end of the casing. Do the whole sequence in one session.
- •1. Isolate the unit and lay a towel on the floor below. If you are wet-cleaning, tape a bin bag under the unit with its open end dropping into a bucket.
- •2. Open the front cover. Most hinge upwards and click into a stay. Support it as it releases — those plastic clips are the most commonly broken part on the whole machine.
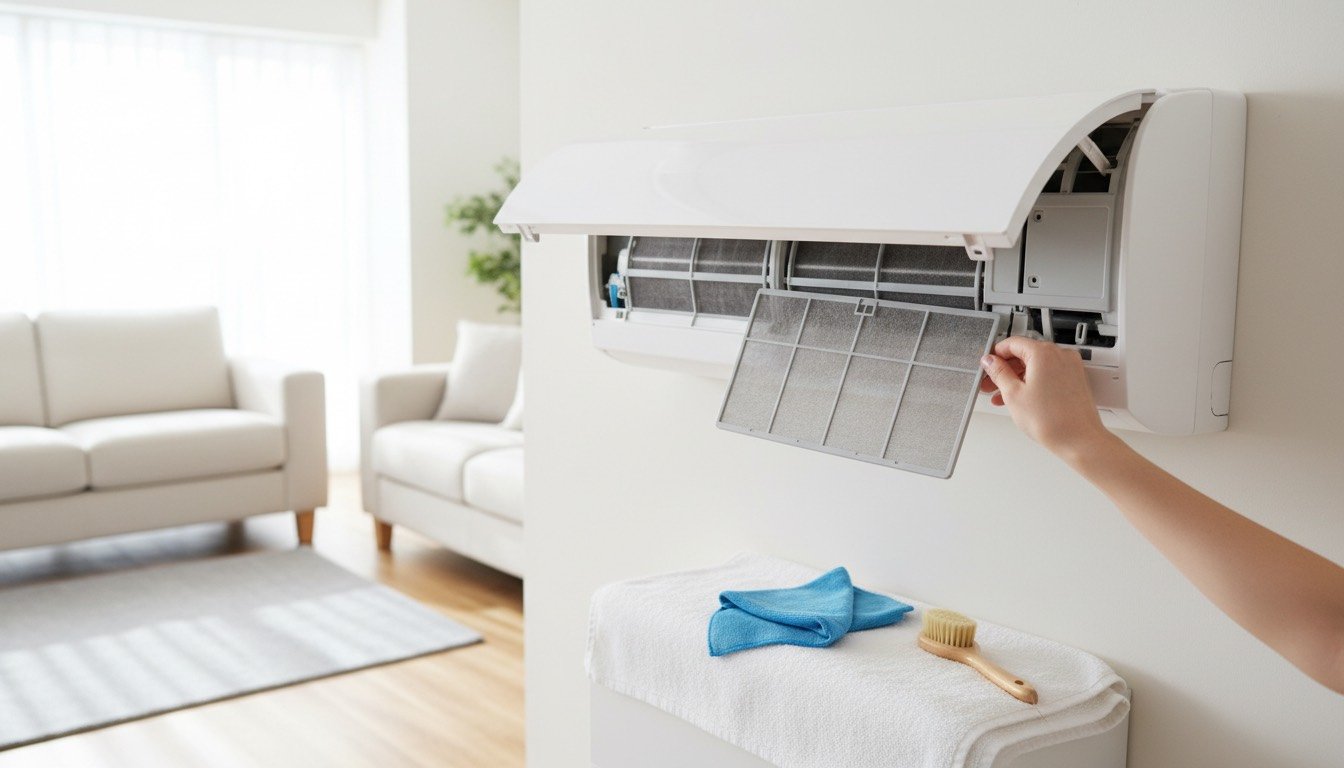
- •3. Lift out the two mesh filters. Vacuum the loose dust off first (wetting a dusty filter just makes sludge), then wash under a warm tap below 40°C with a drop of washing-up liquid. Never the dishwasher, never a radiator to dry — heat warps the frame. Air-dry for two hours.
- •4. Vacuum the aluminium evaporator fins with the soft brush, stroking in the same direction as the fins, top to bottom. Never side to side: you will flatten them. Straighten crushed fins gently with a fin comb.
- •5. Spray the fins evenly with no-rinse coil cleaner and leave it ten minutes. It foams, lifts the film off the aluminium and drains into the tray. Do not substitute bleach or limescale descaler — both corrode aluminium and copper.
- •6. Clean the blower wheel. Swing the vanes open, shine the torch in, and you will usually find the barrel fan caked in grey-black felt. Wrap a damp microfibre round a paint stirrer, add a little washing-up liquid, and work along the barrel, turning it by hand. This is the step that kills the smell.
- •7. Wipe the vanes, louvres and casing with a barely damp cloth, drying behind yourself as you go.
- •8. Refit the bone-dry filters, close the cover, restore power and run fan-only for 30 minutes to dry the coil before switching to cooling.
The Drain, the Drip Tray and the Real Source of the Smell
On a muggy August day a bedroom split pulls two or three litres of water out of the air. That condensate collects in a tray under the coil and runs out through a small pipe to the outside wall. Biofilm blocks the pipe, the tray overflows, and the first you know is water tracking down the wallpaper.
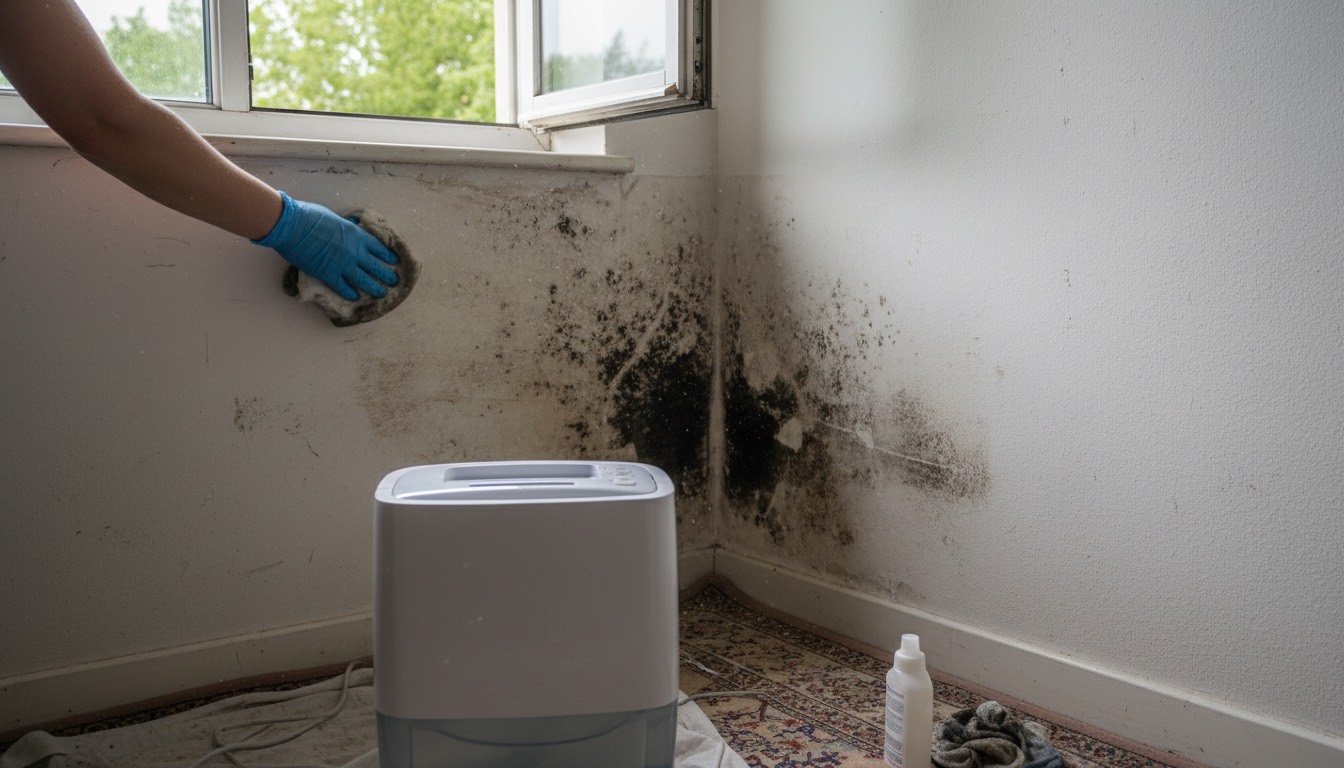
Flush it every clean: pour 250 ml of warm water mixed with 250 ml of white vinegar slowly into the tray and check it emerges outside within a minute. If it does not, hold a wet-and-dry vacuum over the outdoor end for 20 seconds — that clears nine blockages in ten. If the room still smells musty once the unit is spotless, the machine is not the culprit. Cold surfaces plus humid air is a damp and mould problem in its own right, and a dehumidifier at £150–£250 does more about it than any amount of cooling.
Portables and Window Units: The 30-Minute Version
Portables are simpler and far more neglected, mostly because they spend nine months in a shed with stagnant water in the base.
- •1. Unplug it and wheel it outside or onto a hard floor.
- •2. Slide out the filters — usually two, behind the intake grilles at the back. Rinse, shake, air-dry.
- •3. Vacuum the intake and exhaust grilles and wipe whatever fins you can reach through them.
- •4. Drain fully via the bottom plug, tip the unit gently to get the last out, then leave the plug out for a fortnight before storage.
- •5. Wipe the exhaust hose inside and out and check the foam window seal for gaps and mould — a leaky seal is the biggest single reason portables underperform.
- •6. Store it upright with the hose loosely coiled, never crushed under boxes.
Outdoor Units and Heat Pumps
Because most modern splits are air-to-air heat pumps that warm the room in winter too, the outdoor condenser earns its keep all year. Twice a year, spring and late autumn, clear 30 cm of space around it, cut back anything growing into it and lift out the leaves and grass clippings at the base. Rinse the fins with a garden hose on low pressure, ideally from the inside outwards so dirt travels back the way it came. Never a pressure washer: it flattens fins and drives water into the fan motor.
None of this is cosmetic. A blocked filter alone adds roughly 5–15% to running costs by choking airflow, and furred coils on both sides can strip 20–30% off the SEER rating you paid a premium for. Across a fortnight of six-hour daily running in a heatwave, that is real money. Same logic as clearing the dust out of your radiators before winter: heat exchangers only work if air can get through them.
How Often, and When to Call a Professional
Our rhythm for a domestic system: rinse filters every 2–4 weeks in season and always before the first hot spell; full indoor clean once a year, ideally in May before anyone needs it; outdoor unit twice a year; professional service every two years for cooling-only, annually if you run it for heating or someone in the house is asthmatic.
Some faults look like dirt and are not. Stop and call an F-Gas certified engineer if ice forms on the coil or pipework, if the unit trips the breaker, if there is a burning or chemical smell, if cooling has dropped despite clean filters (usually low refrigerant, which means a leak rather than a top-up), or if water still runs down the wall after you have flushed the drain.
Also worth handing over: any unit whose blower wheel is too far gone for a cloth. A professional pressure-wash with a collection bib reaches muck a hand clean cannot, and £150 every few years beats an early replacement. If the mould has spread onto plaster, curtains and soft furnishings, that is a different job — a deep clean of the room, then fixing the ventilation that caused it. Pair a serviced unit with a decent air purifier and a hay-fever summer in a cool bedroom stops being a contradiction.
Found this useful?
There's plenty more — hundreds of guides and honestly-tested product reviews for every corner of your home.
Browse All Guides