Cleaning Guides · 6 min read · 28 June 2026
How to Deep Clean a Kitchen: A Professional's Order of Work (UK Guide)
A kitchen can look spotless and still be filthy. Here is the order of work professional cleaners use, what it really costs, and the jobs you should never do yourself.
By the Nims Casa editorial team — written from professional cleaning experience and checked against our editorial standards.
Grease is invisible until it goes tacky. By the time you can feel it on top of the wall units it has been building for a year, oxidising into an amber varnish that a spray-and-wipe smears rather than shifts. The difference between a kitchen that looks clean and one that is clean is mostly order of work and dwell time.
What follows is the sequence professional deep cleaners use in British homes: top down, dry before wet, degrease before you descale, and everything that can soak goes in to soak first. Follow it and a neglected galley kitchen takes about four hours. Ignore it and you will clean the same worktop three times.
Safety first: read this before you open a bottle
Kitchen deep cleaning injures more people than any other domestic cleaning job, and it is rarely the ladder. It is the chemistry. Window open, nitrile gloves rather than thin latex, safety glasses on.
- •Never mix bleach with limescale remover, vinegar or any acidic descaler — it gives off chlorine gas in seconds. The same goes for ammonia, which hides in some glass cleaners.
- •Isolate power first: unplug small appliances, and switch a hardwired hob or cooker off at its wall isolator.
- •On a gas hob, keep water out of the burner ports and away from the flame supervision device. Dry fully and reseat the caps squarely before relighting.
- •Clear knives out of the sink before you fill it, and stand on a step stool — not a dining chair, never the worktop edge.
Tools and materials: a £30 kit that does the whole job
Three products cover ninety per cent of a kitchen: an alkaline degreaser, an acid for limescale, and a mild cream abrasive. The rest is cloths and patience.
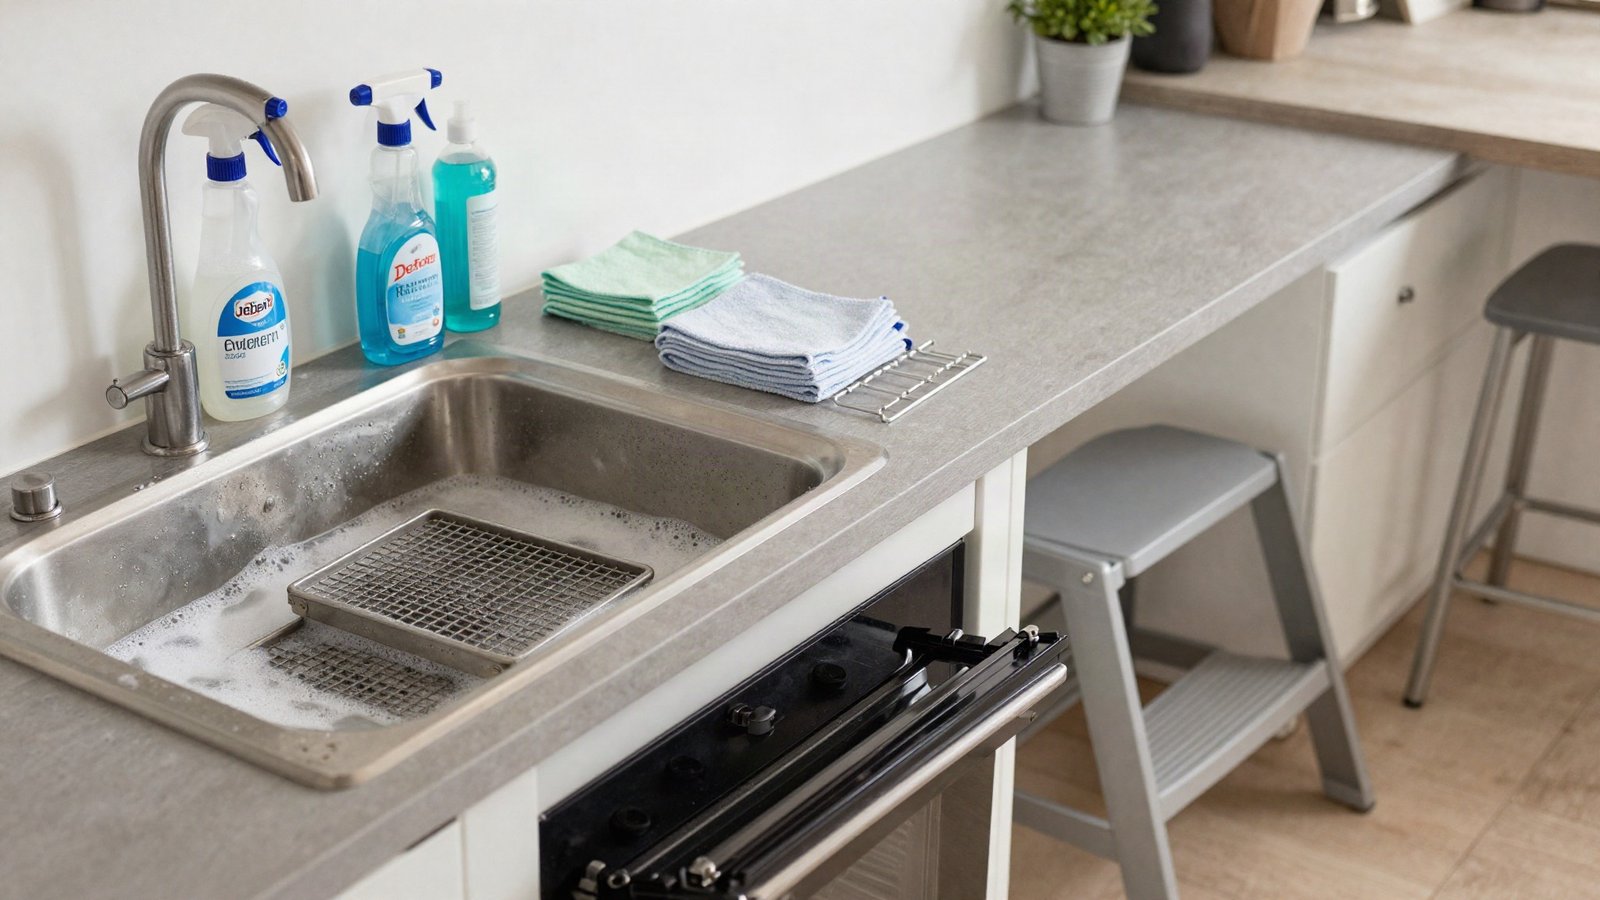
- •Alkaline degreaser — Elbow Grease, HG Grease Away or Cif Power & Shine Kitchen, £2–£4.
- •Soda crystals, about £1.50 a kilo, for soaking shelves and filters. Keep aluminium filters out of a long soak; they grey and dull.
- •Limescale remover or white vinegar, £1–£3. Essential across London, Essex and the South East.
- •A cream cleanser such as Bar Keepers Friend or Astonish, £1.50–£4.
- •Caustic oven cleaner or a bag kit, £5–£10, plus a razor scraper for the door glass.
- •Six colour-coded microfibre cloths, two non-scratch pads and a nylon detail brush.
Realistic time and cost
A standard galley or L-shaped kitchen after six months of ordinary cooking takes one person four to six hours, or two people around two and a half. The kit costs £25–£40 from scratch. Oven and extractor are half the time, and most of that is waiting.
- •Clearing, soaking and dry dusting: 30–40 minutes
- •Oven, including dwell time spent elsewhere: 60–90 minutes
- •Extractor hood, filters and splashback: 40 minutes
- •Cupboard fronts and interiors: 60–90 minutes
- •Worktops, sink, taps and small appliances: 45 minutes
- •Skirting, floor and bin: 30 minutes
- •For comparison: a professional kitchen-only deep clean runs £110–£200 at £18–£28 per cleaner hour; a dip-tank oven clean, £55–£90 (£90–£140 for a range).
The deep clean, step by step
The sequence exists so nothing you clean gets dirtied again later, and so the slow jobs soak while you do the fast ones.
- •1. Clear every worktop completely. Half-empty surfaces are why deep cleans overrun.
- •2. Fill the sink with very hot water and a scoop of soda crystals. Oven shelves, grease filters and burner caps go in for 30 minutes.
- •3. Apply oven cleaner now so it works while you do everything else — full method in our guide to cleaning an oven properly.
- •4. Empty and wipe the fridge and freezer, checking dates; the food-safe order is in the fridge deep clean guide.
- •5. Dry dust top down before any liquid touches anything — wetting dusty grease just makes paste.
- •6. Wash the ceiling and walls above the hob with diluted degreaser, working downwards so runs land on dirt.
- •7. Cupboard doors and handles: spray onto the cloth, not the door. Moisture sitting on the edges of vinyl-wrapped MDF lifts the film permanently.
- •8. Empty and wipe cupboard interiors one run at a time.
- •9. Scrub the soaked filters and refit. If the extractor recirculates, change the charcoal filter too: £10–£25, every six to twelve months.
- •10. Hob and splashback: degrease, dwell five minutes, then lift with a plastic scraper.
- •11. Remove the oven cleaner and do the door glass with the razor held nearly flat. Wipe the rubber seal gently; it is dear to replace.
- •12. Descale the kettle, steam the microwave with lemon water, empty the toaster crumb tray.
- •13. Worktops, then joints, sealant and grout lines.
- •14. Sink, taps, plughole and overflow — usually the source of a lingering smell. If it also drains slowly, try the kitchen sink unblocking methods before caustic crystals.
- •15. Skirting, then the floor last, mopping from the far corner back to the door. Bin last of all.
Troubleshooting the bits that won't come clean
- •Sticky amber film on unit tops is polymerised grease. Neat degreaser, ten minutes' dwell, plastic scraper. Repeat rather than press harder.
- •Cloudy haze around the tap is limescale and acid clears it — but the same acid etches marble and limestone permanently. Use a stone cleaner there.
- •Black speckling in sealant is mould rooted through the silicone. Bleach gel for 20 minutes helps; if it returns, replacing the sealant is the real fix.
- •Gritty glasses are a separate job — filter, spray arms and drain hose all matter, and the fixes are in our dishwasher not cleaning properly walkthrough.
Where DIY stops and a professional starts
Every step above is within a competent DIYer's reach. The boundary is not difficulty — it is gas, electricity and ducting.
Do not disconnect a gas hob or cooker to clean behind it: work on a gas appliance, including uncoupling a bayonet hose, must be done by a Gas Safe registered engineer. If the cooker will not slide out on its feet without touching the connection, clean only what you can reach. Unplugging at a socket is fine; unwiring a hardwired hob or integrated extractor is electrician's work.
- •Gas Safe engineer: moving, disconnecting or refitting any gas hob, cooker or range.
- •Electrician: anything hardwired — cooker points, induction hobs, integrated extractors, under-cupboard lighting.
- •Specialist oven cleaner: carbonised ovens needing door glass, liners and fan housings stripped and dip-tanked.
- •Ventilation firm: ducting beyond the first 300mm. Grease-laden ducting is a genuine fire risk.
- •A professional deep cleaning service: end-of-tenancy work, where an inventory clerk checks filters and oven glass.
Keeping it clean so you only do this twice a year
Grease only polymerises when it sits, so maintenance is small and frequent rather than heroic. Fold these into a written routine — ours is the only cleaning schedule you need — and the next deep clean takes three hours, not six.
- •Run the extractor for ten minutes after cooking, not just during. Most grease reaches the ceiling once the pan is off the heat.
- •Put metal grease filters through the dishwasher on a 65°C cycle monthly.
- •Wipe the hob and splashback while warm — a 20-second job that becomes a 20-minute one cold.
- •Deep clean twice a year: spring, and again before Christmas when the oven earns its keep.
Found this useful?
There's plenty more — hundreds of guides and honestly-tested product reviews for every corner of your home.
Browse All Guides