DIY & Maintenance · 5 min read · 13 July 2026
How to File a Home Insurance Claim in the UK (Step by Step, Without Losing Money)
The difference between a smooth payout and a six-month fight is rarely the damage — it's what you do in the first 48 hours. A home-care crew's honest guide to UK claims.
By the Nims Casa editorial team — written from professional cleaning experience and checked against our editorial standards.
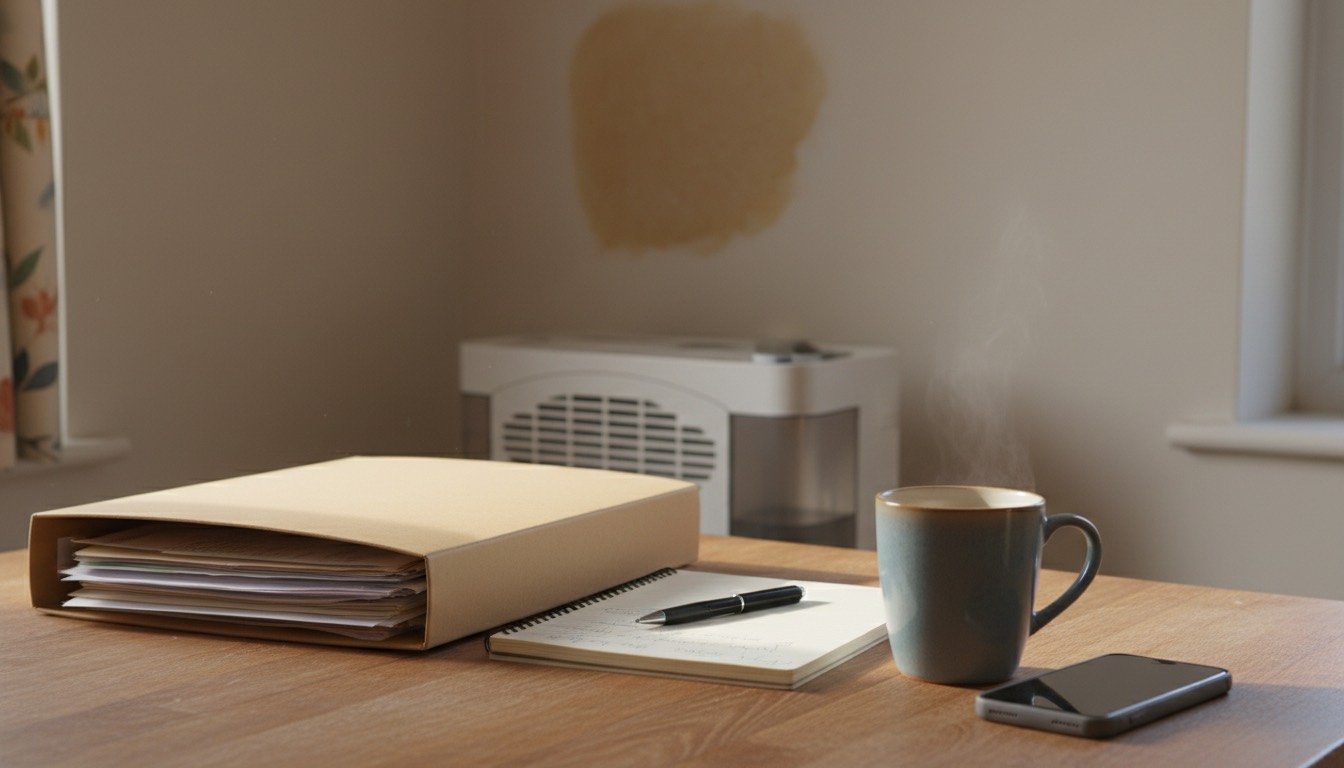
We spend a fair chunk of every winter in other people's disasters — burst pipes, overflowing baths, storm-stripped roofs — usually drying carpets while the homeowner sits on hold to their insurer. Watching claims from the wet end has taught us this: the difference between a smooth payout and a six-month fight is rarely the damage. It's what you do in the first 48 hours.
Here's the process we walk customers through: what to make safe (and what the law says you must not touch), what to photograph, who to phone, and exactly when to stop and escalate.
First, make it safe — and know your legal boundaries
Every UK buildings policy carries a duty to mitigate: you must take reasonable steps to stop damage getting worse, or the insurer can trim the payout. Mitigation never means risking yourself, though — and some jobs are legally off-limits regardless.
- •Escape of water: turn off the internal stopcock (usually under the kitchen sink) and open the cold taps to drain down — the most valuable two minutes in any water claim.
- •Electrics: if water has reached sockets, lights or the consumer unit, switch off the affected circuits — but never touch a wet consumer unit. Anything beyond a like-for-like accessory swap falls under Part P of the Building Regulations and needs a registered electrician.
- •Gas: if you smell gas, call the National Gas Emergency line on 0800 111 999 and get outside. Only a Gas Safe registered engineer may touch gas appliances or pipework — that is law, not advice.
- •Roofs: sheet over from inside the loft if it's safe to reach; never climb a wet roof. Our guide to finding and fixing a roof leak covers what's sensible from a ladder.
- •Keep every receipt — reasonable mitigation costs are usually reimbursable on top of the claim.
What you'll need, and what it costs
Skill level: beginner — the claim is paperwork and photographs, not power tools. Time: two to four hours over the first two days, then short weekly bursts until settlement. Cost: your excess (typically £100–£500, plus any compulsory escape-of-water excess) and whatever you spend on mitigation.
- •Your policy schedule and full policy wording — dig them out of your email or the insurer's app before you phone
- •A phone camera plus a notebook for a dated log of every call, name and reference number
- •Torch, buckets, old towels; a pin-type moisture meter (£20–£35 from Screwfix or Toolstation) is worth owning
- •Dehumidifier: hire from £15–£25 a day, or ask the insurer to appoint a drying company — on big water claims they usually will
- •One folder, digital or physical, for receipts, quotes and emails
Step-by-step: filing the claim
Work through these in order: evidence before clear-up, notification before repairs, quotes before settlement talk.
- •1. Photograph and video everything before you move or bin a single item — wide shots of each room, close-ups of damage, and the cause itself (split pipe, slipped tiles). Insurers rarely argue with time-stamped footage.
- •2. Read your policy wording for the relevant peril — escape of water, storm, flood, impact — and check whether buildings, contents or both are affected; they may be separate insurers.
- •3. Ring the claims line within 24–48 hours — policies demand prompt notification. Note the claim reference and the handler's name.
- •4. Ask three questions on that first call: is emergency mitigation authorised, will you appoint a drying or restoration company, and do you want a loss adjuster to visit before strip-out?
- •5. Do not bin damaged items until told to. Bag and photograph them, and list each with approximate age and replacement cost.
- •6. Keep a claim diary — every call, promise and deadline, dated. Ours has settled more disputes than any solicitor.
- •7. If a cash settlement is offered, get itemised contractor estimates first (next section) and never accept a figure below your cheapest written quote.
- •8. Chase weekly, in writing — email builds the paper trail phone calls never do.
Loss adjusters, contractor estimates and the paperwork that wins
Know who's in your kitchen. A loss adjuster is appointed and paid by the insurer, there to validate (and often minimise) the claim. A loss assessor works for you, typically for around 10% of the settlement — worth it on claims north of £25,000, rarely below.
Contractor estimates decide the money. Get two or three itemised, like-for-like quotes from VAT-registered firms, in writing. "Supply and fit: £4,800" gets knocked back; a quote broken into strip-out, drying, first fix, plastering and decoration does not. Structural repairs need Building Regulations approval — your contractor should handle Building Control or belong to a competent person scheme — and replacement windows need FENSA or Certass certification. If your home is listed or in a conservation area, consent can apply even to like-for-like repairs, so flag it to the adjuster early.
DIY vs pro — and the contract small print
Our rule: DIY only the cosmetic tail end — final coats of paint, refitting skirting removed for drying — and only where the cash settlement reflects it. Never DIY gas, notifiable electrics, structural work or anything at roof height; a botched repair can void the claim and future cover.
The UK has no American-style lien waivers, so protect yourself another way: a written contract (the JCT Home Owner contract works well), staged payments — never more than 10–25% up front — and 5% held back until snagging is done. If the insurer appoints its own contractor, it stands behind the workmanship; get that guarantee in writing.
When to stop, push back or escalate
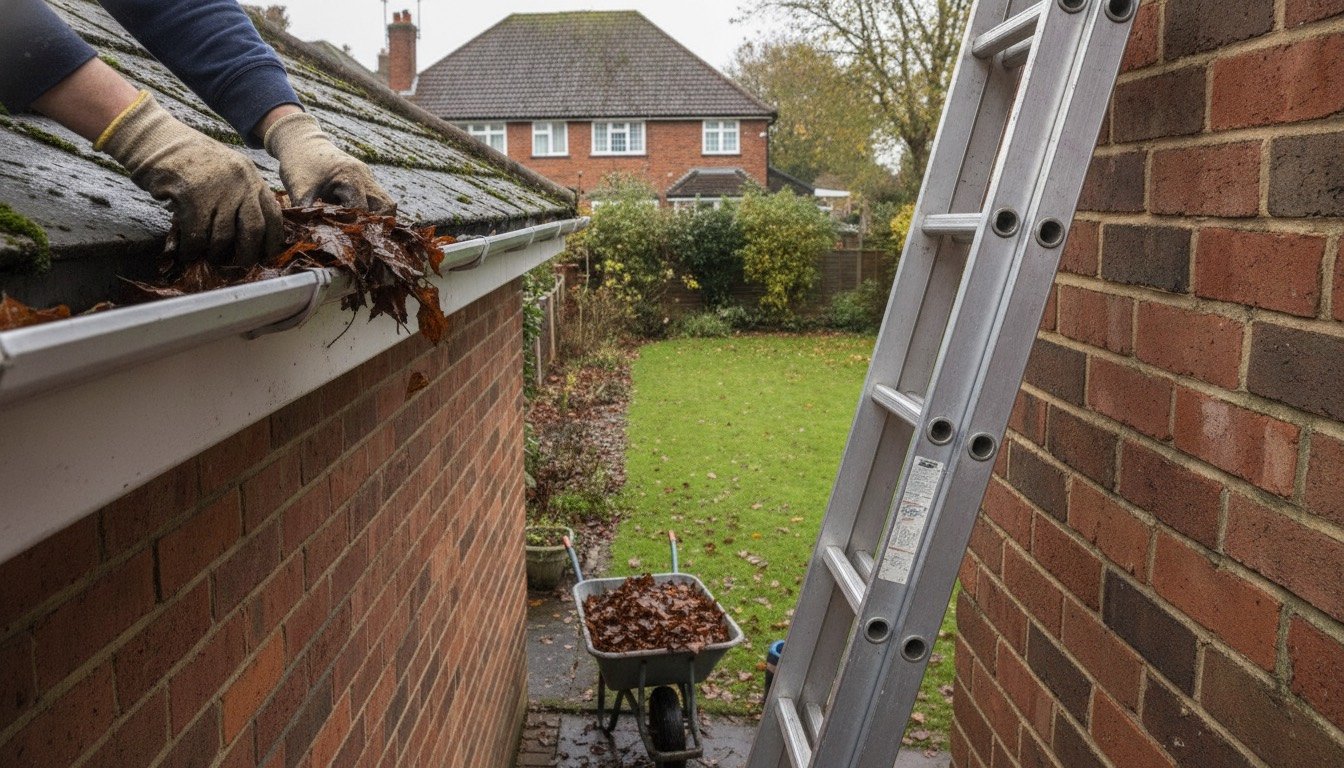
- •Refused for "wear and tear" or "lack of maintenance"? Demand the refusal in writing with the policy clause quoted. It's the most common rejection we see on roof and rainwater damage — routine gutter cleaning and maintenance is the cheapest claim-insurance there is. The same maintenance logic applies to pests: as our guide to rodent damage and the insurance gap explains, most policies treat gnawed cables as preventable, not claimable.
- •Cash offer below your cheapest itemised quote? Reply in writing, attach the quotes and ask the insurer to justify the shortfall line by line.
- •Claim stalled? Raise a formal complaint. The insurer has eight weeks; after that, or a final response letter, the Financial Ombudsman Service reviews it free and can order payment.
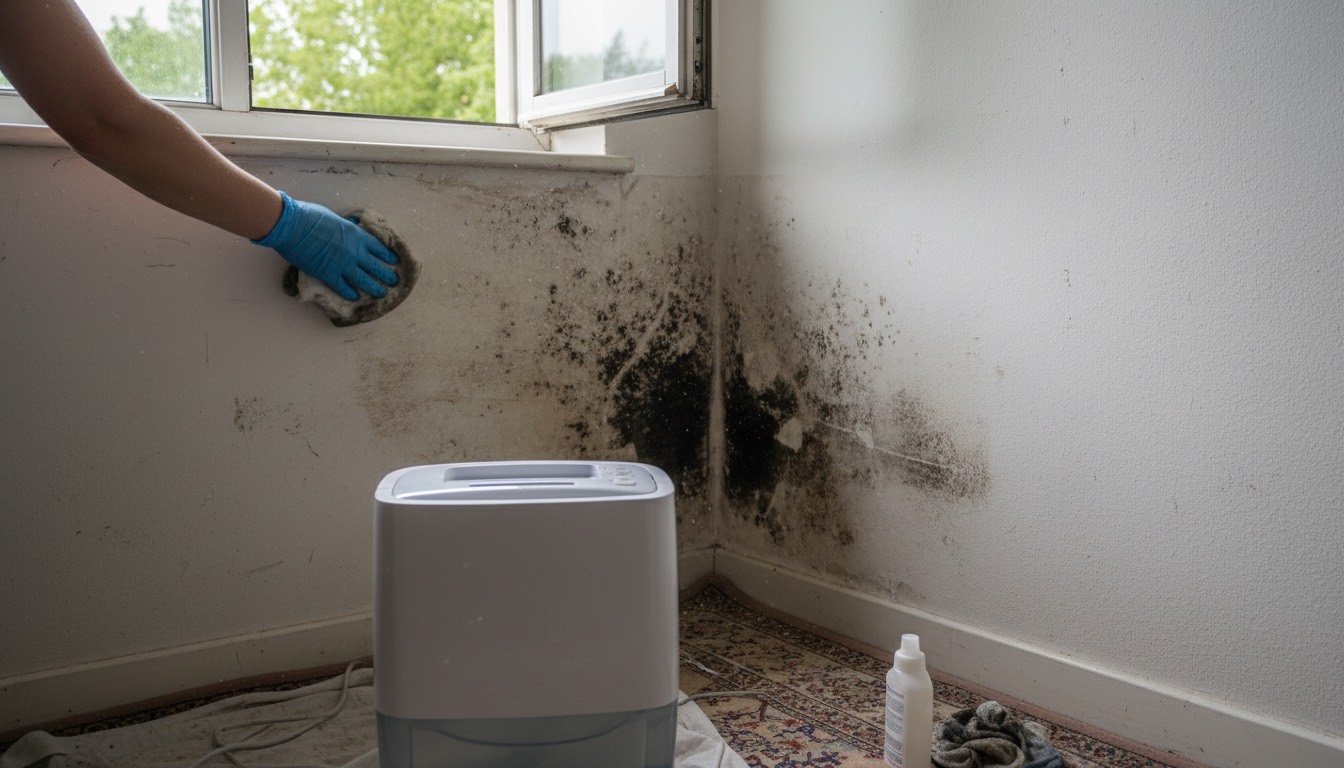
- •Problems resurfacing? If damp or mould appears weeks after drying was signed off, reopen the claim — secondary damage from the original insured event is still claimable.
The clean-up nobody budgets for
Insurance repairs end with builders' dust in every room and carpets that were "professionally dried" but never actually cleaned. Ask whether post-works cleaning is included before you agree the settlement — on larger claims it often is, if you ask. If not, budget £150–£300 for a post-build clean, and book professional carpet cleaning for anything that sat wet longer than 24 hours; dried-in contamination is why flood-hit carpets smell six months later. Then, before next winter, spend an hour preventing frozen pipes — the best claim is the one you never file. Our winter home maintenance checklist rounds up those prevention jobs in one place.
Found this useful?
There's plenty more — hundreds of guides and honestly-tested product reviews for every corner of your home.
Browse All Guides