DIY & Maintenance · 6 min read · 6 July 2026
How to Fix a Sagging Ceiling: Lath, Plaster and Plasterboard
A bulging ceiling in a pre-war house is rarely cosmetic. Here is how to tell whether the plaster has lost its key, whether washers will save it, and what it costs either way.
By the Nims Casa editorial team — written from professional cleaning experience and checked against our editorial standards.
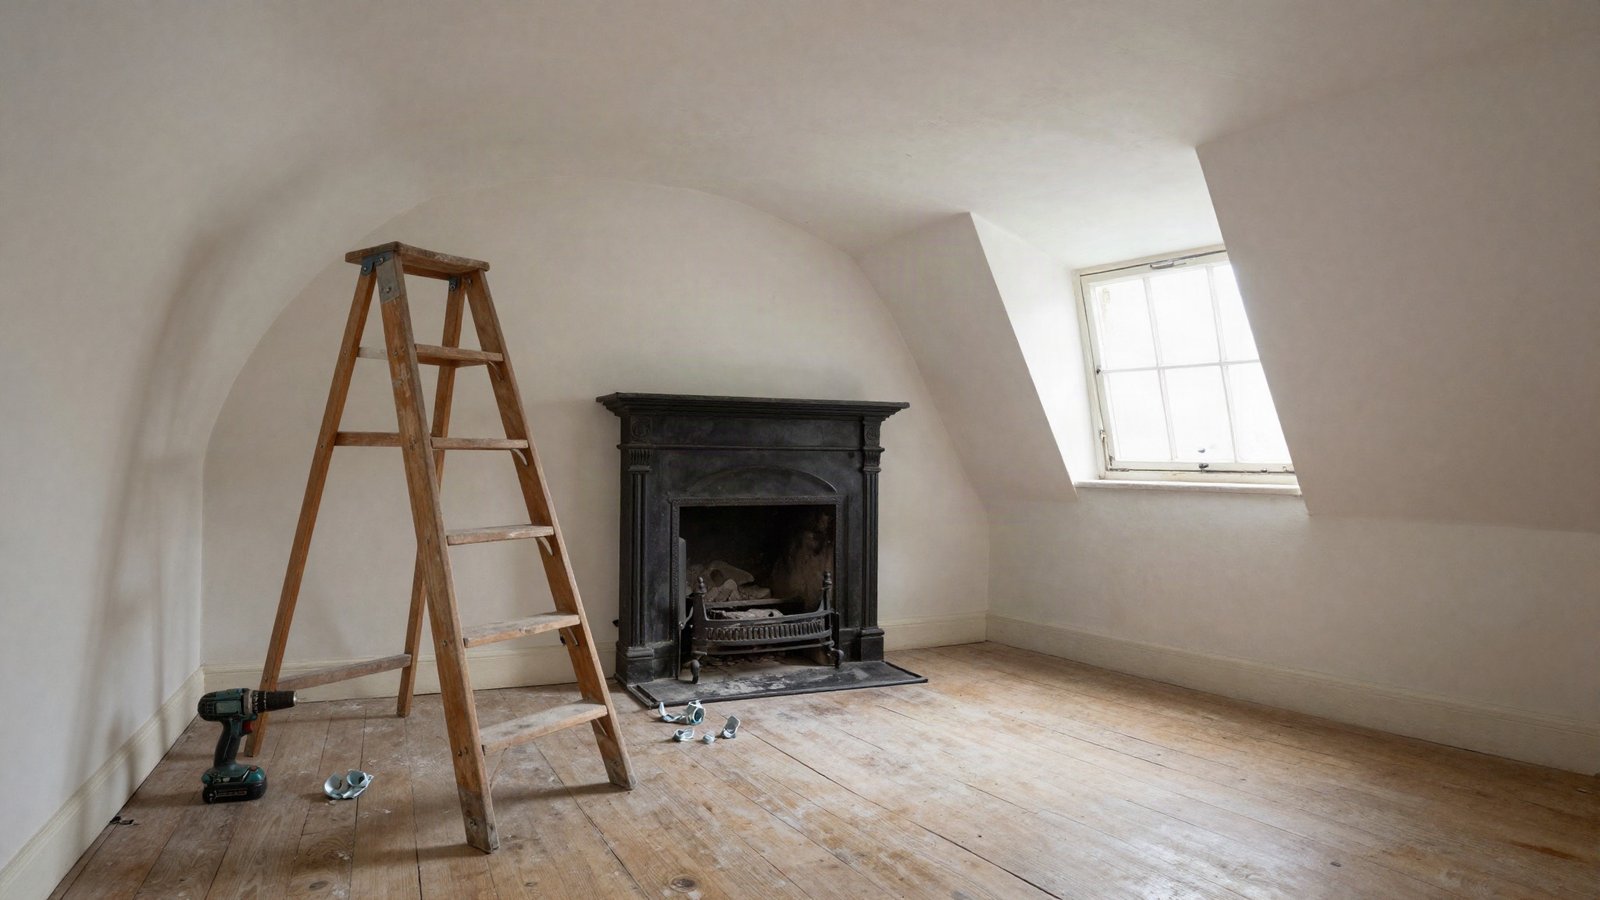
In a 1990s house, a dipping ceiling usually means someone fired the screws through a plasterboard joint instead of into a joist. In a Victorian terrace it means something heavier: the lime plaster has parted company from the timber laths it was squeezed through, and friction and paint are holding it up. Twelve square metres of lath and plaster weighs 350-450kg, and it goes all at once.
So the first job is not repair. It is deciding which of three ceilings you have — failed keys, failed fixings, or something wet above — because the fix, the cost and the danger all differ.
Safety First: Old Ceilings Give Little Warning
Treat a bulge over 15mm as live. Clear the room, shut the door, and prop the worst of it with a steel prop and a length of 100x50 timber padded with carpet — never a single point, which punches straight through.
Three hazards belong to older stock. Textured coatings applied before 1999 may contain chrysotile asbestos, so do not sand, scrape or drill one until a sample has been analysed (£40-60 at a UKAS lab); the same applies before any Artex removal. Pre-1970s lighting circuits often run rubber or lead-sheathed cable across the laths with no earth at all, so isolate at the consumer unit, not the switch. And if the sag is damp, stand aside, pierce it with a long screwdriver over a bucket and let it drain first.
- •FFP3 mask, goggles and gloves — century-old ceiling voids hold soot, lime dust and mouse droppings
- •From the loft, check for a lead-lined valley or parapet gutter above the room; a failed one soaks a ceiling for years unnoticed
Work Out What You Are Standing Under
Push the ceiling with a flat palm, not a fingertip. Movement of 3-5mm with a gritty crunch means the keys — the nibs squeezed between the laths — have snapped. A stiff boardy panel with a straight-line crack means plasterboard off its fixings. Solid but brown-stained means the sag is old and the problem is above.
Drill a 3mm test hole somewhere discreet and read the dust. Pre-1920s ceilings give grey powder with hair in it over 25-32mm riven laths; anything after about 1965 is plasterboard. Victorian joists are rarely regular — expect 350-420mm centres, and find them with a bradawl or a magnet hunting lath nails, not an electronic detector, which is hopeless through 25mm of lime.
Deal with any water source first. A stain that returns after heavy rain needs the roof leak traced; one under a bathroom is usually waste pipework, and fixing the pipe joint costs far less than plastering the same ceiling twice.
Tools, Materials, Time and Cost
Competent DIY for washer re-fixing, trade for the skim coat. A 10-14 square metre room is a realistic weekend re-fix; a full strip and reboard is two days for two people plus a plasterer.
Materials run £60-120. A plasterer stripping, reboarding and skimming 12 square metres costs £550-950 outside London, £900-1,400 inside the M25. Day rates are £180-280 regionally, £250-350 in London, and a 4-yard skip is £220-320 — the line everyone forgets, and lath debris fills one fast.
- •Galvanised or stainless plaster washers, 32mm — £12-18 per 100
- •5.0 x 60mm and 75mm woodscrews, not drywall screws, which snap in hard Victorian pine — £12 a box
- •Steel prop, hire £5-8 a day, plus 100x50 timber and carpet offcuts as a spreader
- •Thistle Bond-it 5 litres, £20-24; Thistle Multi-Finish 25kg, £11-14 a bag
- •12.5mm plasterboard at £11-14 a sheet if overboarding, plus 65-75mm drywall screws
- •Dust sheets, bradawl, chalk line, trowel and hawk
Step by Step: Re-Fixing a Lath and Plaster Ceiling
This is the conservation-friendly repair, and under a cornice or moulded rose it is the only one worth doing. It works where plaster is sound but detached and the sag is under about 20mm.
- •1. Isolate the lighting circuit, drop the rose, and prop the bulge close to level. Leave it overnight — old lime relaxes slowly and forcing it cracks it.
- •2. Chalk-line the joists. Probe with a bradawl every 50mm until you hit solid timber twice, then join the marks.
- •3. From the sound edge inwards, set plaster washers at 100-150mm centres along each joist. Pilot 3mm through the plaster only, then drive a 5 x 60mm screw until the washer sits just below the surface. Stop the instant plaster crushes — the washer should pull, not bury.
- •4. Across the worst of the sag, add a second row between joists using 40mm screws into the laths. Joist rows hold the laths; lath rows hold the plaster.
- •5. Wind the prop down 5-10mm an hour and watch. If the ceiling drops away from a washer, add more before going further.
- •6. Brush out, seal with bonding agent or PVA diluted 1:4, and let it go tacky. Skim in two passes of Multi-Finish, 2mm then 1mm, feathering into the cornice, not over it.
- •7. Wait a week, then paint the ceiling with a mist coat of contract matt thinned 20 per cent.
When Re-Fixing Will Not Work
If plaster crumbles as the washer bites, if laths are visible, if a third of the ceiling is loose, or if the laths are split and nail-sick, washers only delay the collapse. Then it is overboard or strip.
Overboarding in 12.5mm plasterboard is quick and skip-free, but adds around 10kg per square metre to an already heavy ceiling, and every 65-75mm screw must land in a joist at 300mm centres — into lath alone it will fail. Never overboard a wet ceiling. Stripping back is filthier but honest: you see the timbers, the wiring and any woodworm. In a converted flat the ceiling may be a fire-separating element needing 60 minutes' resistance, so check with building control first.
Troubleshooting
- •Screws spin without biting: you have missed the joist or hit an old lath nail. Move 20mm along; do not force it.
- •A new crack opens beside the repair: normal as load redistributes. Scrim and fill once the skim has cured, as you would with cracks in old plaster walls.
- •Skim dusts off: an unsealed surface, or you have plastered over old distemper. Wash back and re-seal.
- •The sag returns within months: the cause is above — a slow leak, or joists deflecting under a new bath, tank or stacked loft storage.
When to Stop and Call Someone
Stop if the ceiling is bowing along with the floor above, if upstairs doors have started binding, or if a joist is deeply notched for pipework or rotten at the wall plate. That is not a plastering problem and needs a structural engineer first, especially where a chimney breast was removed downstairs without proper support.
Hand it over too if asbestos is confirmed, if there is cornice work you could not replicate, or if the exposed wiring is perishing rubber, which needs a Part P registered electrician. A plasterer will re-fix and skim a straightforward room in a day for £250-400 plus materials. Fair money for a job whose downside is a quarter of a tonne of lime landing on a bed.
Found this useful?
There's plenty more — hundreds of guides and honestly-tested product reviews for every corner of your home.
Browse All Guides