DIY & Maintenance · 6 min read · 16 July 2026
How to Identify Mould in a Basement or Cellar (UK Guide)
That musty smell under the stairs is telling you something. Here's how professionals tell real mould from harmless salt deposits — and the exact point to stop scrubbing and call in help.
By the Nims Casa editorial team — written from professional cleaning experience and checked against our editorial standards.
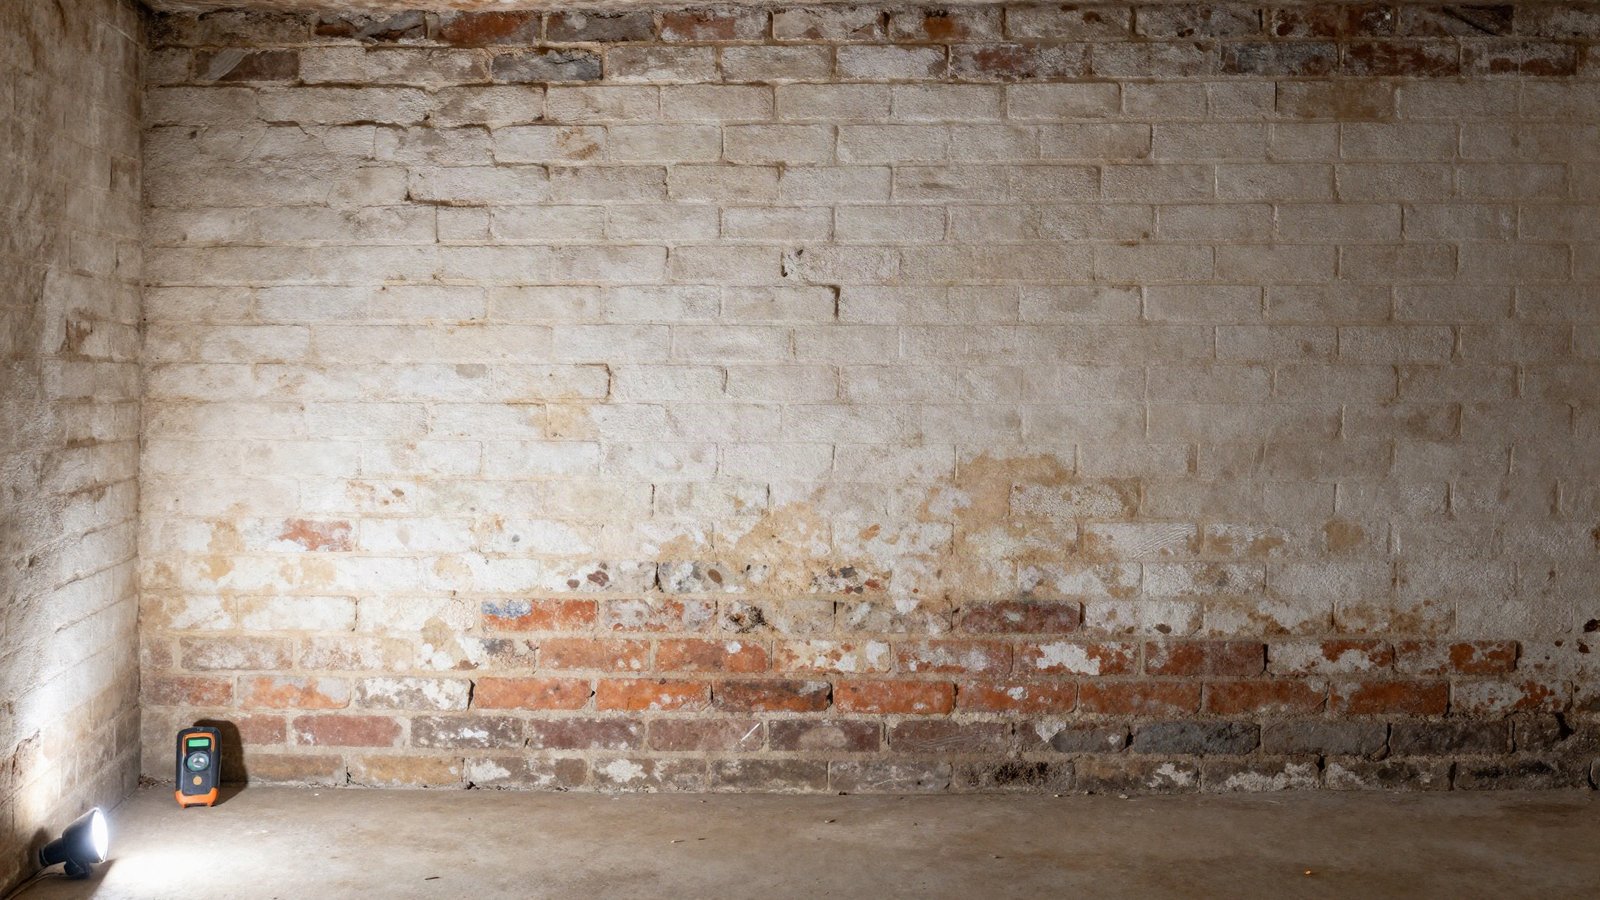
Most UK basements were never meant to be lived in. Under a Victorian terrace you'll typically find a coal cellar: bare brick, a flagstone floor, one air brick doing all the ventilation. Add a tumble dryer or fifty cardboard boxes and you've built a mould farm. We inspect spaces like this every week, and the same question always comes up — is that growth actually mould?
This is the identification process we use professionally: what to look for, the five-second test that separates mould from harmless salt deposits, and the exact point to put the sponge down and call someone qualified.
Before You Start: Tools, Time and Skill Level
Skill level: beginner. This is an inspection, not removal — you won't disturb any growth yet, which is why it's safe to do yourself. Allow 45–90 minutes. Total kit cost is £70–£100, against £150–£300 for an independent damp survey.
- •Bright LED torch — raking light across a wall reveals growth that a ceiling bulb hides (£10)
- •Pin-type moisture meter for timber and plaster (£20–£40)
- •Digital hygrometer to log relative humidity (£10–£15)
- •Spray bottle of plain water for the efflorescence test
- •FFP3 mask, nitrile gloves and old clothes (£8–£10 the lot)
- •Optional: a cheap endoscope camera for crawl spaces and behind panelling (£25)
The Inspection, Step by Step
- •1. Seal the room, then smell it. Keep the basement shut for 24 hours, then walk in. A musty, earthy smell — wet cardboard, forest floor — means active mould; your nose beats any £12 test kit.
- •2. Measure the humidity. Leave the hygrometer down there for a day. Sustained readings above 65% relative humidity mean mould can grow; above 70%, it almost certainly is.
- •3. Do a raking-light sweep. Hold the torch flat against each wall so the beam skims the surface. Check corners, under the stairs, joist ends where timber meets masonry, and behind any skirting.
- •4. Move everything. Pull stored boxes 30cm off the walls and inspect the wall face and the box backs. Cardboard against a cold wall is the most common mould site we find.
- •5. Read the colours. Basement mould is typically black, dark green or grey speckling on organic surfaces — timber, cardboard, paint, plasterboard. Pure white, crystalline deposits on bare brick usually aren't mould at all.
- •6. Probe the timber. Push a flat-head screwdriver into joists and the stair stringer. Sound wood resists; soft, spongy wood means damp has sat long enough for rot — a bigger problem than mould.
- •7. Take meter readings. Timber above 16% moisture content is at risk; above 20%, something is actively feeding water in. Log readings on a sketch plan so a pattern emerges.
- •8. Photograph everything with a date stamp, for a builder's quote, an insurance claim or a letter to your landlord.
Mould or Efflorescence? The Five-Second Test
White deposits cause more panic than anything else we're called to look at. Lightly mist them with plain water. Efflorescence — mineral salts carried out of brick and mortar by evaporating moisture — dissolves almost instantly and feels gritty rubbed dry. Mould smears, stays visible when wet, and prefers organic material to bare masonry.
Don't relax if it's salts, though. Efflorescence isn't a health hazard, but it's hard evidence that water is moving through your walls — and whatever drives it will feed mould eventually. An early warning, not an all-clear.
Finding the Moisture Source
Identifying mould is really identifying moisture. The pattern reveals the route in:
- •Condensation: even misting on cold surfaces — pipework, external corners — worst in winter. Fixed with ventilation and a decent dehumidifier.
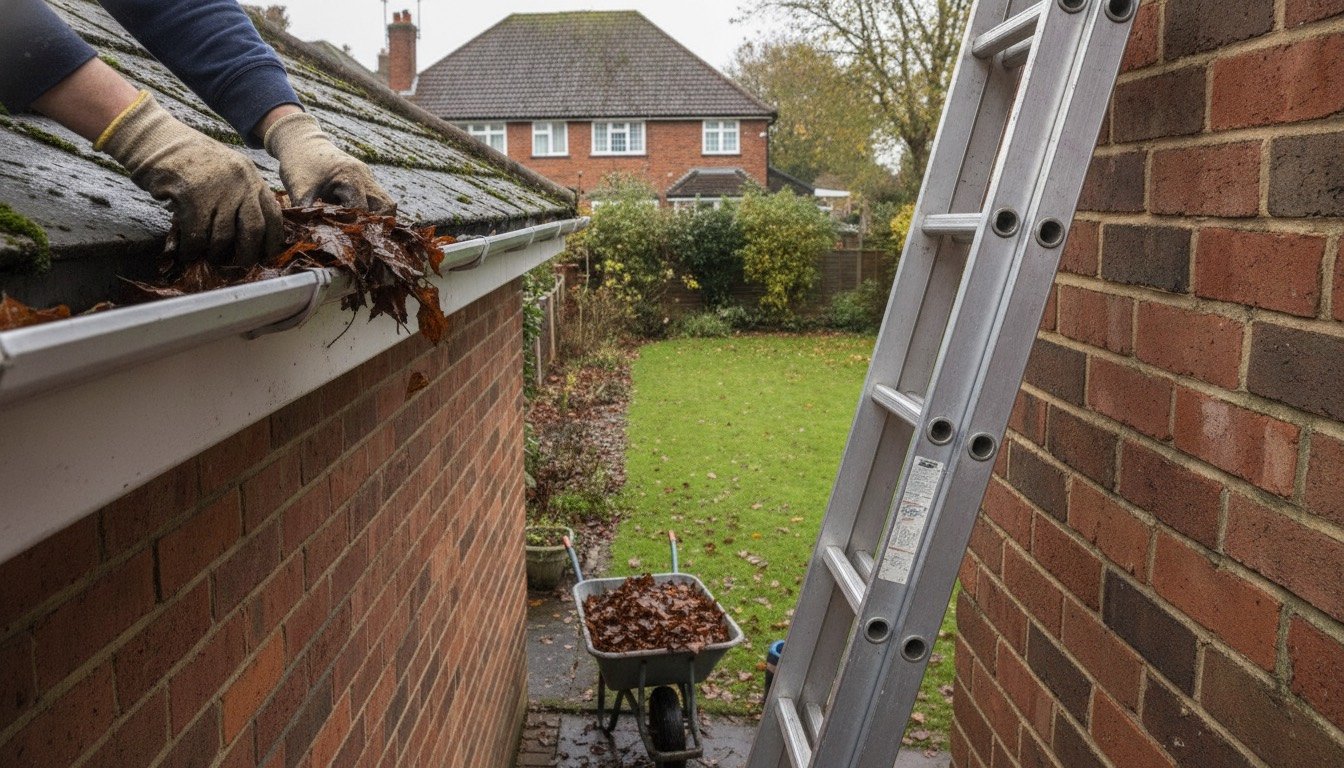
- •Penetrating damp: a defined patch that darkens after rain. Outside, check ground levels, cracked render and above all your rainwater goods — blocked gutters are the commonest cause we see, and the cheapest fix.
- •Rising damp: a tide mark up to about a metre high with salts along its top edge. Rarer than the chemical-injection industry claims — pay an independent surveyor, not a firm selling the cure.
- •Structural entry: water tracking through cracks or the wall–floor junction. Learn which foundation cracks are serious before panicking — dry hairline shrinkage cracks are cosmetic.
- •Crawl space moisture: blocked air bricks trap ground evaporation under a suspended timber floor. Every air brick should be clear, unpainted and above soil level.
When to Stop: Safety and Legal Boundaries
Identification is DIY territory; removal often isn't. Stop and call a professional when any of these applies:
- •The affected area exceeds roughly one square metre — NHS and HSE guidance both draw the DIY line about here
- •The water may be from drains, sewage or flooding — contaminated growth needs specialist handling
- •The property is pre-2000 and growth sits on textured coatings, insulation board or old floor tiles that could contain asbestos — never scrape; test first (£10–£15 per sample, UKAS-accredited lab)
- •Anyone in the household has asthma, COPD or a weakened immune system
- •Sockets, a consumer unit or extension leads sit in the wet zone — that means an electrician before any cleaning
Renters, Regulations and What Fixing It Costs
If you rent, you shouldn't be remediating structural damp at all. Under the Homes (Fitness for Human Habitation) Act 2018 — with Awaab's Law now setting fixed timescales for damp and mould hazards — it's your landlord's responsibility. Report it in writing with your dated photos. And if you're converting a cellar to habitable space, waterproofing is controlled work under the Building Regulations and should follow BS 8102 — a specialist contractor's job, not a weekend project.
Realistic UK prices, cheapest first: DIY monitoring kit £70–£100; independent damp and timber survey £150–£300; compressor dehumidifier £150–£250 plus 5–7p per hour to run; gutter clearing and minor repointing £0–£150 DIY; cellar tanking £40–£80 per m² applied professionally; full structural waterproofing with membrane and sump pump £3,000–£10,000+. Identification costs tens of pounds; cure costs thousands. That's the whole argument for inspecting twice a year.
Keeping It Away: The Quarterly Check
Once your basement is clear — or cleared — a short routine keeps it that way:
- •Quarterly: 20-minute torch sweep, hygrometer reading and sniff test after the room has been shut overnight
- •Twice a year: clear gutters and air bricks; check ground levels haven't crept above the damp-proof course
- •After any leak or flood: dry the space within 48 hours — the window before mould establishes
- •Store belongings in plastic crates on slatted shelving, 5cm off the walls — never cardboard on the floor
Found Mould? Your Next Steps
For the removal side, follow our full guide to getting rid of damp and mould, and the bathroom ceiling method if it has crept upstairs too. Be realistic about soft furnishings: if a basement carpet has been damp for over 48 hours, professional carpet cleaning can rescue surface mustiness, but mould-soaked underlay has to come out. Identify honestly, fix the water first, and the mould stops coming back.
Found this useful?
There's plenty more — hundreds of guides and honestly-tested product reviews for every corner of your home.
Browse All Guides