Electrical · 6 min read · 26 April 2026
How to Replace a Light Fixture: A Safe UK Step-by-Step Guide
Swapping a ceiling light is either a twenty-minute job or an afternoon of head-scratching, and you usually find out which only once the old fitting is off the ceiling.
By the Nims Casa editorial team — written from professional cleaning experience and checked against our editorial standards.
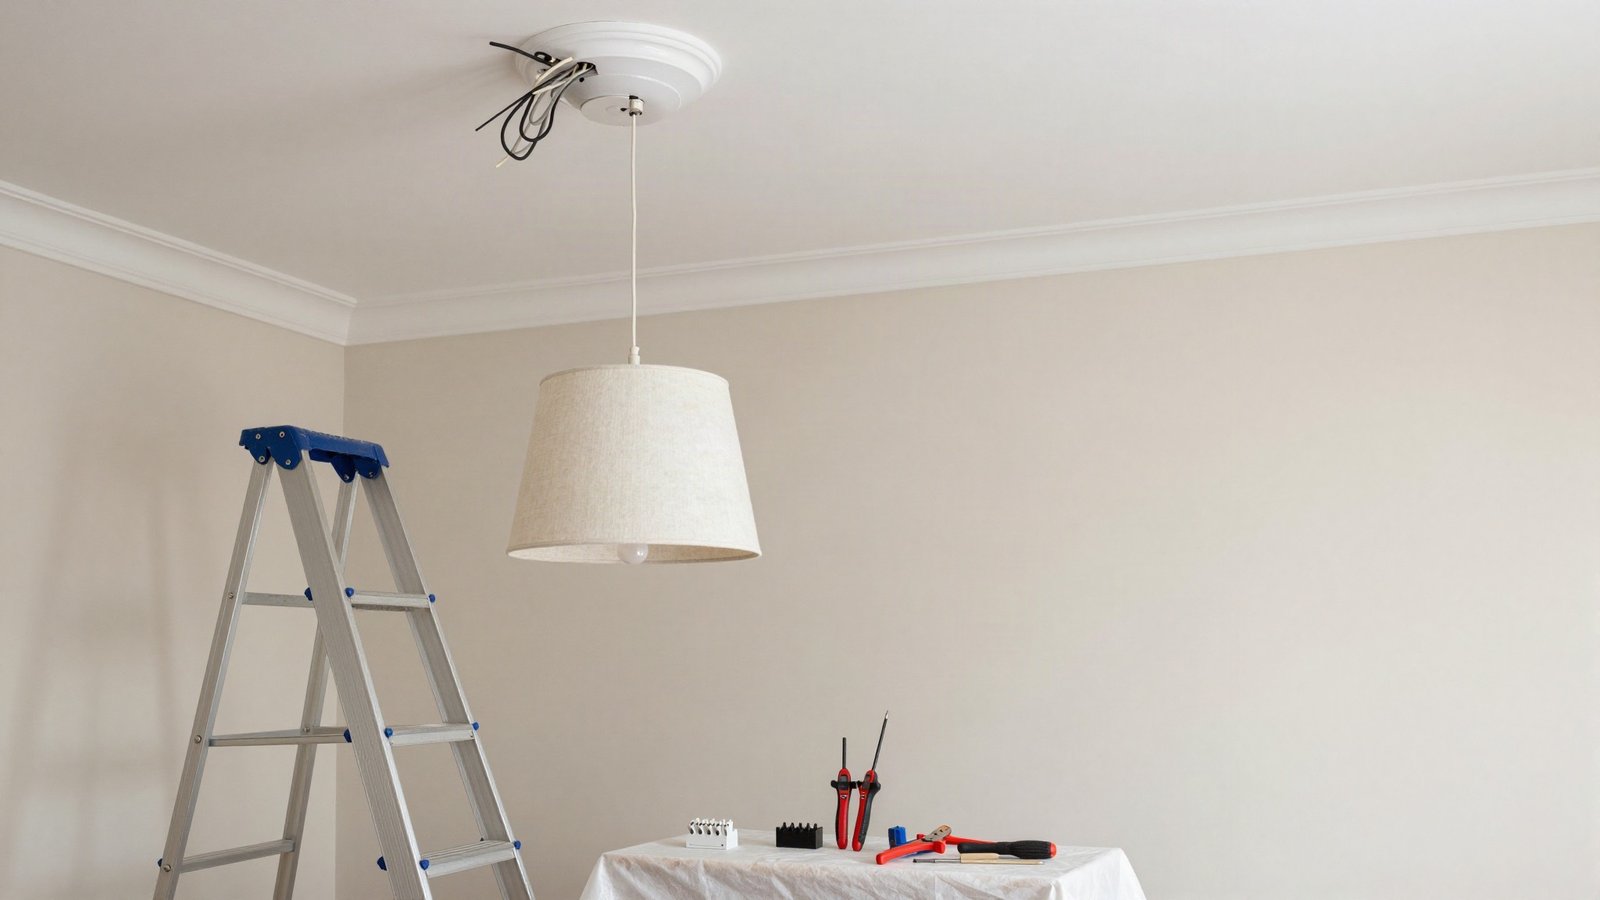
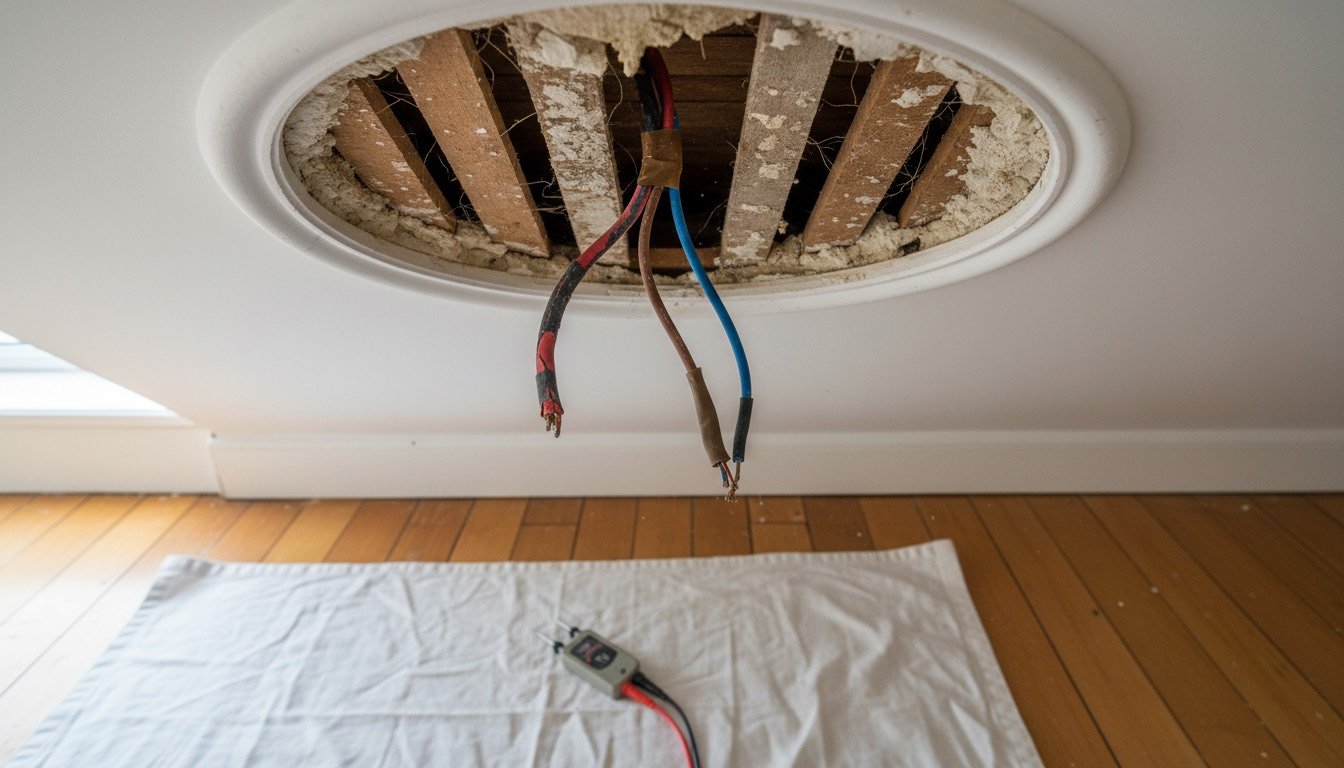
Open the ceiling rose in a 1930s semi and you may find three cables, six conductors, no earth at all and insulation the colour of weak tea. Open one in a new build and you get a plug-in module you swap one-handed. Same job on paper, very different houses.
Swapping an existing fitting on an existing circuit counts as repair or replacement, so in England and Wales it is not notifiable under Part P. Legal and sensible are separate questions, and the answer depends on what the ceiling is made of and when the house was wired.
Safety first: isolate properly and prove it dead
The wall switch is not isolation. A loop-in rose carries permanent line conductors even with the switch off, and in older houses two lighting circuits often meet at one rose, typically on landings where an upstairs circuit was extended down. Kill one MCB and the other terminals are still live at 230V. Use a two-pole tester to GS38, never a neon screwdriver.
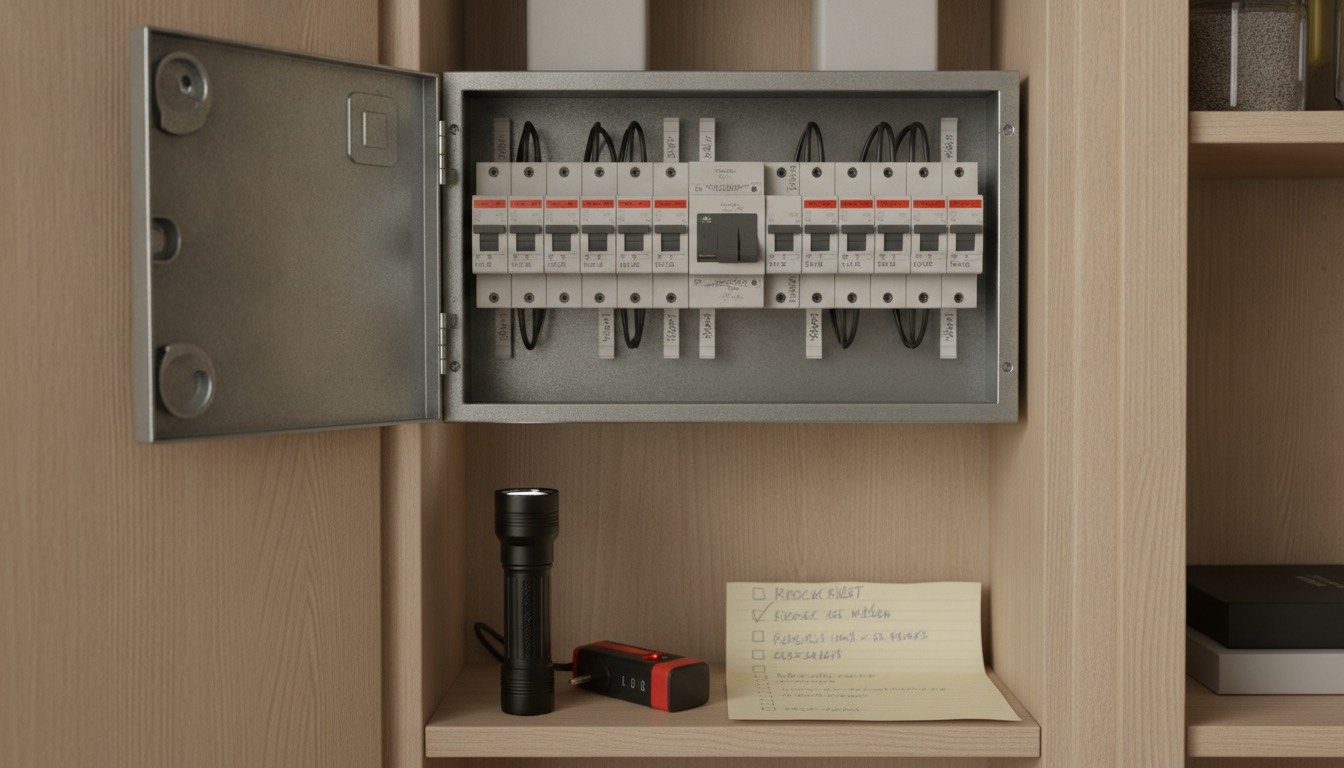
- •Switch off the lighting MCB and lock it off, or pocket the fuse. A note on the board is the bare minimum.
- •Prove the tester on a known live supply, test every terminal, then prove the tester again. Test, prove, test.
- •Check line to neutral, line to earth and neutral to earth, and each cable against the others where several meet.
- •Wear safety glasses; ceiling voids drop soot, mouse debris and lime plaster dust.
- •Bathrooms differ: fittings in zones 0 to 2 need the right IP rating, and new bathroom work is notifiable in England and Wales.
Tools and materials
None of this is exotic and the whole kit costs less than one call-out. Buy the tester first.
- •Two-pole voltage tester to GS38, ideally with a proving unit (£25 to £70)
- •Terminal screwdrivers, wire strippers and side cutters
- •Green and yellow earth sleeving and a strip of 20A connector block
- •Fixings: 50mm woodscrews into a joist, or hollow-wall anchors for fittings under 2kg
- •Cable detector, bradawl, dust sheet and a suitable stepladder
Realistic time and cost
A like-for-like pendant swap on modern wiring takes 20 to 30 minutes. A first attempt on an unfamiliar loop-in rose in a period house is nearer 90 minutes, and a ceiling needing repair means a second visit once filler has dried.
- •Fittings: £15 to £40 basic pendant or flush plate, £45 to £120 semi-flush or multi-arm, £120 upwards for brass or glass, plus £8 to £15 of sundries
- •Electrician labour: £45 to £90 an hour, most firms charging a minimum of £60 to £120. Our guide to what an electrician costs sets out regional variation
- •Typical professional swap: £70 to £120 for the first fitting, £30 to £50 per extra fitting on the same visit
- •Add £150 to £300 if a junction box is needed or a lath and plaster ceiling has to be repaired
Step by step
Photograph everything before you disturb a terminal. Most failed swaps are wiring pulled apart faster than it was recorded.
- •1. Isolate at the consumer unit, lock off, and remove the lamp and shade so nothing can fall on you.
- •2. Loosen the rose cover, slide it down the flex, and photograph the terminals from two angles.
- •3. Prove dead at every terminal, then prove the tester again on a known supply.
- •4. Identify the groups: permanent line, neutral, switched line to the wall switch, and earths. The switched line is usually one conductor sleeved or taped brown or red. Our guide to electrical wire colours covers pre-2004 red and black as well as harmonised brown and blue.
- •5. Label each group with masking tape (L, N, SW L, E) before disconnecting anything.
- •6. Remove the old backplate and check the fixing. Into a joist is ideal; a plasterboard plug needs upgrading to an anchor or a timber noggin.
- •7. Fit the new backplate, feeding cables through without trapping sheathing under the screws.
- •8. Terminate: line and neutral loops into their terminals, switched line to the brown core, neutral to blue, every earth sleeved green and yellow. Tug-test each conductor.
- •9. If the fitting has no loop terminals, true of most flush plates, join the loops in a maintenance-free junction box and keep it accessible.
- •10. Refit the shade and lamp, restore power and test from the wall switch, both ends if two-way.
Old houses: lath ceilings, missing earths and phantom circuits
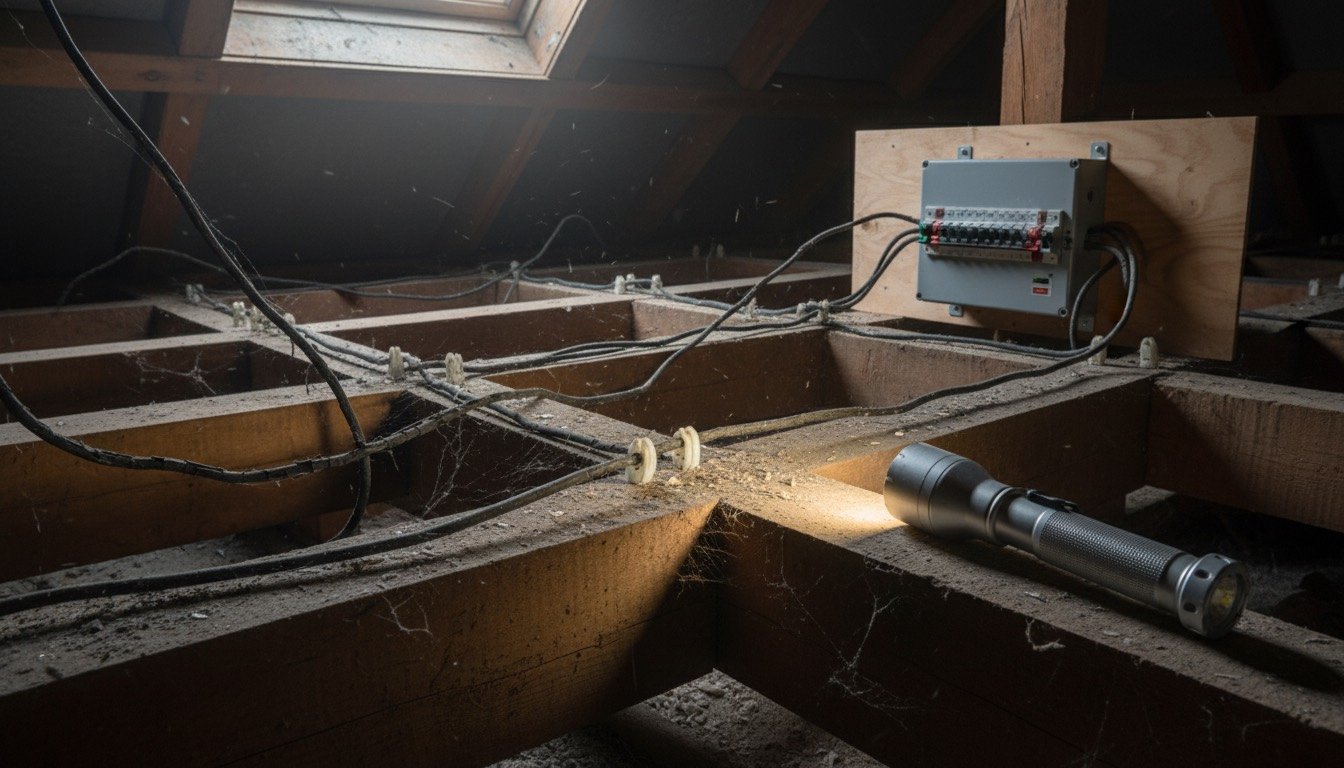
Anything wired before roughly 1966 may have lighting circuits with no circuit protective conductor at all. That means only a Class II double-insulated fitting, marked with the square-in-square symbol, may go up there. A metal pendant on an unearthed circuit is genuinely dangerous, and invisible once the shade is on.
Rubber-insulated cable from the 1930s to the 1950s crumbles the moment it is flexed. If the sheath cracks and bare copper shows, stop, refit the old fitting and have the circuit tested. It is one of the common problems in 100-year-old houses that turns a £20 job into a rewire quote.
Lath and plaster will not hold a fitting on plugs. It is brittle and keyed through gaps between the laths, so drilling drops a plate-sized patch on the floor. Fix into a joist. If you lose a patch, repairing old plaster covers making good.
- •Decorative plaster roses: unscrew the electrical rose from the centrepiece rather than prising it off.
- •Solid-wall houses often run lighting drops in surface conduit or under the boards above, so cable is stiffer than expected.
- •Rewireable fuses rather than MCBs mean the installation is due an EICR.
Troubleshooting after the swap
Nearly every post-swap fault is one of these, and all are diagnosed with the power off.
- •Nothing works: MCB not restored, or the switched line went into a loop terminal. Isolate and check your photograph.
- •Light on permanently: permanent line connected to the fitting instead of the switched line. Swap them.
- •MCB trips instantly: a stray strand bridging line and neutral, or a conductor pinched under the backplate.
- •Faint glow when off: capacitive coupling on a long run, common with LEDs. A bypass load cures it.
- •Flicker or buzz on a dimmer: usually an incompatible trailing-edge dimmer or non-dimmable lamp, as covered in why LED lights flicker.
- •Looks wrong rather than faulty: judge lumens and colour temperature, not watts. Most UK living rooms want 2700K.
When to stop and call an electrician
There is no prize for pushing on. A registered electrician on a competent person scheme can certify the work and notify Building Control where needed. Each of the following is a stop sign, and several appear on our list of electrical repairs you should never DIY.
- •Crumbling rubber or fabric insulation, scorch marks, melted sheathing, or a rose gone brittle and yellow
- •No earth present and the fitting you want is metal or not Class II
- •The fitting sits in a bathroom or shower room, or within 0.6m of a bath or basin
- •You need a new switch drop, an extra fitting or any new cable rather than a straight replacement
- •A chandelier over 5kg, or a ceiling fan needing a rated bracket and structural support
Found this useful?
There's plenty more — hundreds of guides and honestly-tested product reviews for every corner of your home.
Browse All Guides