Electrical · 6 min read · 6 July 2026
How to Replace a Light Switch: The UK Method, Step by Step
The physical swap takes ten minutes. Everything that makes it safe happens before and after — and some switch drops should never be touched by anyone without a test meter.
By the Nims Casa editorial team — written from professional cleaning experience and checked against our editorial standards.
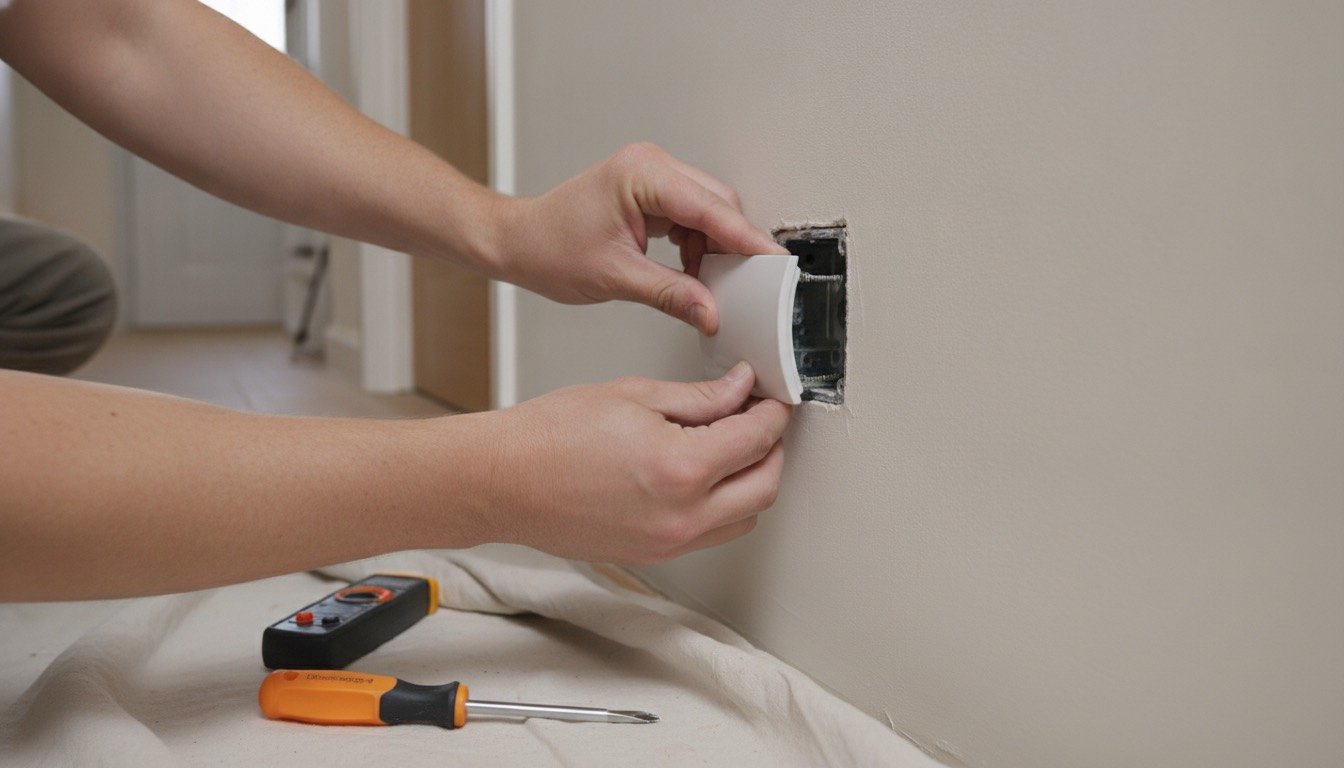
A yellowed or cracked switch plate is one of the few electrical jobs a careful DIYer can genuinely take on, and one of the easiest to get subtly wrong. Ten minutes of screwdriver work sits between two things that matter: proving the circuit dead, and recognising whether you have a straight swap or a job for someone with test instruments.
This is the sequence used on domestic call-outs across British housing stock, from 1930s semis with perished lighting drops to new-builds on RCBOs. It is blunt about where the DIY boundary falls.
Safety first: isolate, prove dead, then prove your tester
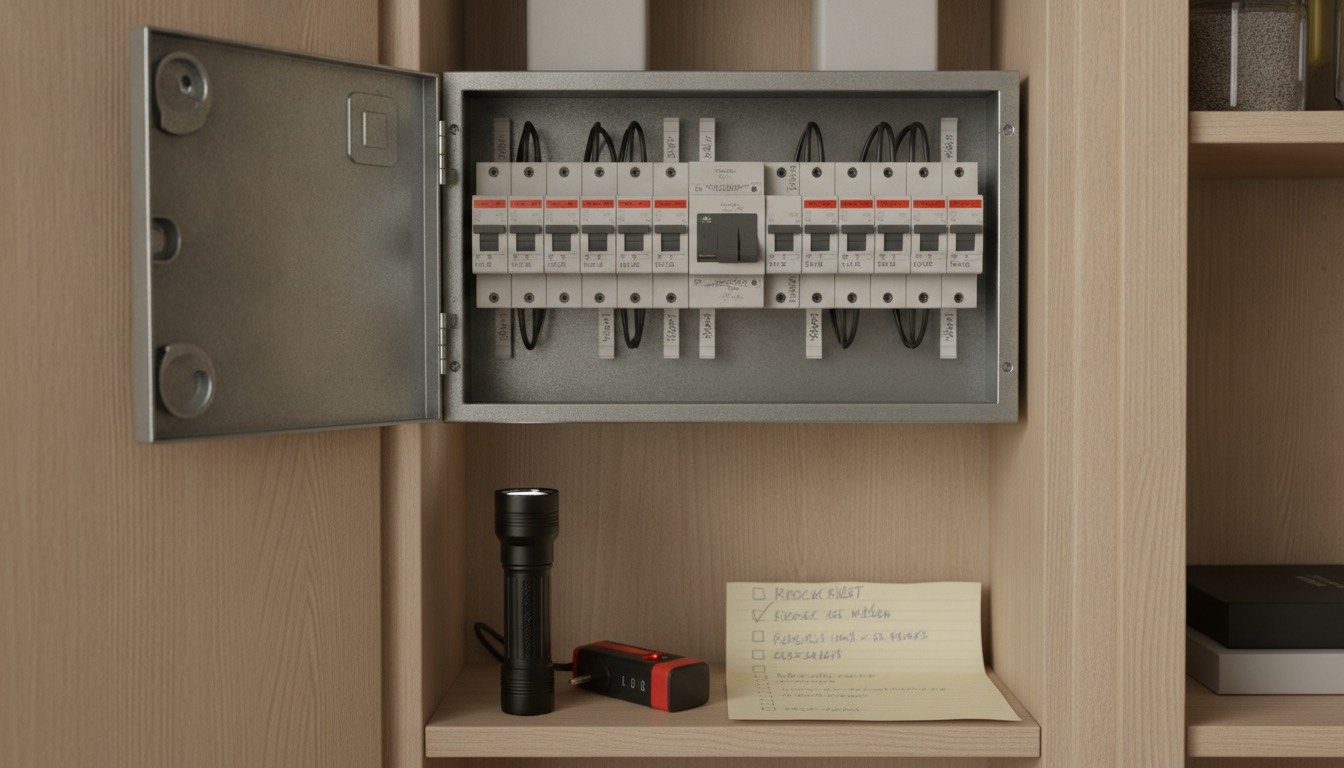
Domestic lighting sits on a 6A MCB, or a 5A rewireable fuse in an older board. Switch that circuit off at the consumer unit — never rely on the light switch, which only breaks the line conductor. Lock the MCB off with a clip (about £8) or tape it and leave a note on the board; on a rewireable board, pocket the fuse carrier.
A non-contact voltage pen is a screening tool, not proof. Use a two-pole voltage indicator meeting GS38 and prove it on a proving unit immediately before and after testing — that habit catches an instrument whose battery died between tests.
- •Test every combination at the terminals: line to neutral, line to earth, neutral to earth.
- •Two-gang plates are occasionally fed from two circuits, so turn off every lighting MCB.
- •Borrowed neutrals in 1960s to 1980s wiring can leave a switch live with its own MCB off.
- •If the board is unlabelled or mixes fuses and MCBs, isolate at the main switch.
Tools and materials
All of this is on the shelf at Screwfix, Toolstation or B&Q. Buy a two-way plate even for a single-position switch: it wires as one-way using COM and L1. If you cannot name the conductors you find, read up on what the wire colours mean first — pre-2006 red and black is still everywhere.
- •Two-pole voltage indicator to GS38 plus a proving unit — £45 to £90 as a set
- •VDE-insulated 3mm and 5.5mm flat terminal screwdrivers (£12 to £20), strippers, side cutters
- •Brown and green/yellow sleeving, about £3 a roll each
- •The switch: 1-gang 2-way white moulded £2 to £4; brushed steel or screwless plate £10 to £28; trailing-edge LED dimmer £14 to £35
- •M3.5 plate screws (25mm supplied, 50mm for a deep box), plus a 25mm or 35mm steel backbox at £1 to £3 if yours is tired
Realistic time, cost and skill level
A like-for-like swap takes 10 to 20 minutes for your first and about eight thereafter. Add half an hour if the backbox has to come out and a deeper one be chased in, which means chisel work and a plaster repair. Materials run £20 to £40 for a houseful of white plates, nearer £120 to £250 for matching brushed steel.
Electricians charge £45 to £90 an hour outside London and £70 to £120 inside, usually with a one-hour minimum, so batching six switches into one visit changes the maths; our electrician cost breakdown covers minimum charges.
Step by step
- •1. Switch off the lighting circuit at the consumer unit and lock or tape it off.
- •2. Prove your voltage indicator on the proving unit, test all combinations at the switch, then prove it again.
- •3. Photograph the terminals before disconnecting anything, then tag each conductor: COM, L1, L2.
- •4. Undo the two M3.5 screws and ease the plate forward. Never let it hang on the conductors.
- •5. Inspect: you want a green/yellow earth, a grommet where cable enters a metal box, sound PVC insulation, no heat discolouration.
- •6. Move one conductor at a time — COM to COM, L1 to L1, L2 to L2. Strip 8 to 10mm, get copper not insulation under the screw, and tug-test each.
- •7. Sleeve any blue or black conductor used as a switched line in brown or red. It is a line conductor, not a neutral.
- •8. Earth it properly: a metal backbox needs a fly lead to the plate, and even an all-plastic plate takes the circuit earth into its terminal.
- •9. Fold the cable back in a concertina, not a coil. If the plate will not sit flush, something is trapped — do not force the screws.
- •10. Tighten evenly, restore power, and test. After ten minutes the plate should still be cool.
Two-way switches, dimmers and smart plates
A two-way drop uses 3-core-and-earth: brown is the common, black and grey are strappers, both sleeved brown. Brown goes to COM, the other two to L1 and L2 in either order.
Dimmers need more thought. LED lamps want a trailing-edge dimmer, and most modules have a minimum load near 10W, so a single 5W lamp will buzz or refuse to strike; if flicker persists, work through the causes of LED flicker before blaming the switch. Smart switches hit a different wall: British switch drops rarely carry a neutral, because it stays at the ceiling rose, so pick a no-neutral model or use smart lamps instead. Both need a 35mm backbox.
Troubleshooting
If the circuit trips repeatedly rather than instantly, the switch is probably innocent; our guide to why a circuit breaker keeps tripping runs through the causes in likelihood order.
- •Light dead, MCB on: nine times in ten a conductor is clamped on its insulation.
- •MCB trips instantly: a stray strand touching the metal box, or a conductor pinched behind the plate.
- •Works from one position only: common and strapper transposed at one end of a two-way pair.
- •LED glows faintly when off: an illuminated switch with a neon indicator — fit a plain plate.
- •Plate stands proud: too much cable folded in, or a 16mm box where you need 25mm.
- •Warm plate, buzzing or a hot-plastic smell: switch off and leave it off.
The DIY-or-pro boundary: where to stop
In England, replacing an existing switch on an existing circuit is non-notifiable minor work: no building control notice, no certificate. Wales kept the wider pre-2013 list, which still catches bathrooms and outdoor work; Scotland needs a warrant for new circuits. None of it removes the duty to comply with BS 7671, so check when electrical work must be notified before you start.
Notifiable or not, some jobs are not worth doing yourself. Here is where the line falls.
- •Fair game for a competent DIYer: a like-for-like plate swap in a hall, bedroom or living room, with modern PVC cable and a sound, earthed backbox.
- •Any switch in a bathroom or shower room — plate switches are not permitted in the zones, so this is never a simple swap.
- •No circuit protective conductor at the switch, common in pre-1966 lighting: you cannot fit a metal plate, and the honest fix is rewiring the circuit.
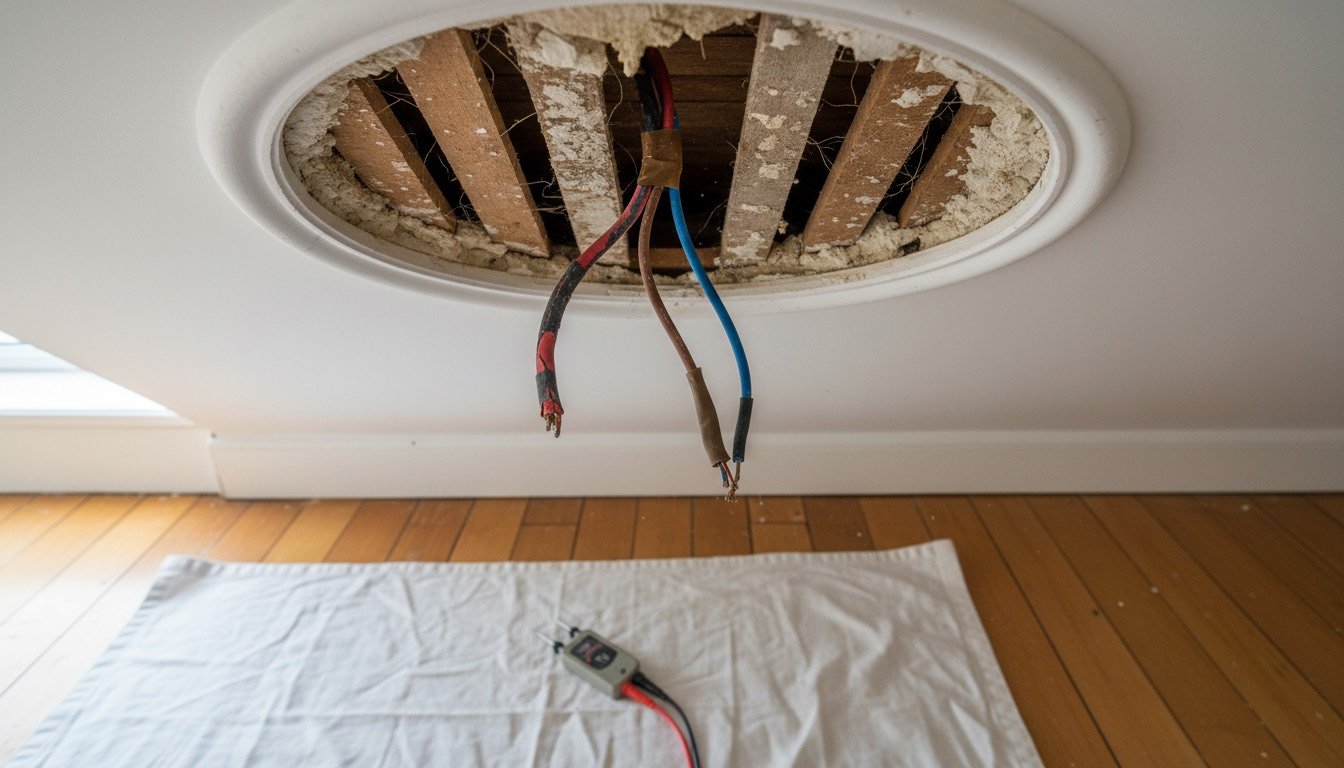
- •Perished rubber, lead-sheathed or VIR cable, scorching, melted terminals or a burning smell: faults to trace, never to cover up.
- •Anything that changes the circuit: moving a switch, converting one-way to two-way, or work at the consumer unit.
- •Landlords: an EICR is due every five years in England — save switch changes for that visit.
Found this useful?
There's plenty more — hundreds of guides and honestly-tested product reviews for every corner of your home.
Browse All Guides