Garden & Outdoor · 5 min read · 2 June 2026
How to Build a Privacy Fence: The UK Step-by-Step Guide (And Where DIY Must Stop)
Panels almost never fail in a storm. Posts do — and they fail because of decisions made in the first hour of the job. Here is the method, the real cost, and the line where the work stops being DIY.
By the Nims Casa editorial team — written from professional cleaning experience and checked against our editorial standards.
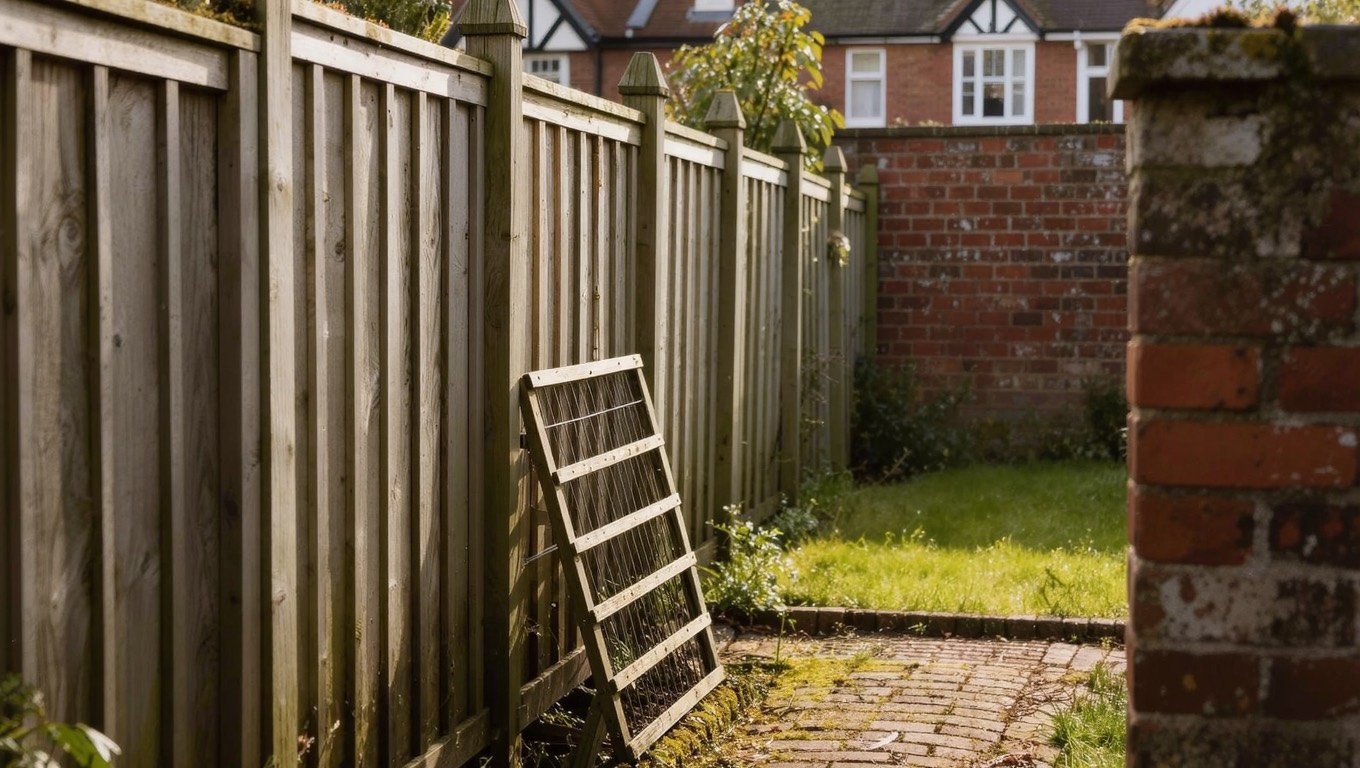
Every February the same photographs land in our inbox: a fence flat across the lawn after the first named storm, panels barely marked, posts snapped clean at ground level or heaved out with a lump of concrete still attached. The panels are rarely the problem. The failure is decided in the first hour of the job — hole depth, base material, and how much post mix went in.
A privacy fence is one of the few substantial outdoor builds a competent DIYer can finish to trade standard, provided you are honest about how much digging is involved and about where the work stops being carpentry and becomes a buried-services risk or a retaining structure. What follows covers a standard UK run of 1.8m panels.
Safety and legal checks before you break ground
Under permitted development in England and Wales a fence, wall or gate can be up to 2m high, dropping to 1m where it adjoins a highway used by vehicles. Conservation areas, listed buildings and estate covenants override that — our guide to when planning permission and building regs apply covers the exceptions.
The genuinely dangerous part is the digging. Gas services should sit 375mm down and electricity cables 450–600mm, but decades of landscaping and DIY shed spurs mean live armoured cable turns up 200mm under a lawn more often than anyone admits.
- •Download your title plan from HM Land Registry (about £3) and check the T-marks for which side you own. Build wholly on your own land so you never need access next door.
- •Run a free LSBUD utility search, and hire a CAT and Genny locator (£40–60 a day) if the line crosses a front garden, driveway or the route between house and garage.
- •Dig the top 300mm of every hole by hand with a spade held vertically. Never lead with a mattock, breaker or petrol auger until you have seen clean subsoil.
- •Gloves, glasses and toecaps: a 2.4m concrete post is 45–55kg and a two-person lift. Check overhead for drop wires and the service head before standing any post upright.
Tools and materials for a 20-metre run
Costed for 20 metres at 1.8m high: eleven 1.83m panels and twelve posts. Timber posts are cheaper and better looking; slotted concrete posts are heavier and dearer but still standing in twenty-five years. The wood versus vinyl fence comparison sets out the long-run trade-offs.
- •12 × 100 × 100mm pressure-treated posts, 2.4m (£18–25 each) or slotted concrete posts (£25–32)
- •11 × 1.83m panels — lap £22–32, closeboard/featheredge £38–60
- •12 × gravel boards: timber £10–14, concrete £16–22 (the one upgrade always worth paying for)
- •24–36 bags of 20kg fast-set post mix at £7–9: two per hole minimum, three on exposed or sandy ground
- •Half a bulk bag of MOT Type 1 for hole bases, post caps, 65mm exterior screws, end-grain preservative and a spirit-based fence treatment
- •Post-hole spade or clams, 1.2m spirit level, string line and pins, tape, lump hammer, barrow, watering can, and a saw — run through our power tool safety checklist first
Realistic time and cost
Materials for that 20m run come to roughly £750–1,100 with timber posts and lap panels, or £950–1,400 with concrete posts, concrete gravel boards and closeboard. Add £180–280 for a 4-yard skip if an old fence is coming out. Supply and fit by a contractor runs £55–90 per metre for panels and £75–120 per metre for closeboard on concrete posts — our breakdown of privacy fence costs by material has the per-panel figures.
A two-man fencing team clears 20 metres in a day. Working alone, budget a full day for twelve holes in clay, 24 hours for the mix to cure before loading posts, then four to five hours to hang and trim. Anyone quoting a half-day for 20 metres is not digging deep enough.
The build, step by step
- •1. Peg both ends and pull a taut string line 300mm above ground, set 50–100mm inside your boundary so nothing overhangs.
- •2. Mark post centres at panel width plus post width: 1.83m + 100mm = 1.93m for timber. Mark them all, dig only the first two.
- •3. Dig hole one to 600mm deep and 300mm square — a quarter of total post length in the ground, or 750mm on exposed and coastal plots.
- •4. Compact 100mm of MOT Type 1 into the base. A post standing on bare clay sits in a puddle half the year and rots from the bottom up.
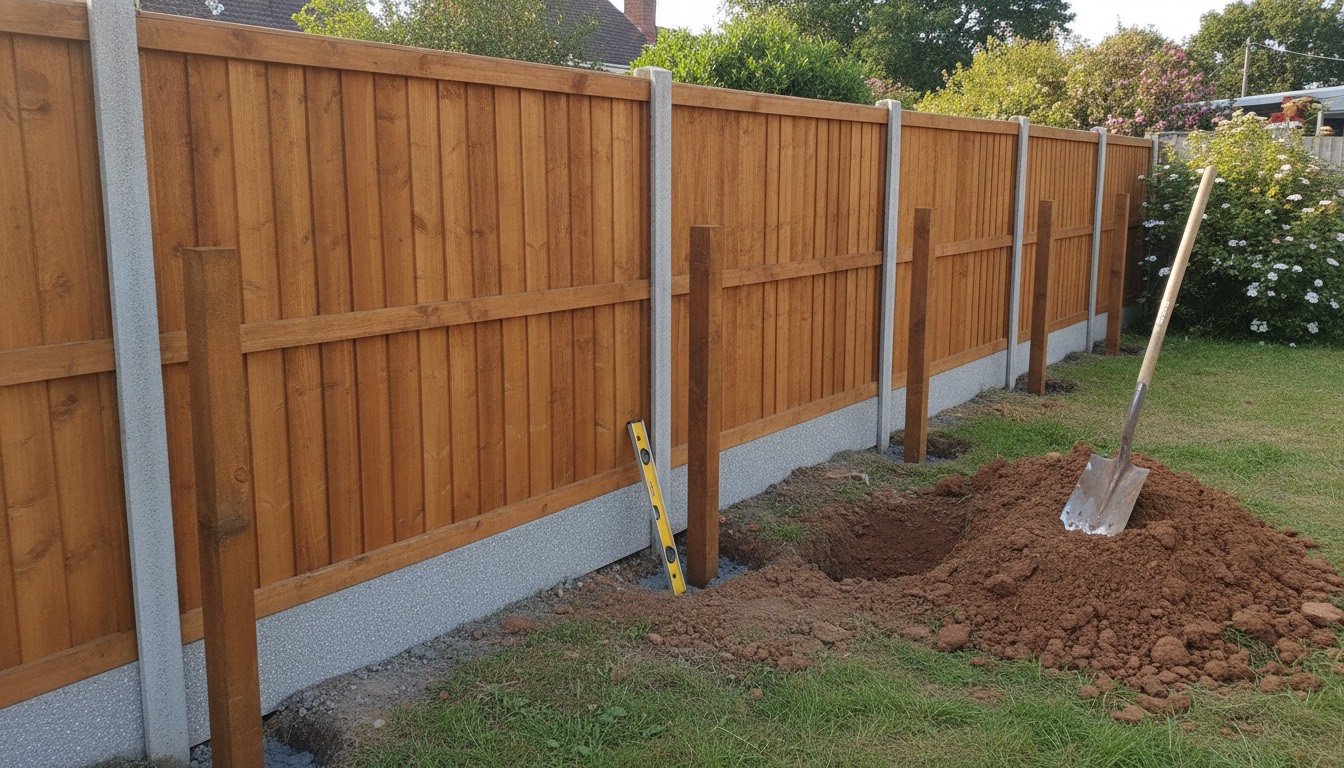
- •5. Stand the post, brace with two battens, and plumb it on two adjacent faces, not one.
- •6. Water into the hole first, then post mix, roughly 5 litres per bag. It goes off in ten minutes. Trowel the top into a dome that sheds water away from the post.
- •7. Fit the gravel board, then the first panel, screwing through post clips rather than face-nailing.
- •8. Use the fitted panel to position the next post, never a tape measure. Measured spacing drifts; panel-set spacing does not.
- •9. Work down the run, checking against the string line every third bay and correcting before the mix sets.
- •10. On slopes, step the panels 100–150mm per bay and keep every panel level. Raking panels to follow the ground looks wrong and opens gaps.
- •11. Trim posts, seal every cut end with preservative and fit caps — untreated end grain is where most post rot starts.
- •12. Leave new treated timber four to six weeks to weather, then treat in a dry spell with no rain forecast for 24 hours.
The DIY-or-pro line, stated plainly
Everything above is fair game for a competent DIYer: setting timber or concrete posts in open soil, fitting gravel boards, hanging panels, cutting featheredge into a raking bay, trimming and treating. None of it is specialist work and none of it is notifiable under building regulations. Five situations are different, and none of them are judgement calls.
- •Any fence over 2m, or over 1m beside a road: that is a planning application and a deeper-founded build.
- •Any run where ground levels differ by more than about 300mm across the line. Posts holding back soil form a retaining structure, not a fence, and that needs designing before it fails and takes the bank with it.
- •Digging within 500mm of a known gas or electric service, or anywhere the locator gives a signal you cannot identify. Stop and call the utility. If you smell gas, leave and ring 0800 111 999.
- •Breaking out old concrete post bases with a hydraulic breaker near a service run, or core-drilling into a driveway or patio.
- •Cutting roots of a tree with a Preservation Order or in a conservation area — a criminal offence with fines in the thousands. Where roots make posts impossible, fast-growing privacy hedging is often the better answer.
Troubleshooting the usual failures
- •Post rocks within a fortnight: the hole was too narrow at the base or under-filled. Dig it out and reset — packing more mix around a loose post never holds.
- •Panel will not fit: spacing has crept. Trim the batten by up to 25mm or pack the gap with a treated fillet screwed to the post. Forcing it bows the panel.
- •Water pooling along the base and rot at ground level: the ground is holding water, not the timber failing. Fit concrete gravel boards and fix the cause — see how to improve garden drainage.
- •Panels bowing in wind: a solid 1.8m fence is a sail. On exposed plots switch to hit-and-miss or slatted panels with a 20–25% gap, which cuts wind loading sharply and costs little privacy.
- •Arguments over which side faces out: no law requires the good side to face your neighbour, only convention. Confirm ownership on the title plan and tell them before the first post goes in.
Found this useful?
There's plenty more — hundreds of guides and honestly-tested product reviews for every corner of your home.
Browse All Guides