Tools & Workshop · 6 min read · 25 June 2026
How to Build Floating Shelves That Hold Real Weight (UK Walls, Fixings and Costs)
A floating shelf is a cantilever, and cantilevers punish sloppy work. Here is how to build one that carries a metre of books, on the three wall types you actually find in British homes.
By the Nims Casa editorial team — written from professional cleaning experience and checked against our editorial standards.
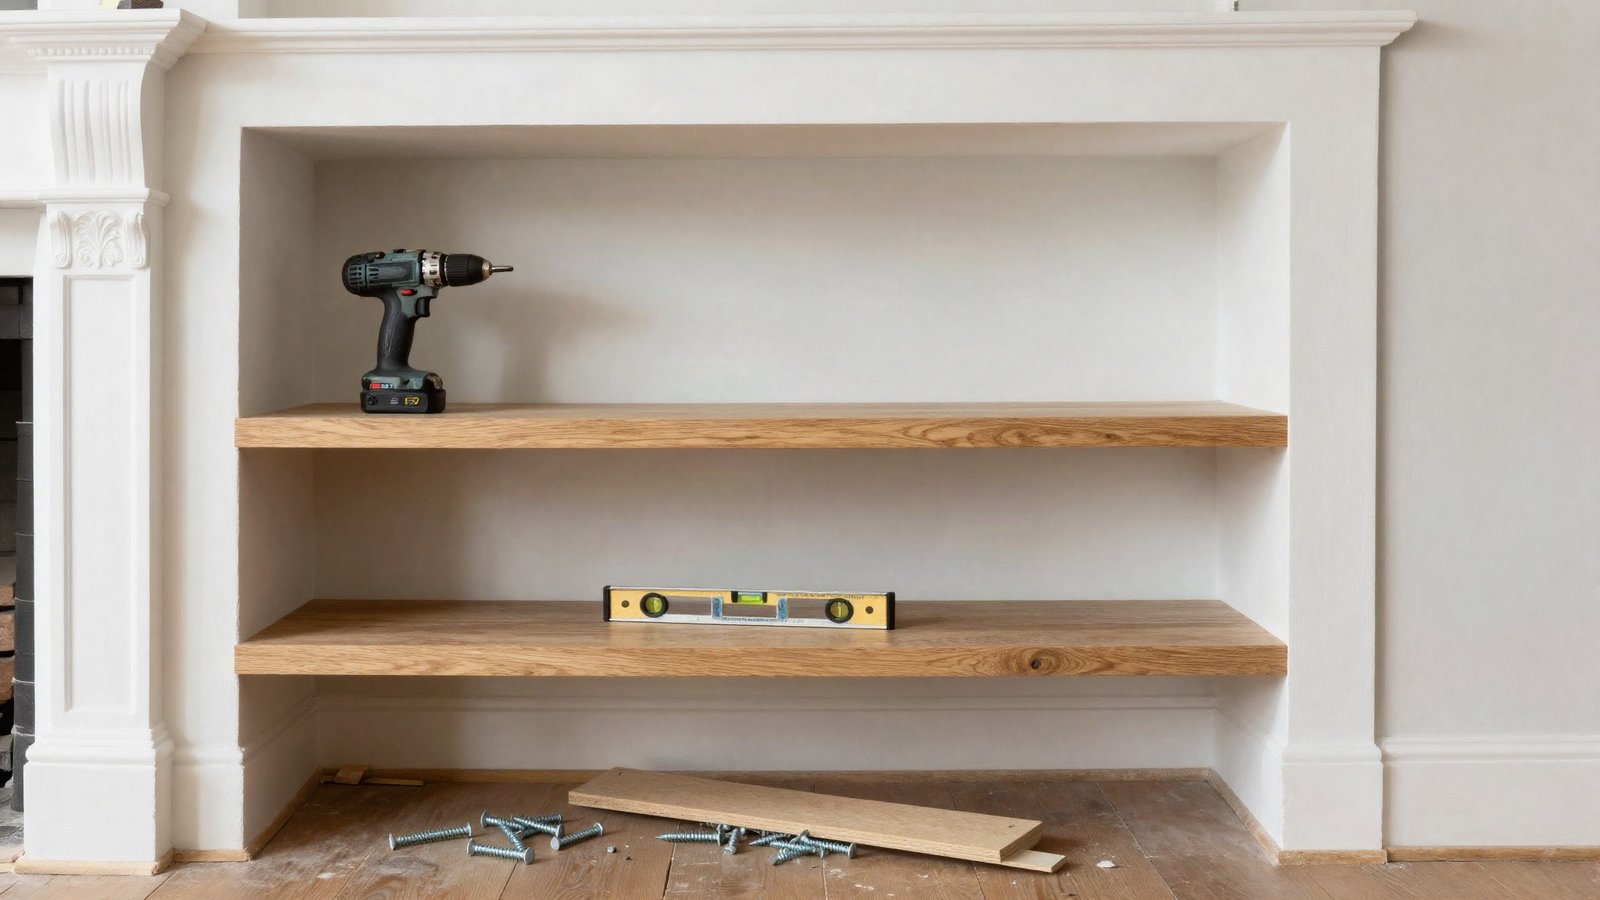
Every kilo on a floating shelf levers the fixings back out of the wall. A 1,000mm shelf 250mm deep, loaded with paperbacks, carries 18-22kg with its centre of gravity 125mm off the plaster — over 2kg-metres of bending moment rotating the bracket downwards. Undramatic if built and fixed correctly. Very dramatic if not.
Most of this is within reach of a competent DIYer over a weekend, with one hard boundary. Building the shelf, levelling it and fixing into solid brick or a located stud is DIY. Drilling blind into an unscanned wall, or hanging weight off board fixings in dot-and-dab, is where people end up filling craters.
Safety first: what is behind the wall
Shelves go up at 1,300-1,700mm, squarely in the band where cables run. Under BS 7671 they may sit within 150mm of the top of a wall or an internal corner, and in zones extending from a socket or switch. Permitted zones are not guarantees — plenty of houses have cables chased wherever the sparky fancied in 1978.
- •Sweep a live-cable detector over every hole position and 100mm around it, in both orientations.
- •Sight vertically from each socket and switch; treat those strips as no-drill until proven otherwise.
- •Heating pipes drop vertically to radiators. Copper reads as metal, not live cable, so a beep with the mains off still means stop.
- •Pre-2000 textured coatings can contain chrysotile asbestos. Test first, or drill slowly with the point damp.
- •Cap drill depth with masking tape. Never fix into a concrete lintel over an opening, or into mortar perpends on soft old brickwork.
Tools and materials
Nothing exotic — a combi drill with hammer action, a saw that cuts straight, and a level. Material choice matters more than kit; our plywood vs MDF comparison is worth two minutes.
- •Combi drill with 6mm and 7mm masonry bits (SDS for dense block), impact driver, cable detector
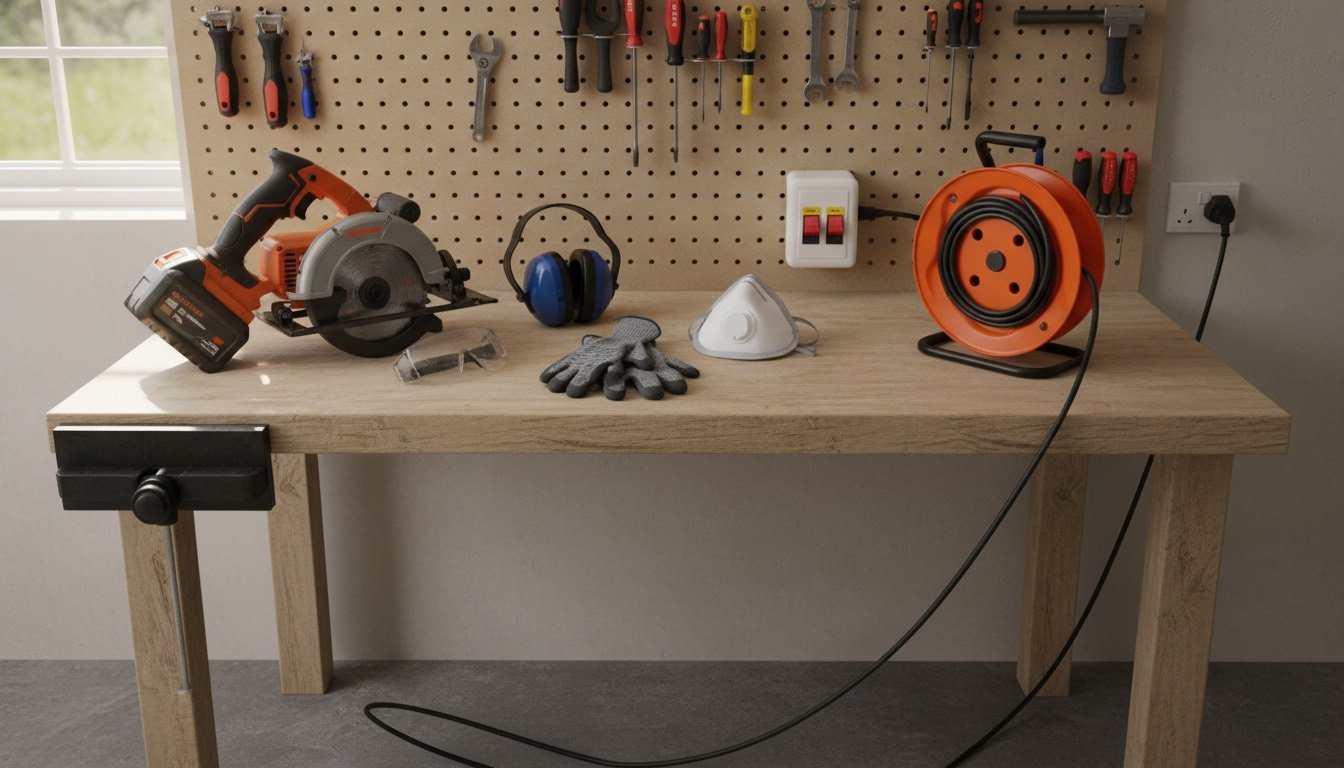
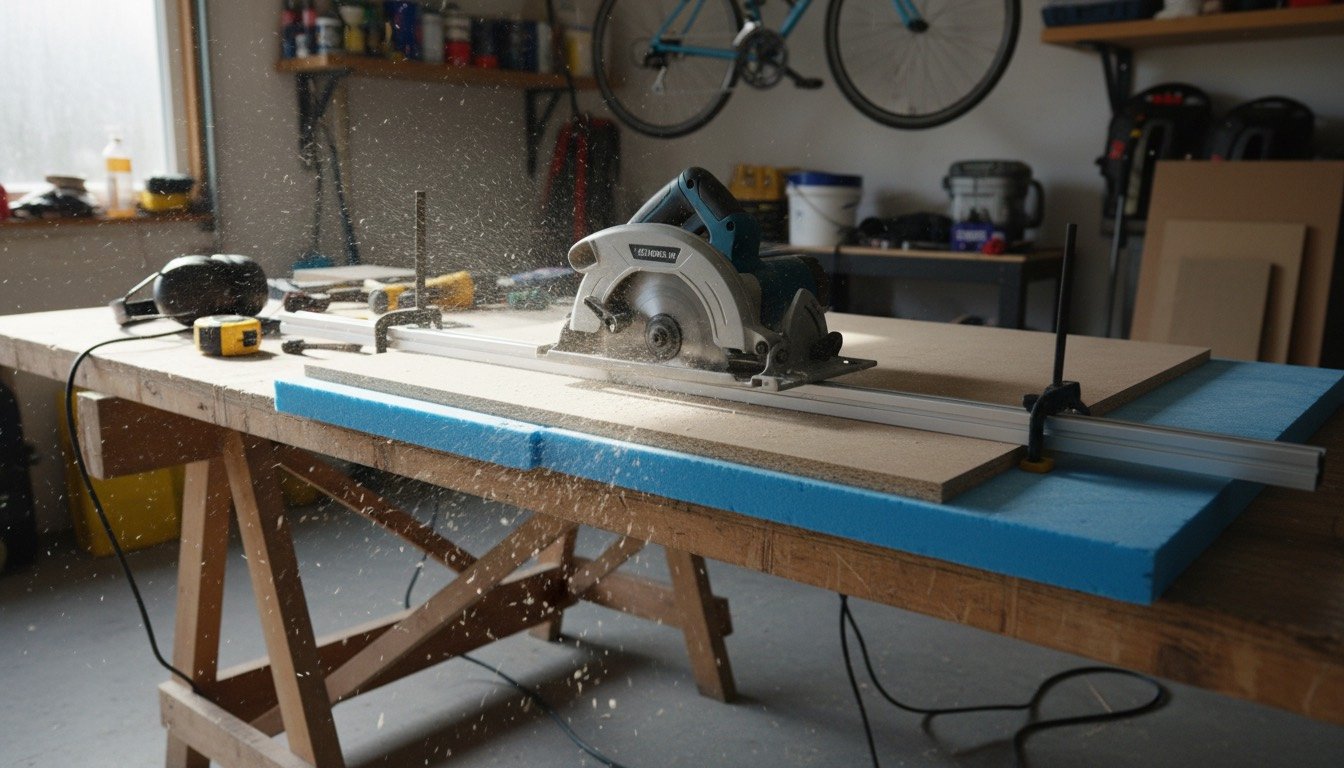
- •600mm spirit level or cross-line laser, circular saw with a fine-tooth ply blade, straight edge, clamps, orbital sander, FFP3 mask
- •Per pair of 1,000 x 250mm shelves: 18mm birch plywood skins, about 1.2m² each, plus 4m of planed 45 x 20mm softwood for the frame and batten
- •20 x 20mm hardwood lipping (or iron-on edging if painting), D3 adhesive, filler, 120 and 180 grit, hardwax oil
- •Fixings matched to the wall: 7.5 x 100mm concrete screws for masonry, 7.5 x 150mm for dot-and-dab, 6 x 100mm woodscrews for studs
Realistic time, cost and skill level
Half a day of work spread over two days, because glue and finish both cure overnight. Cutting and assembly is 2-3 hours for a pair, wall fixing 45-90 minutes, sanding and oiling another two. Upper-beginner skill: cut straight, drill square, no joinery beyond a glued butt joint.
- •Budget pair, 800mm MDF skins on rod-style hidden brackets: £45-£70 in materials
- •Mid pair, 1,000mm birch ply torsion boxes with oak lipping: £95-£140
- •Solid oak, 1,200 x 250 x 40mm: £70-£130 per shelf in timber alone
- •A joiner fitting a made-to-measure pair: £250-£500; a painted alcove set of four, £450-£850, in line with our custom built-in shelving costs
How to build floating shelves: step by step
The torsion-box method: a hidden timber ladder screwed to the wall, with a hollow plywood box glued over it. Stiffer than a rod bracket, it spreads load across the full width.
- •1. Strike a level line the full shelf length, measuring from the ceiling as well as the floor. In an old house they disagree, and the eye follows the ceiling.
- •2. Mark fixing points at 300mm centres, or stud centres at 400mm on a partition — see finding a stud if you have no detector.
- •3. Cut the wall batten from 45 x 20mm softwood, 20mm short at each end, then glue and screw ladder arms square to it — one every 250-300mm, 30mm shorter than the shelf depth.
- •4. Fix the batten and ladder to the wall now, before the box exists. An arm dipping 2mm at the front becomes a visible droop.
- •5. Cut top and bottom skins 3mm oversize and dry-fit the bottom one; it should slide on with 1mm clearance.
- •6. Glue up: adhesive on every ladder face, both skins clamped across the arms. Four hours minimum, overnight below 15°C.
- •7. Trim the skins flush with a router, glue on the front lipping, then fill, sand 120 to 180 and finish all six faces — a sealed underside stops cupping.
- •8. Lock it on with two 25mm screws up through the bottom skin into the front arms, invisible below eye level.
Fixing to the three walls you will actually meet
This is where floating shelves succeed or fail. Identify the wall before you buy fixings.
Solid brick or dense block, typical of pre-1930s external and party walls. Drill 6mm into the brick body, not the mortar bed, and drive 7.5 x 100mm concrete screws; that holds 40kg. Soft London stock crumbles under hammer action, so go rotary-only.
Dot-and-dab plasterboard on blockwork, standard from the 1990s. The 20-40mm void behind the board is what kills floating shelves: on board fixings the shelf levers, the board flexes, and the fixing tears a 60mm crater. Reach the block with 7.5 x 150mm concrete screws and pack behind the batten so tightening does not crush the board inwards — otherwise you will be patching plasterboard instead.
Timber stud partition. Fix through the batten into stud centres with 6 x 100mm woodscrews — two studs minimum under 900mm, three above. A shelf catching one stud will pivot. Metal C-stud in flat conversions: cap the load at 10kg across three studs.
Troubleshooting
- •Droop at the front edge: the arms are too short or too sparse. They should reach within 30mm of the front and sit under 300mm apart.
- •One end tips down: the batten is level but an arm is not square to it. Shim with a slip of ply.
- •Fixing pulls out: nearly always a dot-and-dab hole that never reached the block, or a screw driven into mortar. Move 75mm sideways into solid material.
- •Cupping or twist: one face was finished and the other was not, so the skins took up moisture unevenly. Shelves above radiators suffer most.
Where DIY stops and a professional starts
Building the box, levelling it and fixing into solid brick or a located stud is straightforward DIY. So is dot-and-dab, provided you scan the wall, reach the blockwork and pack behind the batten.
Stop in four cases. If the detector flags a live cable near your fixing line and you cannot route around it, an electrician moves it — notifiable work, and on our list of electrical jobs you should never DIY. If the wall is metal C-stud and you want real load on it, a joiner fits a plywood spreader behind the board, which means opening the wall. If the shelf goes onto a part-removed chimney breast, or anything you suspect is a lintel, get a structural opinion. If a pre-2000 textured coating is untested, a survey at £50-£150 beats the alternative. And scribing four shelves into a Victorian alcove where nothing is plumb is skilled work — a joiner's day costs £180-£320.
Found this useful?
There's plenty more — hundreds of guides and honestly-tested product reviews for every corner of your home.
Browse All Guides