DIY & Maintenance · 5 min read · 5 July 2026
How to Find Air Leaks in a House: The £2 Test Professionals Use
A £2 incense stick will find more heat-wasting gaps than most gadgets. Here's the methodical, room-by-room way professionals track down air leaks — and exactly what to seal each one with.
By the Nims Casa editorial team — written from professional cleaning experience and checked against our editorial standards.
Between a fifth and a quarter of the heat you pay for leaves the average UK home through gaps you never see — around window frames, under skirting boards, up the chimney and through the loft hatch. It is why a room can read 20°C on the thermostat and still feel cold at ankle height.
The good news: finding air leaks is one of the easiest diagnostic jobs in home maintenance. A £2 packet of incense sticks, a windy afternoon and a methodical hour will locate 90% of the problems. Here is how we do it, what to seal each leak with, and when a professional makes sense.
Before You Start: Skill, Time, Tools and Cost
This is a genuine beginner job — nothing gets dismantled. Conditions matter more than skill: you want 10mph of wind and a decent indoor-outdoor temperature difference — a cold, blustery afternoon between October and March is ideal.
- •Skill level: beginner for testing; easy DIY for sealing
- •Time: 60–90 minutes to survey a three-bed semi; half a day to seal what you find
- •Detection kit: incense sticks (£2) or a smoke pencil (£12–£15), a torch, masking tape and a notepad
- •Optional: a smartphone thermal camera — hire around £30 a day, or £220–£280 to buy
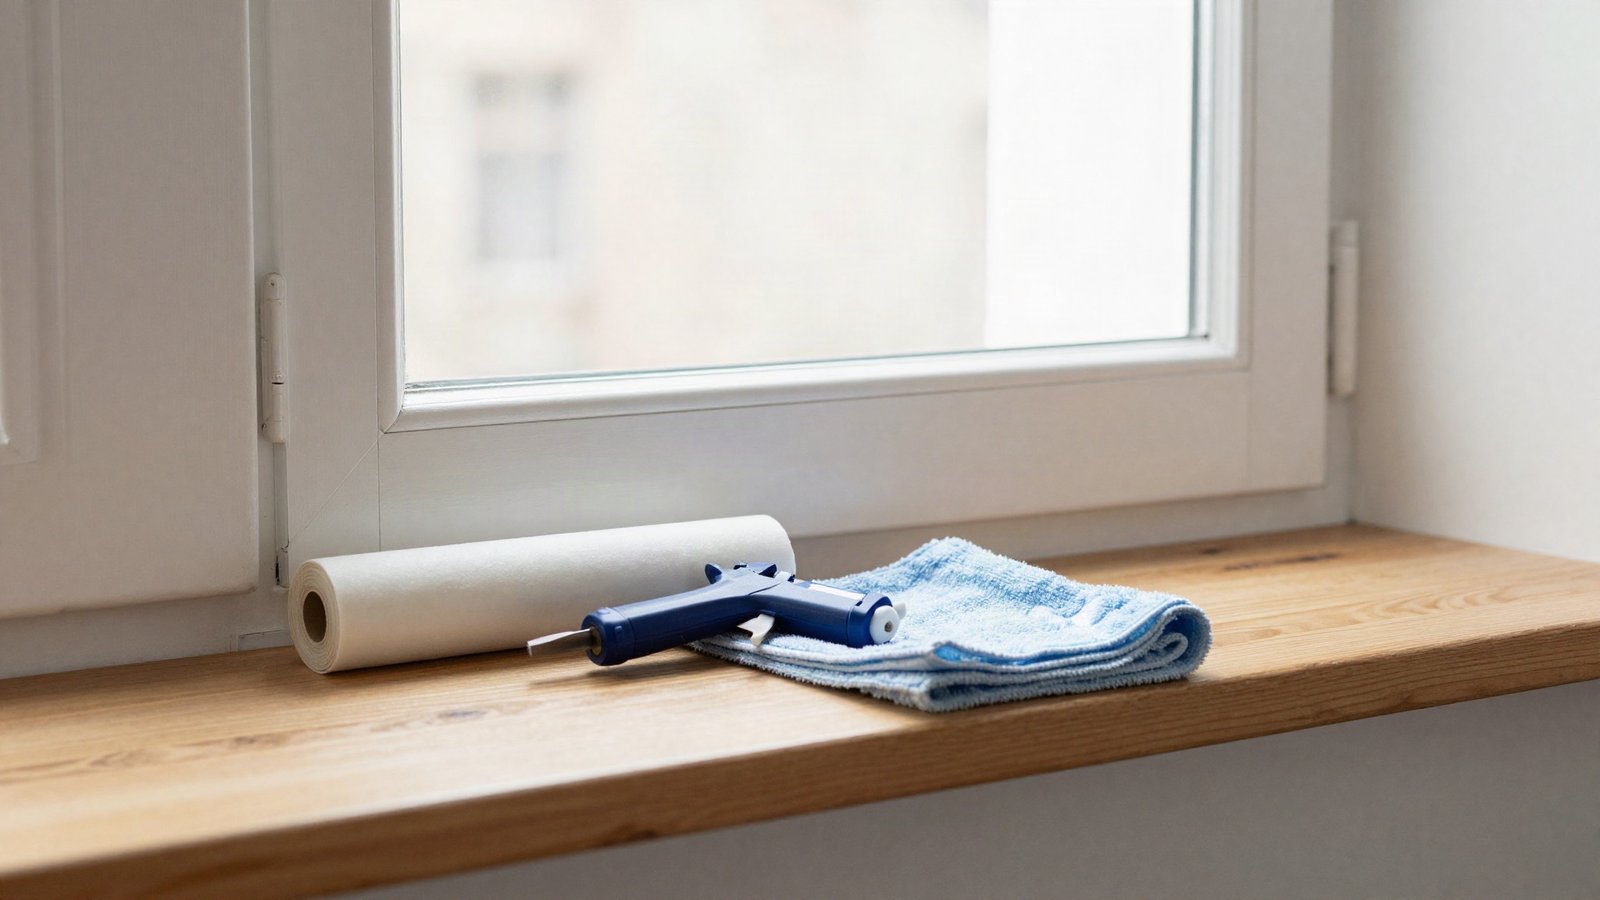
- •Sealing materials: decorator's caulk (£3–£6 a tube), self-adhesive foam or EPDM rubber seal (£5–£8 a roll), door brush strips (£6–£10 each), expanding foam (£8–£10 a can), chimney draught excluder (£20–£30)
- •Realistic whole-house budget: £40–£80 in materials for a typical semi
Where UK Homes Actually Leak: The Usual Suspects
After years in other people's houses, we can usually predict the draughts before lighting anything. Pre-1930s homes with suspended timber floors leak from below; 1960s–80s builds leak around frames where the original sealant has died; and almost everything leaks at the loft hatch. Check these first:
- •Loft hatch — unsealed, it behaves like a permanently open vent into your coldest space
- •Window and door frames — where frame meets wall, not just where the sash closes
- •Letterbox, keyholes and cat flaps
- •Skirting boards and gaps between floorboards, especially over suspended timber floors
- •Recessed downlights and ceiling fittings directly below the loft
- •Pipe holes under the sink, behind the washing machine and at the boiler flue
- •Open chimneys — an unused flue can pull 40–80 cubic metres of warm air out every hour
- •Electrical sockets and switches mounted on external walls
The Smoke Test: Step by Step
The method is simple: put the house under slight negative pressure so every leak pulls air inwards, then walk each room with smoke.
- •1. Close every window and external door, and shut the trickle vents — for the test only.
- •2. Switch on every extractor fan you own — this depressurises the house so outside air gets dragged in through every gap.
- •3. Light an incense stick and let it settle into a steady, vertical ribbon of smoke.
- •4. Hold it 5–10cm from each suspect area and move it slowly. Vertical smoke means airtight; smoke that flickers, dives or streams sideways means a leak.
- •5. Work clockwise around each room: windows first, then doors, skirting, sockets, pipework. Mark every leak with masking tape.
- •6. Do the loft hatch, letterbox and chimney last — they are usually the worst.
- •7. Grade each find on the tape — S for strong, M for moderate, L for light — and seal in that order.
Sealing What You Find: The Right Fix for Each Gap
No smoke to hand? The back of a slightly damp hand finds strong leaks too. Match each gap to the right material rather than reaching for one tube of silicone and hoping:
- •Frame-to-wall gaps: flexible decorator's caulk, smoothed with a wet finger — the same clean-dry-fill-tool routine as filling cracks and holes in walls
- •Opening windows and doors: self-adhesive foam for small, even gaps; EPDM rubber P- or E-profile strip where gaps vary — rubber lasts five to ten years, foam two or three
- •Door bottoms: a screw-fixed brush strip beats stick-on; add a letterbox brush and keyhole covers while the drill is out
- •Floorboards and skirting: flexible gap filler between skirting and floor; push-fit V-strip for gappy boards
- •Loft hatch: foam strip around the frame plus a slab of insulation glued to the top face
- •Chimney: a chimney balloon or wool draught excluder with a built-in vent, so the flue can still breathe
- •Pipe holes: expanding foam, trimmed flush when cured and caulked over for a tidy finish
What You Must Never Seal
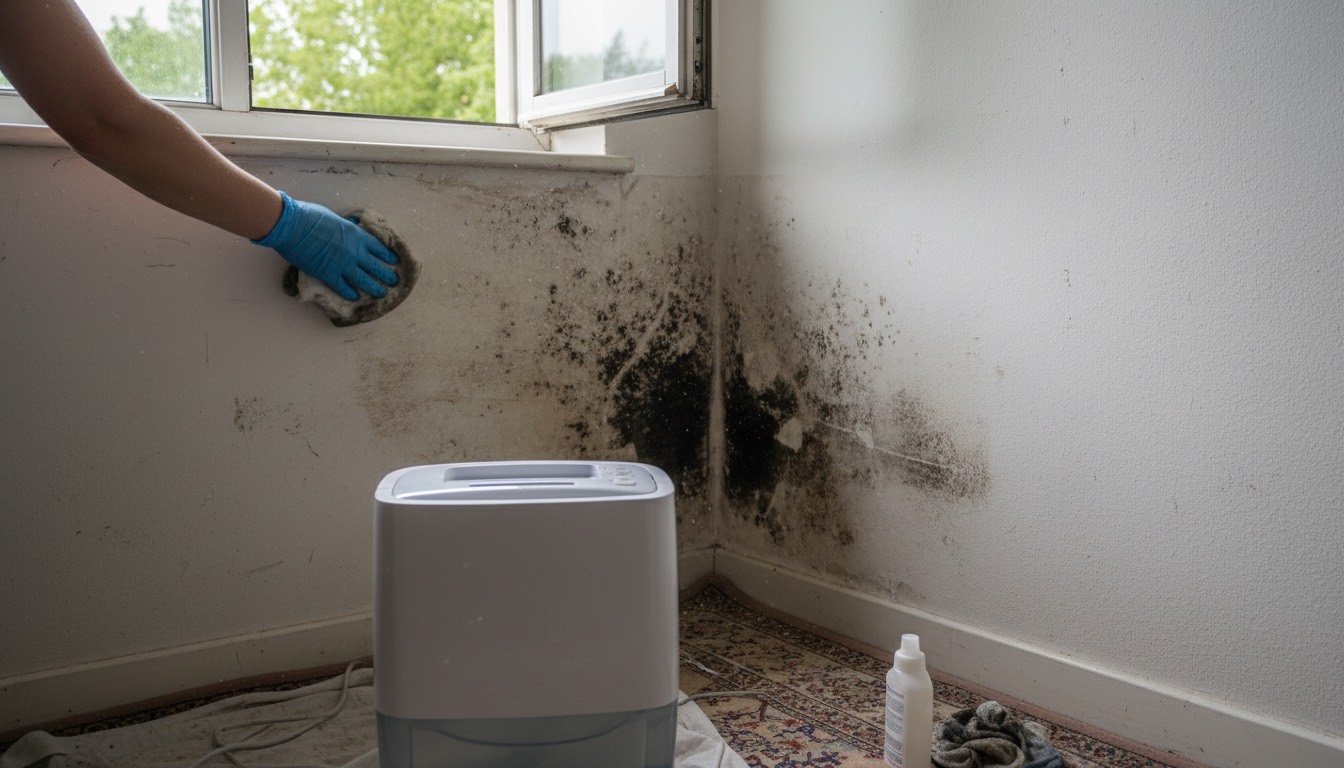
Airtight is the goal; hermetically sealed is a problem. A house still needs controlled ventilation — we have seen freshly draught-proofed homes grow black mould in one winter. Leave these alone:
- •Trickle vents on window frames — reopen them the moment the test ends
- •Air bricks and underfloor vents, which keep suspended timber floors dry and rot-free
- •Any fixed vent in a room with an open-flued gas fire, boiler or stove — these are a safety requirement, not a suggestion
- •Extractor fans and their backdraught flaps
When to Stop DIY and Call a Professional
The incense stick finds leaks you can reach; it cannot quantify the whole house or see inside walls. Book a professional when the house is still cold and dear to run after sealing the obvious culprits, when you own a pre-1919 solid-wall property, or when you are planning retrofit work and need numbers first.
A blower door test (£250–£450) measures whole-house leakiness with a calibrated fan; paired with thermal imaging (£100–£250) it maps every hidden gap and cold bridge in an afternoon. If your EPC is D or below, check the Great British Insulation Scheme and ECO4 on GOV.UK first — both fund draught-proofing and loft top-ups for qualifying homes.
One honest warning: if a salesperson's answer to your draughts is spray foam under the roof, walk away. Several UK mortgage lenders will not lend against spray-foamed lofts, and badly installed foam traps moisture against the timbers. Topping the loft up to the recommended 270mm of mineral wool is cheaper, reversible and lender-friendly. Our draught-proofing guide covers products and costs for every fix, including secondary glazing film.
The Payoff — and a Yearly Habit
The Energy Saving Trust puts draught-proofing savings at roughly £45–£90 a year, but comfort is the real win: a draught-free room feels 1–2°C warmer at the same setting, and every degree down is worth around 10% off the bill. A sealed home also holds moisture longer, so if windows start streaming, fix your ventilation before mould takes hold — our guides to damp and mould and the best dehumidifiers cover exactly that.
Make the smoke test an annual ritual — the first cold, windy weekend of October, when you get round to bleeding the radiators. Foam seals fail within two or three winters, and sealant shrinks inside ten. An hour with a £2 incense stick is the cheapest heating upgrade you will ever make.
Found this useful?
There's plenty more — hundreds of guides and honestly-tested product reviews for every corner of your home.
Browse All Guides