DIY & Maintenance · 5 min read · 22 July 2026
How to Install a Security Camera: The UK Guide (Tools, Costs, Angles & the Law)
Most home security cameras fail on the angle, not the hardware. Here is how to fit one properly in 90 minutes: UK costs, drilling brick and render, the ICO rules, and where a sensible DIYer should stop.
By the Nims Casa editorial team — written from professional cleaning experience and checked against our editorial standards.
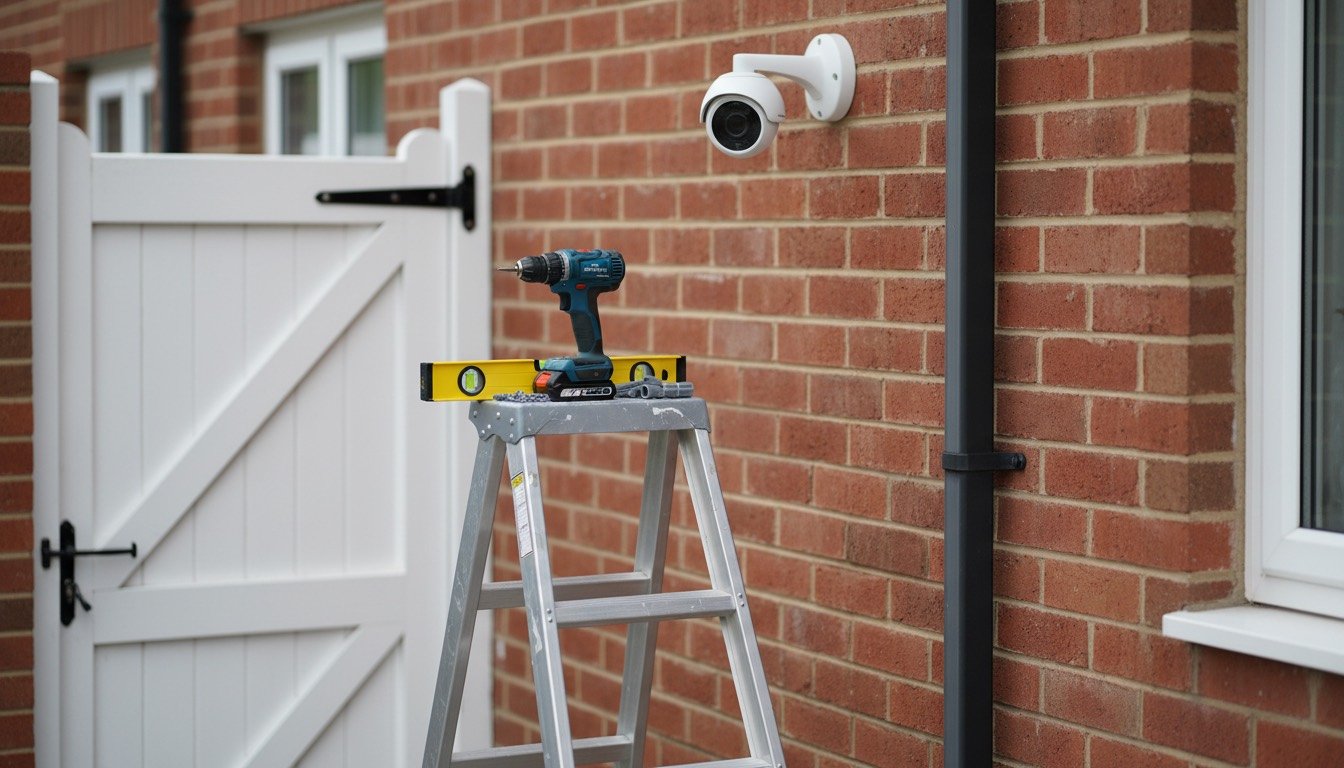
A security camera is the one piece of home kit you buy hoping never to need. That does not stop it being the worst-fitted thing on the average British house. In a normal working week we walk past a dozen: aimed squarely at a hedge, blinded every morning by low sun, drooping out of a crumbling mortar joint, or dead since the battery ran flat in March.
Fitting one properly is well within reach of anyone who has hung a shelf that stayed up. Budget 60 to 90 minutes for the first camera and £35 to £150 for the hardware, plus patience for the part that decides whether it works at all: choosing where it points before you drill a single hole.
Choose the Camera to Suit Your Wall, Not the Advert
Three types cover almost every UK home. Battery cameras (£35 to £80) fix to any wall with two screws and no cable, but you will be bringing them indoors to recharge every six to twelve weeks, closer to four in a frosty spell, because lithium cells lose usable capacity below about 5°C. Plug-in Wi-Fi cameras (£50 to £120) never go flat but need an outdoor socket or a cable through the wall, and that cable must sit out of arm's reach or an intruder simply unplugs your evidence. PoE systems (£250 to £600 for four cameras and a recorder) carry power and video down one Cat6 cable and record locally with no subscription, at the cost of cable runs through lofts and cavities.
Two specs matter more than megapixels. IP65 is the realistic minimum weather rating for an exposed UK wall; IP54 kit belongs under a porch. And storage: cloud plans run £2.50 to £8 a month, so a microSD slot pays for itself inside a year. A sharp 1080p image from a good angle will identify a face. A 4K image of the top of a hood identifies nobody.
Tools, Time, Cost and Skill Level
Nothing here is specialist. A drill, a level and an hour of daylight is the whole job.
- •Skill level: beginner for battery and plug-in models; competent DIYer for a wired PoE install
- •Time: 60 to 90 minutes for the first camera, 30 to 45 for each one after
- •Tools: cordless drill, 6mm and 7mm masonry bits, PZ2 screwdriver, 300mm spirit level, pencil, stepladder
- •Materials: brown wall plugs and 5 x 50mm screws (kit fixings are often too short for render), exterior-grade silicone, cable clips
- •Cost: £35 to £150 per camera DIY; add £80 to £150 per camera for professional fitting, or £300 to £600 for a four-camera PoE system installed
- •Conditions: a dry day above 5°C — silicone will not cure properly in cold or wet weather
Where to Point It (Decide This Before You Drill)
Break-ins at UK homes overwhelmingly favour the back and side of a property: the side gate, a back door screened from the street, a flat roof under a bedroom window. One camera covering the side return and back door is worth three watching an empty front lawn.
Then get the geometry right. Mount at 2.4 to 2.8 metres, above casual reach but low enough that a face fills a useful share of the frame. Angle the lens 15 to 30 degrees down and across the approach path rather than straight along it: someone walking towards a camera gives you three usable frames, someone crossing it gives you thirty. Avoid framing the sky, a white render wall or a security light, all of which make the sensor stop down and turn your intruder into a silhouette. Low October sun blows out more footage than darkness ever does.
Mounting a camera indoors to look out through glass is the one shortcut worth refusing — infrared bounces back off the pane at night and you record a bright white nothing. If you must, switch the IR off, leave a lamp on a timer, and keep the glass genuinely clean, one occasion where our streak-free window cleaning method earns its keep for more than looks.
Step by Step: Fitting the Camera
Do the software before the hardware. A camera that will not pair on the kitchen table certainly will not pair 2.6 metres up a cold north wall.
- •1. Charge it fully and set it up indoors on your 2.4GHz Wi-Fi. Most cameras cannot see a 5GHz band at all, so if your router broadcasts one combined network name, leave it that way.
- •2. Carry the live camera to the exact spot and hold it there for two minutes, watching for stutter. This is the moment to fix a Wi-Fi dead zone, not after you have drilled.
- •3. Hold the bracket up, level it and pencil the holes. On brick, drill the brick face and never the mortar joint — mortar crumbles and the bracket sags within a year.
- •4. On render or pebbledash, start with hammer action off to cut cleanly through the skin, then switch it on once you reach the blockwork. Rushing the first 10mm blows a saucer-sized crater out of the render.
- •5. Drill to plug depth plus 5mm, blow the dust out, tap the plugs home and tighten the bracket snug rather than brutal. Overtightening cracks render around the fixing.
- •6. Taking power through the wall? Drill from inside out with a slight downward fall to the exterior so rain cannot track back along the cable, then seal the outer face with exterior silicone.
- •7. Clip the camera on and have someone walk the approach while you watch the feed. Adjust until their face, not their shoulders, sits in the middle third.
- •8. Set motion zones to your property only and drop the sensitivity until next door's cat stops triggering it. A camera that cries wolf forty times a day is one nobody checks.
- •9. Test after dark. Infrared reflecting off a soffit, downpipe or nearby wall whites out half the image, so nudge the angle until the night view is clean.
- •10. Note the model, serial number and app login somewhere findable. If the camera records something the police need, they will ask for all three.
The Law: What UK GDPR Means for Your Camera
You are free to fit cameras on your own home. But the moment one records beyond your boundary — the pavement, the road, a neighbour's garden — the ICO's household exemption stops covering you and you become a data controller under UK GDPR and the Data Protection Act 2018.
That is a short list of duties, not a reason to panic. Use the app's privacy masking to black out anything outside your boundary. Put up a small, visible sign saying recording is in progress. Keep footage no longer than you need it, with 14 to 30 days a defensible default, and provide a copy if a neighbour makes a lawful request. Audio is the trap people miss: a microphone catches conversations far beyond what the lens sees and is much harder to justify, so switch it off unless you have a specific reason. And tell your neighbours before you fit it — nearly every camera dispute we hear about began as a surprise, not an objection.
When to Stop and Call Someone
Four situations where the sensible move is to put the drill down.
- •New mains wiring. An outdoor socket or fused spur is an electrician's job and notifiable under Part P of the Building Regulations in England and Wales. Budget £90 to £180.
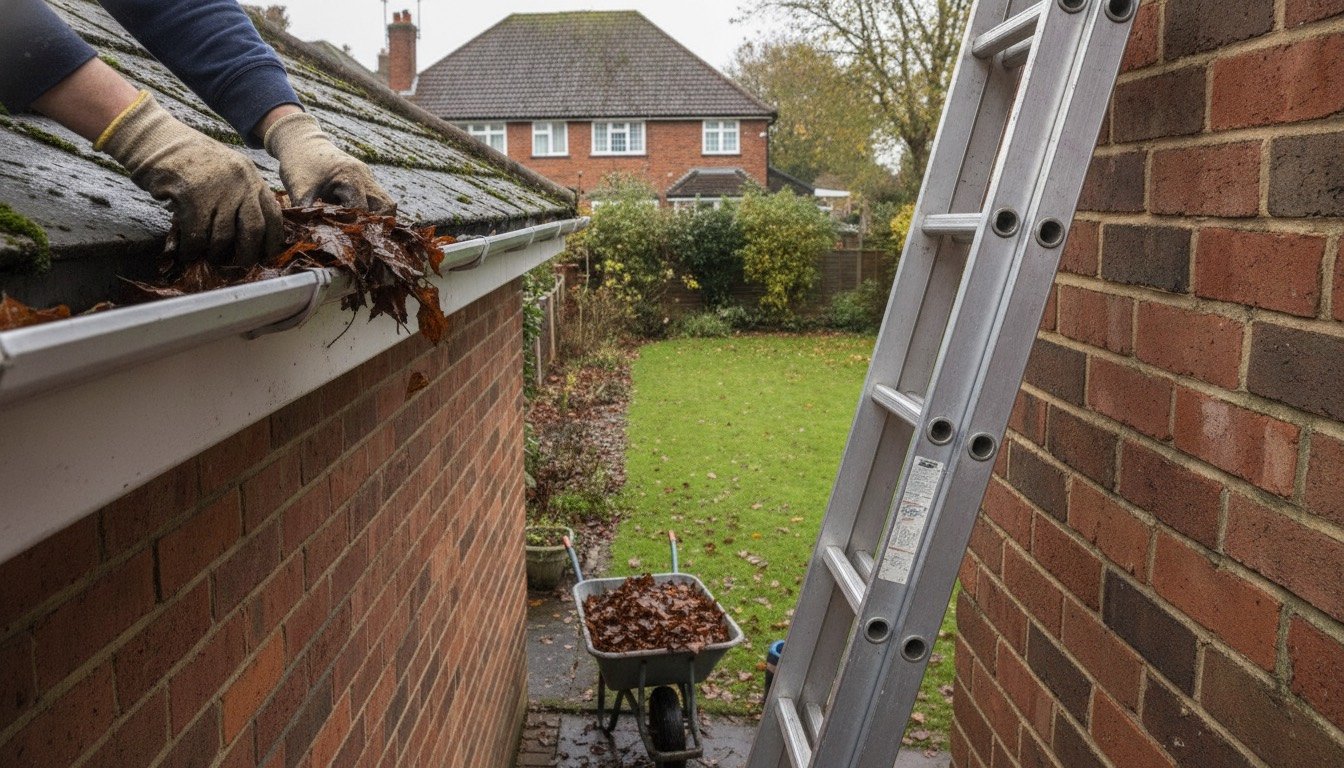
- •Anything above stepladder height. Holding a drill at gutter level off a leaning ladder is how people end up in A&E — the same rule applies as when cleaning gutters. A £120 install fee is cheaper than a broken wrist.
- •Multi-camera PoE runs through lofts, cavity walls or any listed or timber-framed property. A specialist's day's work, and worth paying for.
- •Rented homes. You need written permission before drilling an exterior wall; a battery doorbell on the door frame keeps your deposit intact.
Keeping It Working Through a British Winter
Cameras rarely die outright — they degrade. Nearly every broken camera we meet in a client's home is dirty, flat or forgotten rather than faulty, and five minutes a quarter prevents all three.
- •Wipe the lens and infrared ring with a dry microfibre cloth every six to eight weeks. A film of road grime halves night-vision range.
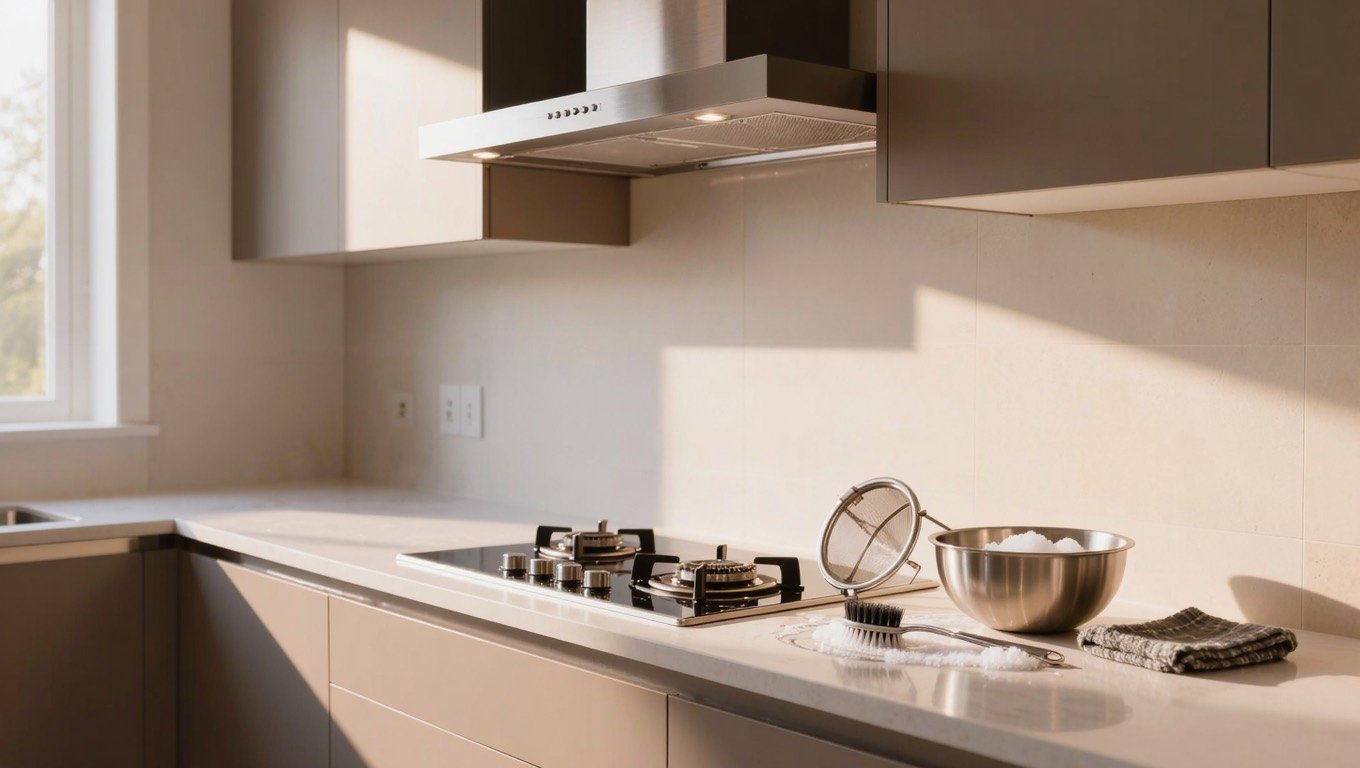
- •Clear cobwebs from the housing. Spiders follow the insects circling infrared LEDs, and one web fluttering at 3am means dozens of false alerts, so keeping spiders out applies outdoors too.
- •Recharge battery models before they drop below 20%, and let a frozen one warm up indoors for an hour first.
- •Check the bracket screws each spring — freeze-thaw cycles work fixings loose in UK brick and render over a single winter.
- •Install firmware updates within a week. They patch security holes, and an unpatched camera is a route into your home network.
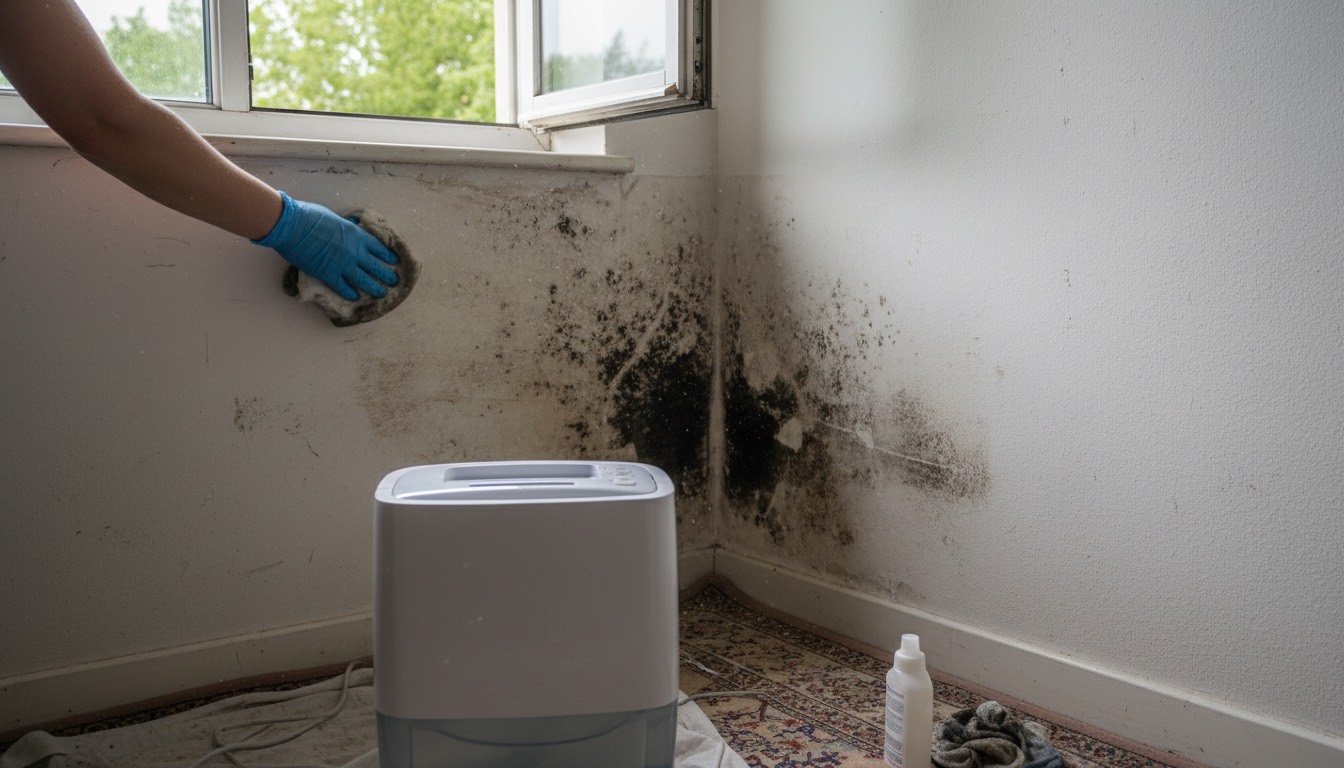
- •If you reposition a camera, make good the old holes with exterior filler exactly as you would fill cracks and holes in walls indoors. Open holes draw water into the brickwork, and that is how you spend next winter fighting damp and mould.
Found this useful?
There's plenty more — hundreds of guides and honestly-tested product reviews for every corner of your home.
Browse All Guides