Electrical · 6 min read · 4 April 2026
How to Layer Lighting in a Room: A UK Step-by-Step Guide (Costs and Where DIY Stops)
Most British rooms are lit by one pendant in the middle of the ceiling. Layering fixes that with less light in more places, and most of it needs no wiring at all.
By the Nims Casa editorial team — written from professional cleaning experience and checked against our editorial standards.
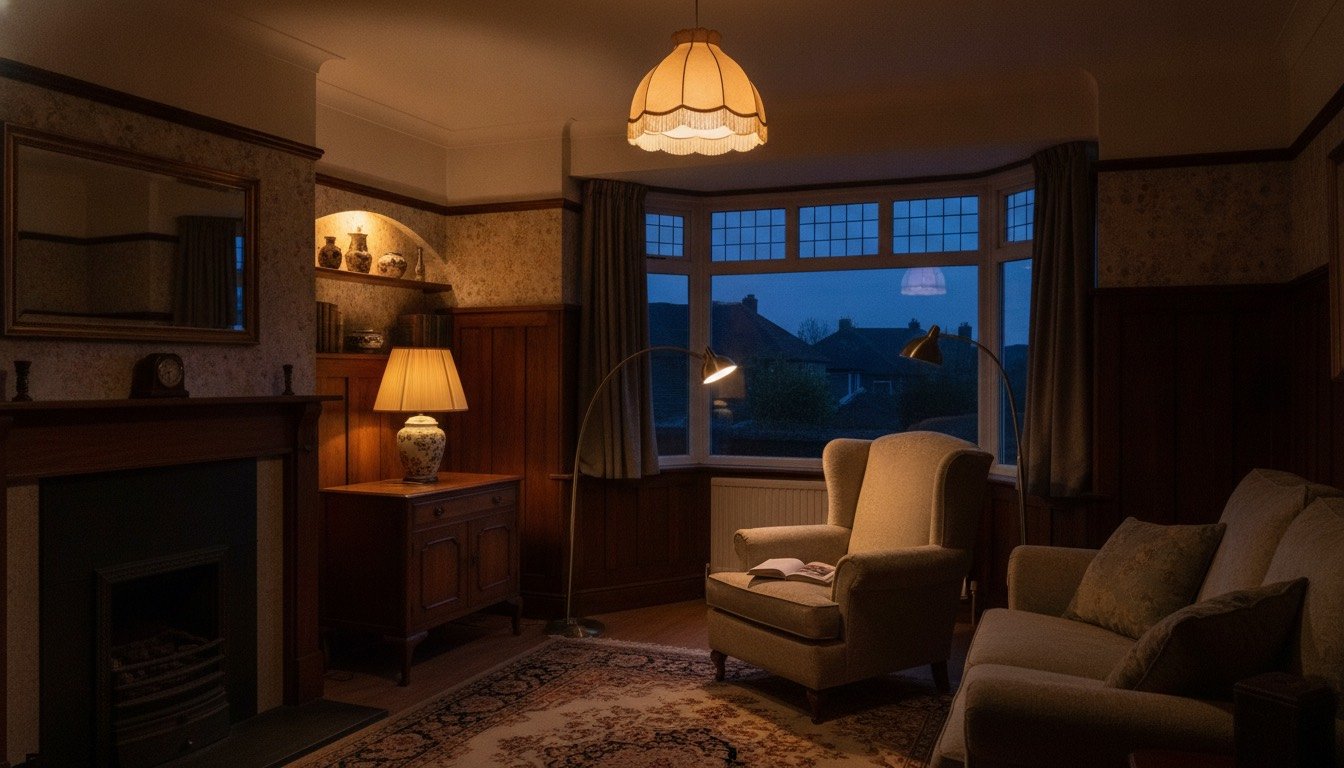
Most British living rooms are lit by one pendant in the centre of the ceiling, wired into a loop-in rose that predates the television underneath it. It fires light onto the carpet, shadows every face, and makes a decent 4m x 4m space feel like a waiting area. Layering fixes that, and counter-intuitively it means less total light across more points, all of it dimmable.
Four fifths of a proper scheme needs no wiring at all: bulbs, lamps, smart plugs and a dimmer swap. The rest, meaning new wall light points, downlights and anything inside a bathroom, is where the regulations start to bite.
Safety first: what a ceiling rose hides
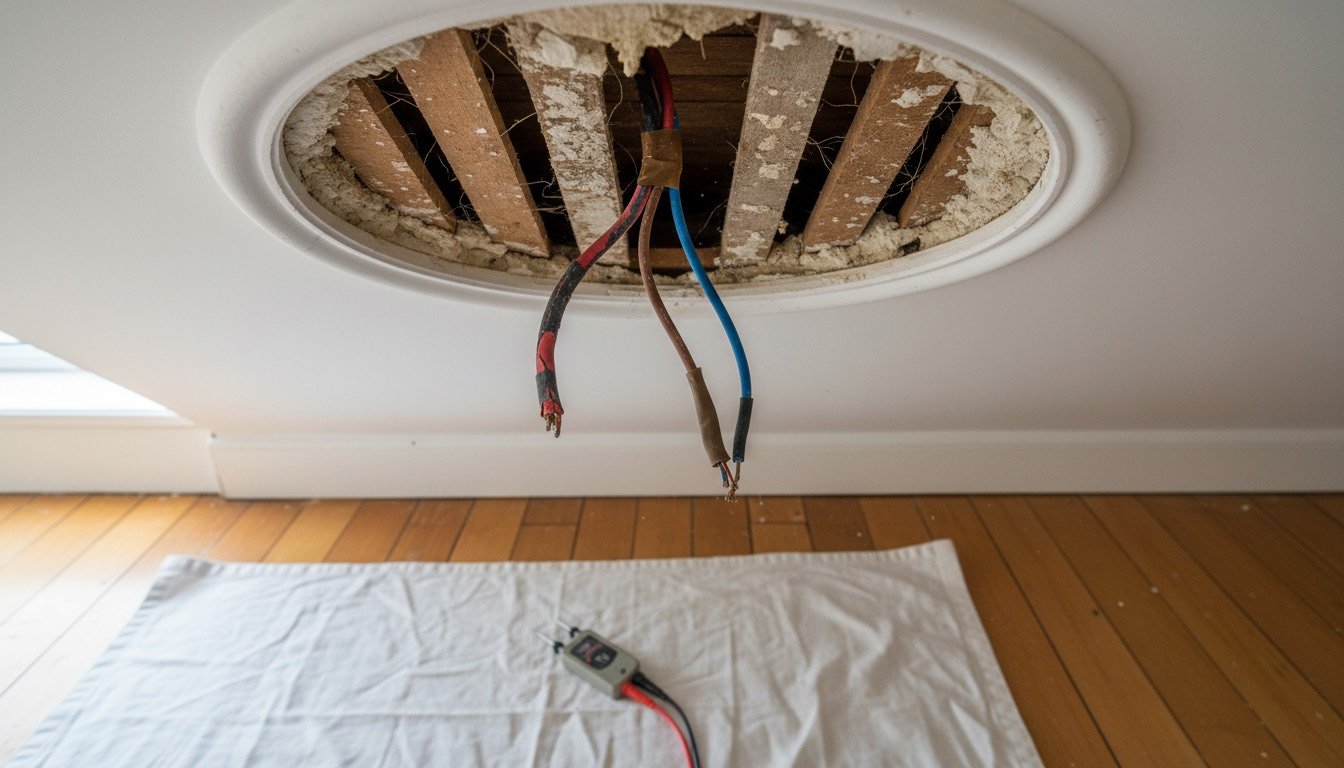
If your scheme is only lamps and bulbs, skip to the shopping list. If you are opening a fitting or switch, these are not optional. The commonest shock in DIY lighting comes from a loop-in rose: with the wall switch off, the loop terminal is still permanently live.
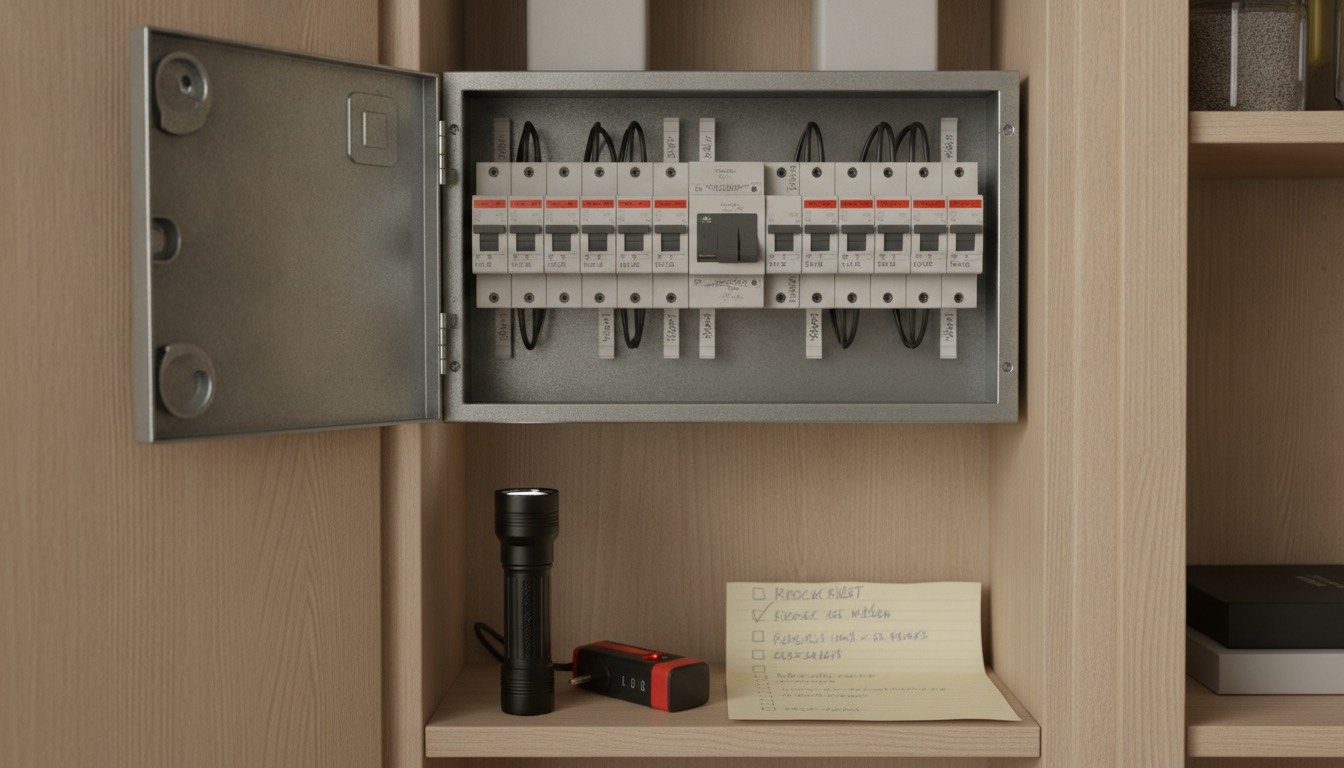
- •Isolate at the consumer unit, not the wall switch. Turn off the lighting MCB, lock it off, tape a note over the board, and photograph every terminal before disconnecting anything.
- •Prove dead with a two-pole tester with GS38 probes (£20-£35), testing a known live source before and after. Neon screwdrivers are unreliable and no electrician carries one.
- •Cable colours changed in 2004-06: older circuits use red for live and black for neutral, and a black switch wire must be sleeved brown. Never assume black is neutral in a lighting circuit.
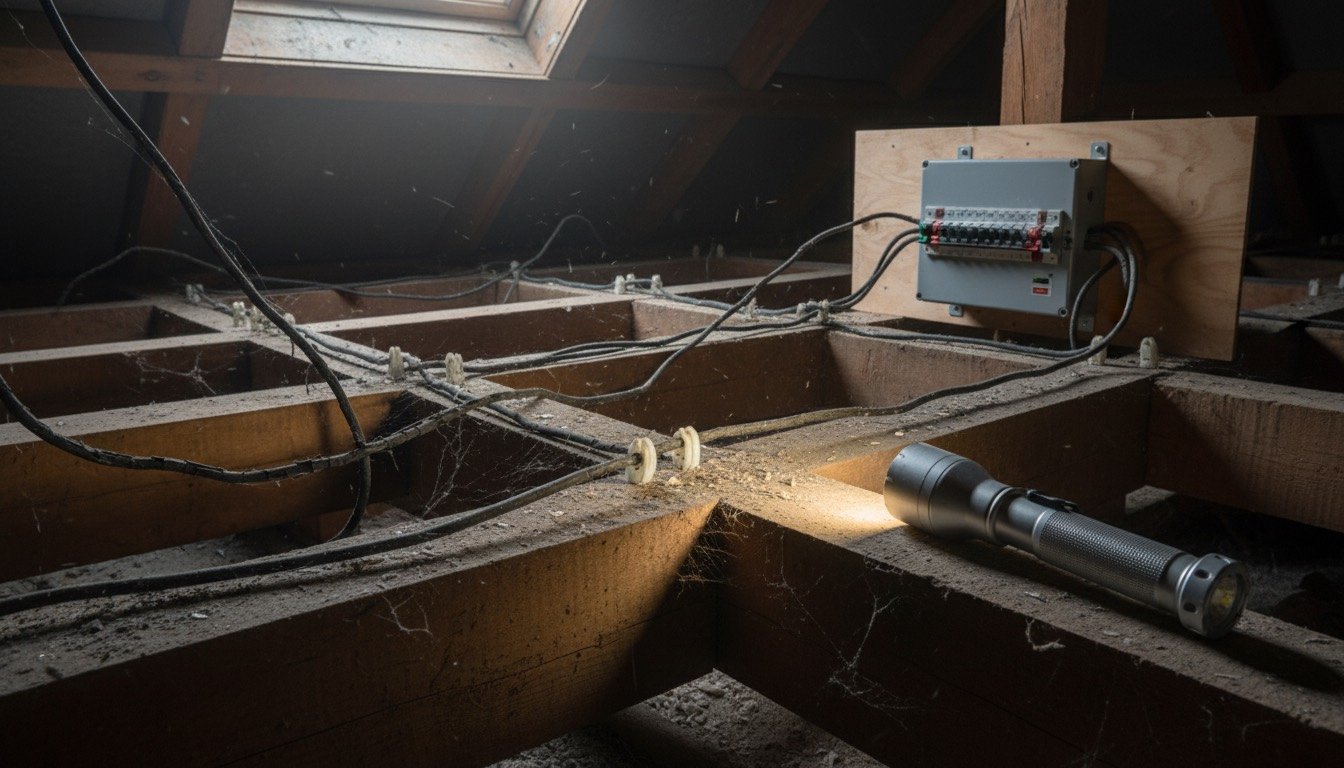
- •Pre-1966 circuits often have no earth at the rose. Without one, fit only Class II double-insulated fittings, never metal. If the insulation is rubber, fabric-braided or crumbles when flexed, stop: that circuit needs replacing, not a new shade.
Tools, materials and what to buy
Buy the bulbs first, all at once, from a single range. Mixing colour temperatures is what makes an expensive scheme look cheap. Use 2700K at CRI 90 or above in living rooms and bedrooms; kitchens can take 3000K. See daylight vs soft white bulbs for why 6500K belongs in a garage.
- •Dimmable LED bulbs, 2700K, CRI 90+: £4-£9 each, six to ten per living room.
- •Table and floor lamps: £30-£90 each, two per living room minimum.
- •Trailing-edge LED dimmer switch: £14-£28 per gang. Old leading-edge rotary dimmers buzz and flicker on LEDs.
- •Smart plugs £7-£14; smart bulbs £13-£25 white, £30-£48 colour.
- •Plug-in LED strip or cabinet light bar for alcoves and shelving: £18-£55 per kit.
- •If opening anything: two-pole tester, insulated screwdrivers, strippers, brown sleeving, cable detector (£25-£45).
Realistic time and cost
A plug-in scheme for a 16-20m² living room is an afternoon's work, three to four hours, at £150-£400. A dimmer swap takes 20-30 minutes; replacing a pendant like-for-like takes 30-45 minutes if the rose is sound, twice that if not.
Costs jump the moment a sparks is involved. Electricians charge £45-£70 an hour or £280-£380 a day, London 30-40% above that; check how much an electrician costs before accepting a quote. Two new wall light points on an existing circuit run £220-£420 including making good, plus £60-£120 for certification. Downlights are £55-£95 each installed, so read how much recessed lighting costs before filling a ceiling with them.
The method, step by step
Work through these in order. Sequence matters: each layer changes what you need from the one before it.
- •1. Audit at night. Sit in the dark room with the existing lighting on and mark where you read, work, eat and walk through, plus every dark corner and glare point.
- •2. Set a lumen target: 100-150 lumens per m² in a living room or bedroom, 300-400 in a kitchen, 200-300 in a bathroom. A 20m² sitting room wants 2,000-3,000 lumens across five or six sources, not one 2,500lm ceiling bulb, all of them at 2700K.
- •3. Ambient layer. Dim the pendant, diffuse it with a proper shade, or swap it for one that throws light upward too. Ambient should never be the layer you read by.
- •4. Task layer. A floor lamp behind and to the side of a reading chair's shoulder, 400-500 lumens onto the page; under-cabinet strips at the front edge of the cabinet base so they light the worktop rather than glare off it; a bedside lamp with the shade bottom at eye height sitting up, 1.1-1.2m off the floor.
- •5. Accent and decorative layers. Wash a chimney breast, alcove or bookcase with 150-300 lumens to stop a dimmed room looking flat, then add the fitting you actually look at: a dining pendant hung 750-900mm above the tabletop, or a picture light.
- •6. Split the controls. Three switchable sources per room is the minimum and five is better, grouped onto a dimmer or smart plugs so you can drop to 20-30% in the evening.
- •7. Live with it two evenings before fixing anything permanently. What looks right at 3pm often glares at 9pm.
Troubleshooting the usual faults
None of the problems below needs a rewire. Flicker has a short list of causes, worked through in order in our guide to why LED lights flicker.
- •Flicker when dimmed: leading-edge dimmer, or load below its minimum. Many trailing-edge units need 5-10W to hold steady, so add a bulb or fit one rated from 0W.
- •Buzz from the switch or fitting: mismatched driver and dimmer. Try another bulb brand before blaming the switch. A yellow-looking lamp is the same story in reverse, a low-CRI bulb that needs replacing rather than compensating for.
- •Smart bulb unresponsive: someone switched it off at the wall. They need permanent power, which is why smart switches suit shared rooms.
The DIY-or-electrician boundary in the UK
In England and Wales, Part P of the Building Regulations makes certain electrical work notifiable: it must be done by an electrician registered with a competent person scheme (NICEIC, NAPIT, ELECSA) or notified to building control first, at a council fee of £250-£450. Scotland has its own Building Standards regime and Northern Ireland no direct equivalent, but BS 7671 applies UK-wide and insurers want certification after a claim.
A competent DIYer can do all of this on an existing circuit outside a bathroom: change bulbs and shades, add plug-in lamps, smart plugs and strip lighting, replace a fitting like-for-like, and swap a switch for a trailing-edge dimmer. Beyond that, hand over. New wiring in a room containing a bath or shower is notifiable without exception, as is any new circuit from the consumer unit or work at the board.
Stop immediately if you find no earth at the rose, perished rubber or fabric cable, a rewireable fuse board, or a ceiling forming a fire barrier between flats or into a loft conversion. Cutting downlights into that ceiling without fire-rated fittings breaches Part B and is genuinely dangerous. Our list of electrical repairs you should never DIY covers the rest, and the lighting layers guide goes deeper on placement.
Finally, get a Minor Works or Electrical Installation Certificate for anything an electrician touches and keep it with the house paperwork. It saves an argument when you sell.
Found this useful?
There's plenty more — hundreds of guides and honestly-tested product reviews for every corner of your home.
Browse All Guides