DIY & Maintenance · 6 min read · 22 June 2026
How to Make a Bathroom Accessible in an Older UK Home
The fittings are the easy part. In a Victorian terrace it is the 686mm doorway, the lime plaster and the joists under the floor that decide what you can actually build.
By the Nims Casa editorial team — written from professional cleaning experience and checked against our editorial standards.
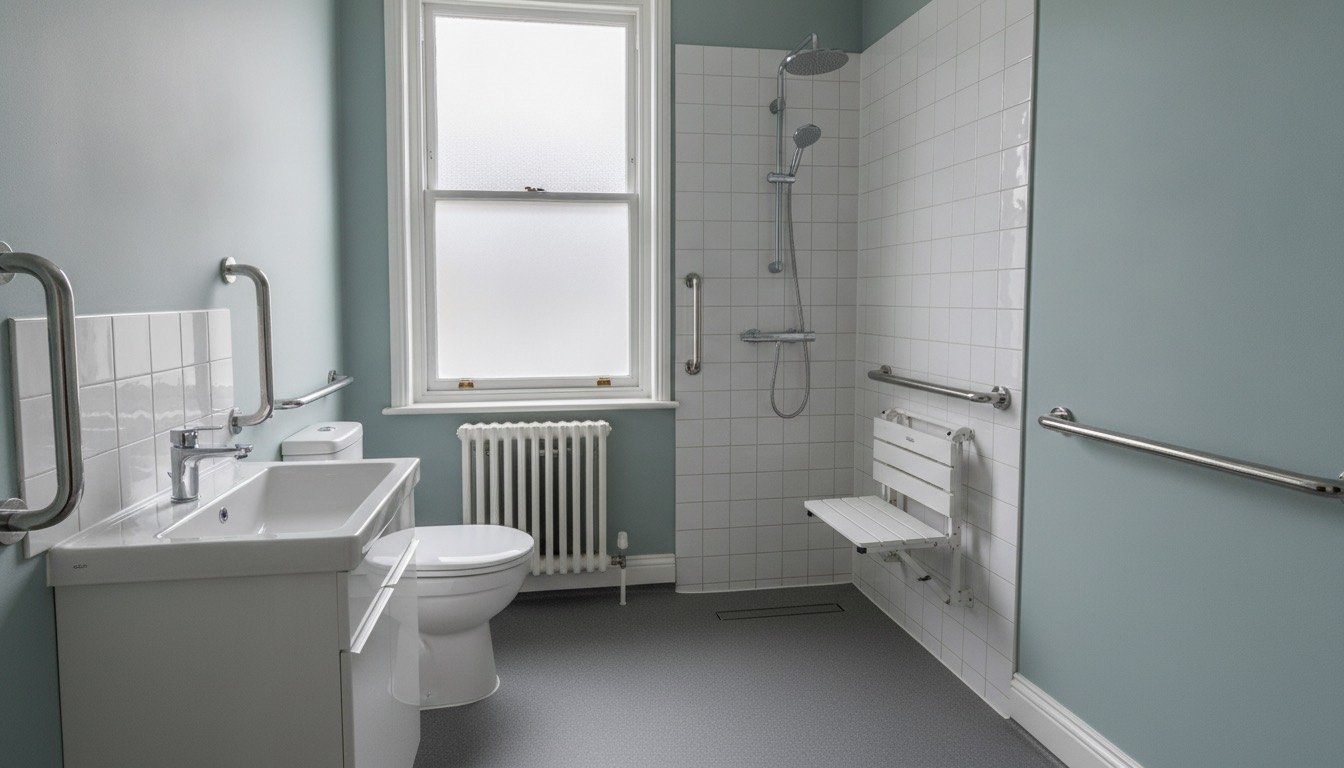
Grab rails, lever taps and a walk-in shower can be bought in an afternoon. In a house built before 1930, none of them go in the way the catalogue photograph suggests. The doorway is 686mm wide, the walls are lath and lime plaster battened off solid brick, the joists run the wrong way, and the waste leaves through the back wall into a hopper on a salt-glazed stack.
Work with those constraints and a period bathroom adapts beautifully — solid brick carries a rail load no modern stud partition can match. Work against them and you spend £4,000 finding out the shower tray cannot drain.
Safety first: what the plaster is hiding
Establish what you are drilling into before a single fixing goes in. Pre-1970s bathrooms routinely carry brittle rubber-insulated (VIR) cable, lighting circuits with no earth conductor and no RCD anywhere. A bathroom is a special location under BS 7671, so nearly anything you add — a light, an extractor, an electric shower — is notifiable under Part P and needs a registered electrician. It belongs on the list of electrical repairs you should never DIY.
Two more period hazards: textured coatings fitted between roughly 1950 and 1985 may contain asbestos, so pay £30-£60 for a sample test rather than sanding; and paint older than 1992 is usually lead-based, ruling out heat guns and dry sanding.
- •Prove circuits dead with a two-pole tester, not a neon screwdriver.
- •Scan every wall before drilling — old houses hide chased cable under later plaster with no capping.
- •Assume suspended timber until you lift a board; boards over a void behave nothing like a slab.
Tools and materials for period walls
The callback we get most often is a grab rail pulling out of the wall. Here the plaster is 15-25mm of soft lime on laths, frequently battened 25mm clear of the brick, so a standard 60mm screw reaches nothing solid. You need length, and something rigid bridging the void so tightening does not crush the lime.
- •SDS drill with 8mm and 10mm masonry bits at least 200mm long; start hammer-off so you do not blow the plaster face.
- •M8 resin anchor studs or 150-180mm frame fixings, plus rigid sleeves to span the batten void.
- •18mm WBP plywood pattresses, 300 x 150mm, screwed back to battens where the brick is unreachable.
- •Cable detector, two-pole tester, spirit level, low-modulus sanitary silicone.
- •Rails at 32-35mm diameter contrasting the wall by 30+ LRV points, a TMV2 mixer, lever taps, a 150kg folding seat, and safety vinyl at PTV 36+ wet or R11 porcelain.
Realistic time and cost — plus the grant most people miss
At 2026 UK prices the small jobs are cheap: a rail fixed into brick is 30-45 minutes and £40-£90; lever taps are 1-2 hours and £60-£150; a thermostatic bar mixer fitted runs £280-£550. Widening a doorway in a solid wall needs a lintel at £600-£1,200, but offset 'easy-lift' hinges gain 40-50mm of clear opening for £15-£25 a pair.
Level access is the big number. Onto suspended timber with a tanked tray former, expect £2,500-£4,500 fitted; a full wet room in a period house is £6,000-£11,000 over 8-12 working days, because joists need trimming and the ceiling comes down. That sits above a typical bathroom refit budget.
Two things cut the bill. Qualifying disability adaptations are VAT zero-rated under HMRC Notice 701/7 — 20% off materials and labour if the installer applies it. And a Disabled Facilities Grant, applied for through the council after an occupational therapist assessment, is worth up to £30,000 in England, £36,000 in Wales and £25,000 in Northern Ireland; Scotland helps through its Scheme of Assistance. Get the OT assessment before buying: work started early is rarely claimable.
The step-by-step sequence
Order matters — several steps become impossible if you reverse them. Whole-house work sits alongside this in our guide to aging in place home modifications.
- •1. Get the OT assessment and specify to the person: transfer side, standing tolerance, grip strength, frame or chair.
- •2. Solve the door. Aim for 800mm clear opening, 750mm minimum: offset hinges first, rehanging to open outwards second (nobody can reach someone collapsed behind an inward door), widening last.
- •3. Lift two floorboards and look: joist direction and depth decide whether level access is viable.
- •4. Choose the format. Where joists cannot take a 45mm drop for a shallow gully, a 25mm low-profile tray with a ramped threshold beats a botched wet room — our walk-in tub vs roll-in shower guide covers who each suits.
- •5. Do the electrics while walls are open: 30mA RCD protection, IP-rated lighting, pull-cord isolator, extractor at 15 l/s intermittent or 8 l/s continuous.
- •6. Rake out blown lime and patch; fit plywood pattresses before tiling, wherever a rail or seat will land.
- •7. Form the floor: falls of 1:40 to 1:80 to the gully, tanking taken 150mm up every wall and dressed into the tray, corners taped.
- •8. Lay the floor finish for wet grip, not looks — the bathroom flooring ratings matter more than the colour.
- •9. Set working heights: WC rim 450-480mm, basin rim 720-740mm with 700mm knee clearance, shower controls 900-1,100mm and reachable from the seat.
- •10. Fit rails last, into brick or pattress, and load-test each with your full body weight. Beside the WC, start with a horizontal rail 680mm above finished floor.
Troubleshooting what old houses throw up
Most period bathrooms produce at least two of these. None is fatal if you catch it early.
- •Rail spins or pulls out: the fixing is in plaster or batten only. Re-drill 100mm into brick and resin-anchor an M8 stud through a rigid sleeve.
- •Tray will not drain: joists run the wrong way. Rotate the tray so the waste runs parallel with them, or accept a 15mm ramped threshold.
- •Gurgling or drain smells after the new shower: an unvented branch on a hopper-fed Victorian stack. Fit an air admittance valve, not a deeper trap.
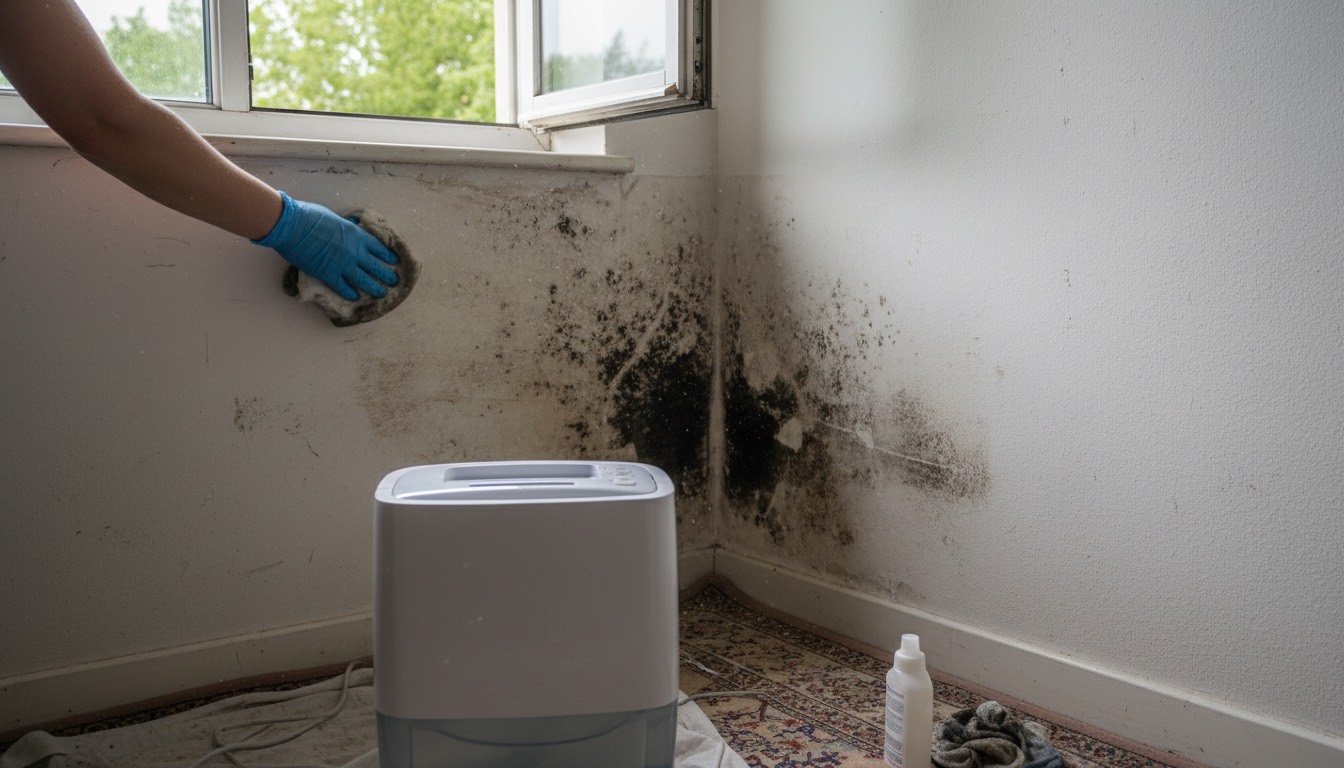
- •Black mould on the external wall: solid brick runs 3-5°C colder than an insulated cavity, so moisture lands there first. Use extractor overrun plus the method in our guide to mould on bathroom walls.
- •Scalding then icy water: gravity-fed imbalance, cured by a TMV2 valve capped at 41-43°C, not by a cheaper mixer.
- •A stiff sash is the only ventilation: never design around a window nobody can lift.
When to stop and call a professional
Rails into sound brick, lever taps, a raised seat and a folding shower seat are DIY for a competent person. The rest is not, and the reasons are as often legal as technical.
Hand over if the work means altering bathroom circuits, forming a structural opening in a solid wall, notching joists beyond the permitted zones, tanking above a lath and plaster ceiling, or moving a soil connection on a shared stack. Budget £45-£65 an hour for a plumber and £180-£280 for an electrician's half day, more inside the M25.
One honest judgement call: if the bathroom is upstairs, the stairs are a Victorian winder and mobility is declining, the money may belong downstairs — a ground-floor shower room, not a perfect adaptation nobody can reach.
Found this useful?
There's plenty more — hundreds of guides and honestly-tested product reviews for every corner of your home.
Browse All Guides