Home Decor · 6 min read · 8 June 2026
How to Remove Peeling Exterior Paint: A UK Step-by-Step Guide
Stripping is 70% of an exterior paint job and the part everyone rushes. Here is how to take peeling paint off timber and masonry properly, and where the DIY line honestly sits.
By the Nims Casa editorial team — written from professional cleaning experience and checked against our editorial standards.
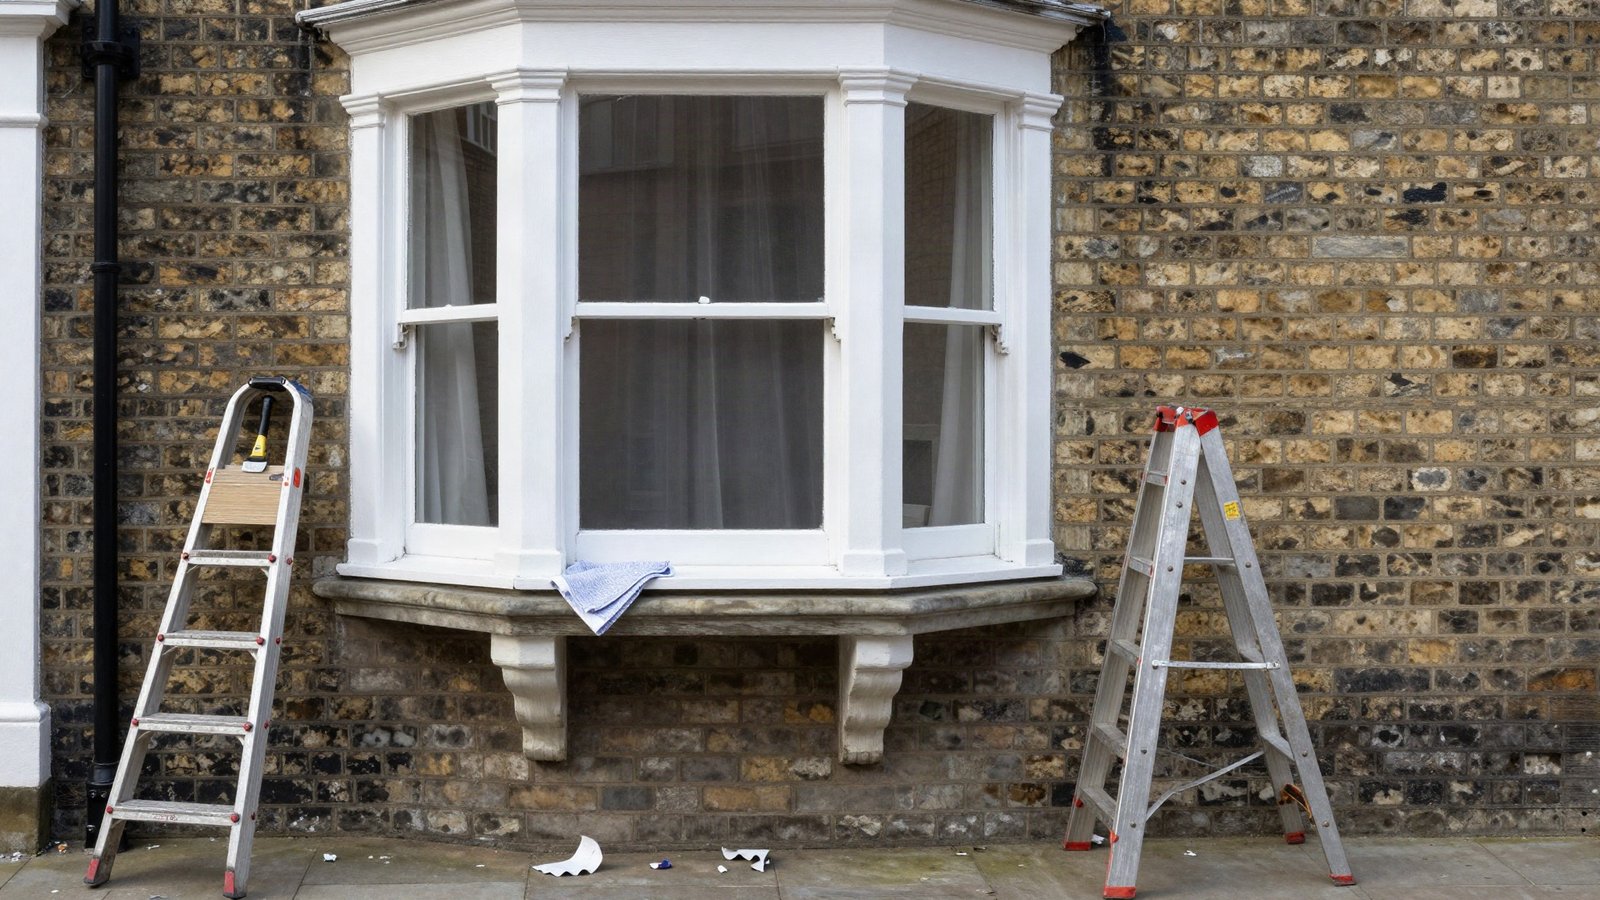
Paint does not peel because it was cheap. It peels because something underneath moved, got wet, or was never keyed properly. Strip it, put fresh paint straight back on, and you will repeat the job in eighteen months. Removal is where you diagnose the fault, and it carries the only real risks: lead coatings, asbestos cement boards, and being three metres up a ladder.
This covers timber joinery and painted masonry on typical UK housing, from Victorian sashes to 1960s render, and says clearly where DIY competence stops.
Safety first: lead, asbestos and working at height
Lead was only fully banned from consumer paint in the UK in 1992 and was routine on exterior joinery into the 1970s. If your house predates 1980, assume the bottom layers contain lead. Scrape a notch through every layer to bare timber and test the notch, not the surface — the top coats will be clean and the 1955 undercoat will not. Our guide to lead paint safety in old houses covers disposal.
The dangerous acts are dry sanding and burning. A hot air gun above roughly 450°C produces lead fume; an orbital sander makes dust that settles in your garden soil and stays.
- •Test first: swab kit £10-15, or a lab paint-chip test at £25-40.
- •If lead is present, work chemical or wet only. No dry sanding, no blowtorch, no pressure washing it into the garden.
- •P3 mask, coveralls, nitrile gloves — changed outside, not in the hallway. Sheet the ground in heavy polythene and bag scrapings as hazardous waste.
- •Asbestos: soffits, fascias and downpipes on 1950s-1990s houses are often asbestos cement — grey, brittle, snapping rather than splintering. Never sand or drill it.
- •Ladders at 75 degrees, a metre above the working point, footed or tied. Above single-storey eaves, use a tower.
Tools and materials
Scrapers matter more than anything else here. A carbide pull scraper lifts in one pass what stamped steel takes six passes to shift, and lasts a season rather than an afternoon.
- •Carbide pull scraper with replaceable blade, £25-35, plus a shave hook for mouldings and glazing bars.
- •Hot air gun with nozzle shield, £30-60 — lead-free paint only, low setting.
- •Infrared paint softener, hire £35-45 a day. Runs at 200-260°C, safe on lead, and the only efficient way to strip a whole sash.
- •Alkaline poultice stripper for lead layers (£60-75 per 5kg, covering 5-7m²), or a solvent gel for modern paint.
- •M-class dust extractor and extracted sander for lead-free feathering; exterior powder filler for fine defects, two-part epoxy for structural repair, stabilising primer for chalky masonry, bonding primer for feathered edges.
Realistic time and cost
Stripping is not the fast part. On a three-bed semi, the joinery — fascias, bargeboards, two doors and six windows — is three to five full days of preparation working alone, against about a day and a half of actual painting. Our breakdown of what a full exterior repaint costs in the UK puts labour at 60-70% of the bill.
Materials run £120-£220 if the paint is lead-free and you are scraping and spot-priming. Add a chemical strip on lead-bearing sashes and it is £350-£500 in poultice alone. Specialists charge £45-£70 per square metre for lead-safe removal; tower scaffold hire is £70-£120 a week.
The step-by-step method
Work one elevation at a time and never open more surface than you can prime the same day. Bare timber left over a wet night will lift the new paint within a year.
- •1. Find the cause. Peeling on the south elevation is usually UV and film failure. Vertical strips below a window mean water tracking. Paint lifting off render in sheets with a chalky back is trapped moisture behind impermeable masonry paint.
- •2. Test the boundary. Press painter's tape hard onto sound-looking paint and rip it off. Whatever comes with it was never staying. Repeat until the tape lifts clean.
- •3. Dry scrape. Carbide scraper pulled towards you, following the grain. Take off everything that lifts and stop where the paint fights back.
- •4. Soften what remains. Infrared held 30-50mm off the surface for 20-30 seconds, then scrape while warm. On lead, use the poultice: trowel 3-4mm on, cover with the laminate, leave 6-24 hours, peel paper and paint off together.
- •5. Neutralise and dry. Alkaline strippers must be neutralised or the residue kills adhesion. Then let timber dry below 18% moisture content, two dry days minimum.
- •6. Repair. Cut soft timber back to sound wood, treat it, rebuild with two-part epoxy. Nail holes take powder filler.
- •7. Feather the edges. Sand the bare-to-sound transition at 80 grit then 120 until you cannot feel a ridge with your eyes shut. This separates a decent job from an obvious one.
- •8. Prime the same day: wood primer on bare timber, stabilising solution on chalky masonry, bonding primer over feathered edges so ghost lines do not telegraph through. Our comparison of all-in-one paint versus a separate primer explains why the shortcut rarely holds outdoors.
- •9. Fill, caulk, sand again, then topcoat inside the weather window.
Troubleshooting
Most problems here are diagnostic, not technical, and getting the cause right saves doing the elevation twice — several appear in our list of exterior painting mistakes to avoid.
- •Paint sheets off bare masonry over a wide area: moisture escaping through a wall that cannot breathe. Fix the source, then use a mineral or silicate paint, not another plastic film.
- •Alligatoring, a dried-riverbed crack pattern: decades of built-up coats. It all has to come off; spot repair will not hold.
- •Paint softens but will not release under heat: modern acrylic over old alkyd. Drop the heat, go slower, expect strings rather than sheets.
- •Black staining under paint on timber: wet rot. Probe it — if a screwdriver sinks more than 5mm, filler is not the answer.
Where DIY stops and a professional starts
This line is drawn on risk, not difficulty. A competent DIYer can strip and repaint all the ground-floor joinery on a post-1980 house unaided, and the same on an older house using chemical methods and proper PPE. Above that, economics and risk turn against you. Check the best time to paint outside before you start.
- •Do yourself: ground-floor windows, doors and low fascias reachable from a footed ladder or low tower; any lead-free paint; patch repairs; chemical stripping of removable items on a bench.
- •Hire scaffolding and carry on: first-floor windows and gable bargeboards, if you are genuinely steady at height. A tower for a week costs less than one A&E visit.
- •Call a professional: ladder work above first-floor eaves; extensive confirmed lead, especially with children under six or anyone pregnant in the house; asbestos cement soffits, gutters or textured coatings; rot deeper than 10mm or into a joint; and full render or pebbledash stripping, which is mechanical work rather than a scraper job.
- •Check first: listed buildings and many conservation areas require consent to remove a historic paint finish, and lime-based coatings on solid walls must not be replaced with modern masonry paint. Sashes are often worth restoring rather than stripping flat.
Found this useful?
There's plenty more — hundreds of guides and honestly-tested product reviews for every corner of your home.
Browse All Guides