Tools & Workshop · 6 min read · 27 June 2026
Woodworking Mistakes Beginners Make (and How to Avoid Them) — UK Guide
Nearly every beginner's problem traces back to one of four things: the timber moved, the setup was wrong, the tool was blunt, or the sequence was out of order. Work out which, and the fix is usually cheap.
By the Nims Casa editorial team — written from professional cleaning experience and checked against our editorial standards.
A gappy mitre and a trip to A&E do not belong in the same list, so we have not put them in one. What follows is ranked by consequence — the things that injure people first, the things that waste money second, the things that only eat your Saturday last.
Before any of that, work out what you are dealing with. Beginners treat every bad result as a skill problem and buy a better tool. Usually it is moisture, a reference error or a blunt edge, and no new kit fixes those.
Start here: which problem do you actually have?
Run your symptom down this list first. The same visible fault — a gap, a rock, a rough cut — has completely different causes, and the wrong fix usually makes it worse.
- •Joint was tight on the bench but opened up a week later: moisture, not joinery. Merchant racking leaves timber at 16–20% moisture content; a centrally heated UK room pulls softwood to 8–10%, so it shrinks after you build.
- •Joint was gappy the moment you dry-fitted it: setup. Check your square by marking a line, flipping it and marking again — daylight between the two lines means the square is out.
- •Cuts are square across the face but not through the thickness: the blade is off 90° to the table, or the stock lifted off the fence. Set it with an engineer's square — the printed scale is decorative on most sub-£300 saws.
- •Screws split the timber near the ends: no pilot hole, or a coarse thread in end grain. Redwood splits within 30mm of an end almost every time without a 2.5mm pilot.
- •Finish is blotchy: you stopped sanding too coarse or skipped a grit. Pine, beech and birch blotch because of the wood, not the product.
- •Everything drifts 2–3mm by the end of a run: you measured cumulatively along a tape. Mark from one datum or make a story stick — the hook alone gives 1mm of slop.
- •Blade burns the cut or needs shoving: blunt, wrong tooth count, or a fence that is not parallel to the blade. Force is a symptom, never a technique.
Rank 1: the mistakes that genuinely hurt people
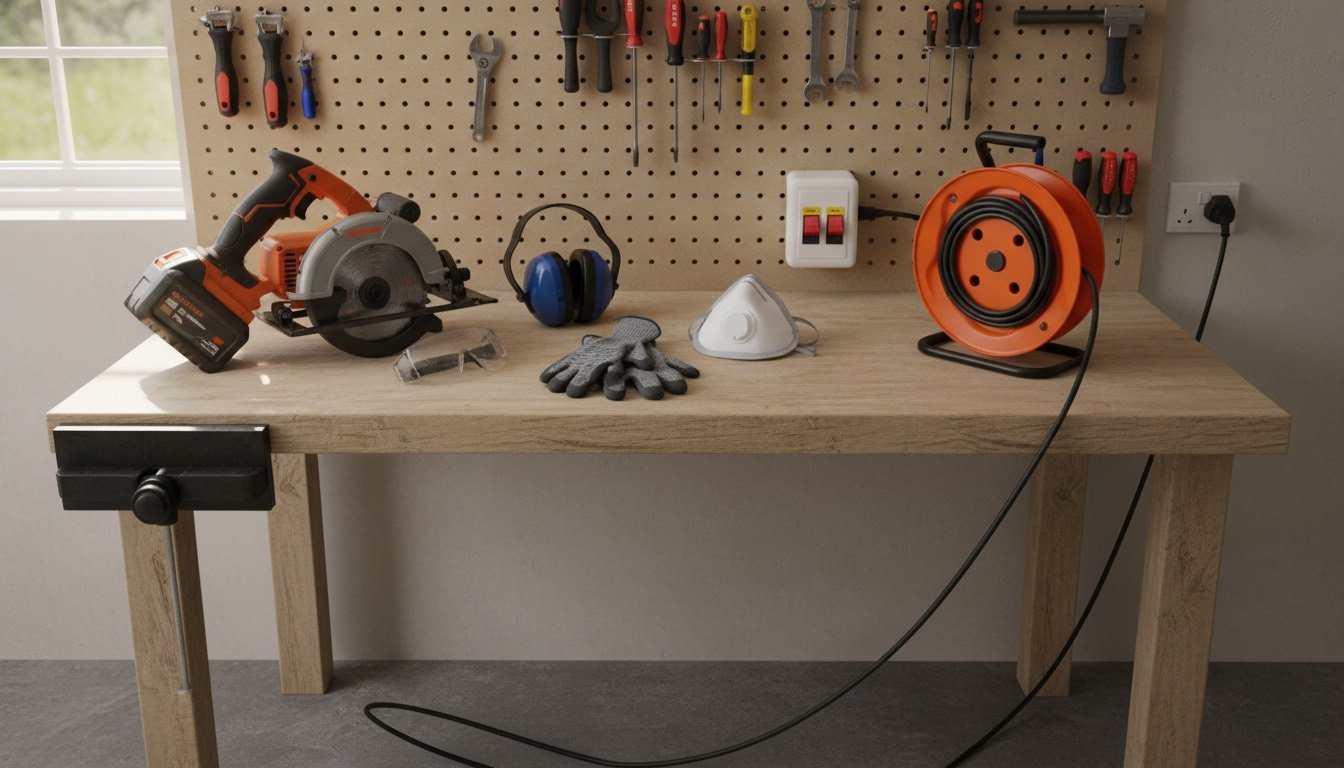
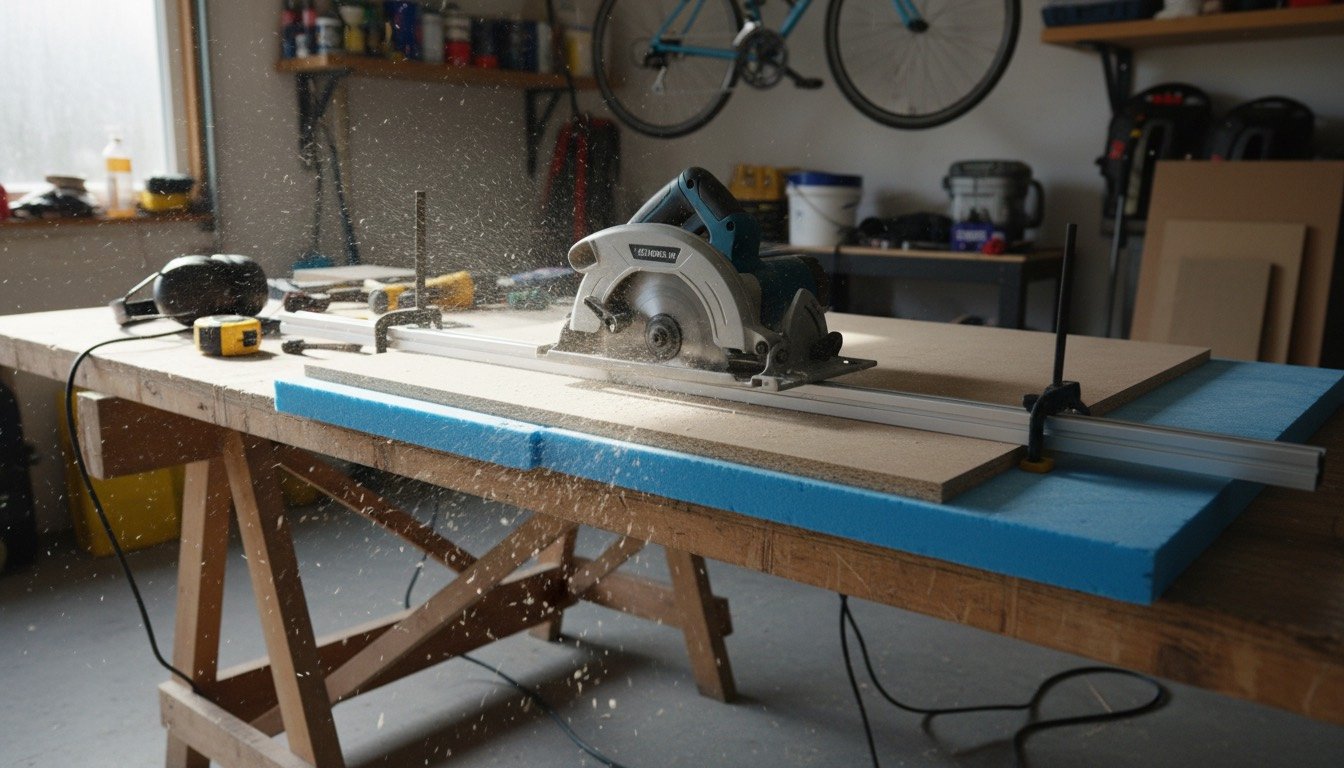
Table saws cause more serious hand injuries in UK home workshops than every other tool combined, and nearly all of it is kickback. The riving knife stops the kerf closing on the back of the blade; people take it off for one cut and never put it back. Print our power tool safety checklist, pin it above the bench, and hold these five rules.
- •Never cut freehand on a table saw. Reference every cut against the fence or the mitre gauge — never both at once, which traps the offcut and fires it back at chest height.
- •Never use the rip fence as a length stop for crosscuts. Clamp a sacrificial block to the fence 100mm before the blade so the offcut is free once cut.
- •Keep hands outside a 150mm zone around any spinning blade. Push sticks cost £4; use two. Never wear gloves near a rotating blade — gloves get dragged in, bare skin does not.
- •Treat hardwood dust as a carcinogen, because it is. The UK workplace exposure limit is 3 mg/m³ for hardwood and 5 mg/m³ for softwood: FFP3 and on-tool extraction, not a domestic vacuum with a paper bag.
- •Clamp the work before you use a chisel and keep both hands behind the edge. Chisel injuries almost always happen to the hand holding the wood.
Rank 2: the mistakes that cost real money
Buying material on the day you need it is the most expensive habit here. PAR redwood at £4–6 a metre for 94×19mm, or 18mm birch ply at £75–100 a sheet, is not something to write off because it cupped overnight. Buy 10–14 days early, sticker it flat with 20mm battens every 400mm, and store it in the room the finished piece will live in.
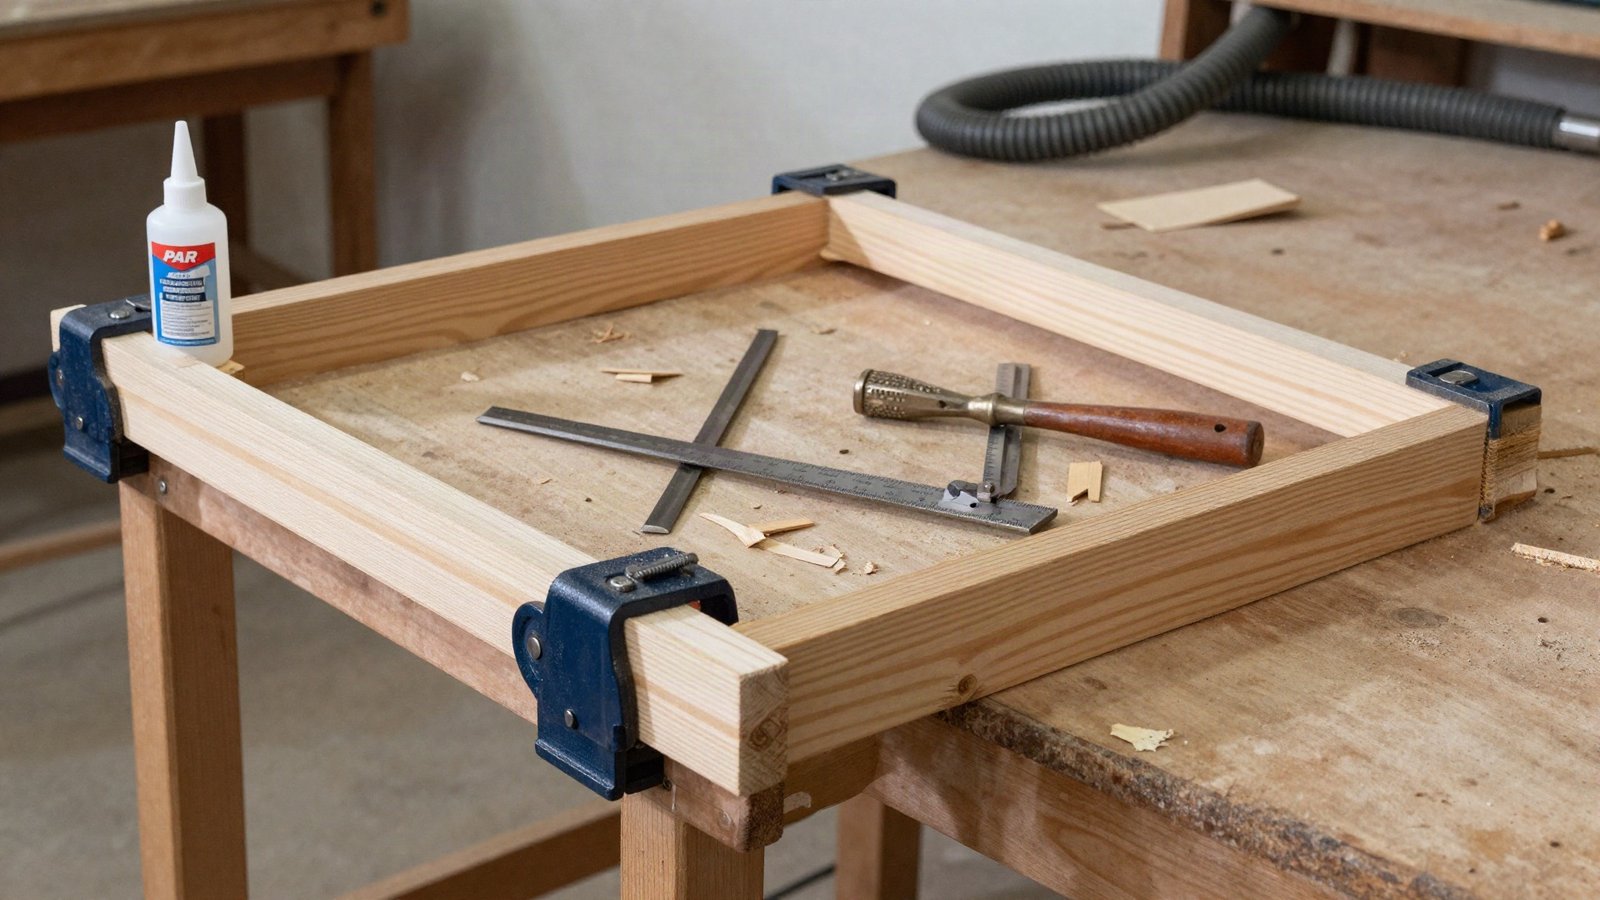
Choosing the wrong sheet material comes next: MDF sags and swells at the first hint of damp, plywood holds screws in its edges, and the price gap is smaller than people assume — our plywood vs MDF comparison sets out where each earns its keep. Glue technique costs money too. A starved joint fails within a year, but so does an over-clamped one, because you have squeezed out the film that does the work: thin even coat on both faces, a continuous bead of squeeze-out, no more pressure than it takes to get that bead. D3 PVA gives five minutes of open time, 30 minutes clamped and 24 hours before you stress it, and our wood glue round-up covers when D3 is not enough.
Rank 3: the mistakes that only cost you a weekend
- •Marking joinery with a carpenter's pencil. A 2mm line is 2mm of ambiguity; a marking knife gives the chisel somewhere to drop into.
- •Blunt edges. A chisel that will not shave a pencil end will not cut a clean shoulder. Ten minutes on a 1000/6000 waterstone beats any technique tutorial.
- •No cutting list. Write every part, its finished size and its grain direction before a machine goes on.
- •Choosing joints by looks rather than load. A shelf under books needs a housing, not a butt joint and four screws — our guide to basic woodworking joints matches each joint to what it has to hold.
Fixing what you have already ruined
Most first attempts are recoverable. A gap under 1mm fills convincingly with PVA mixed to a paste using sanding dust from the same board — not shop-bought filler, which never takes stain the same way. Anything wider takes a sliver of matching timber glued in and pared flush.
A split from an overdriven screw is fixed by working thin PVA into the crack with a scrap of card, clamping two hours and re-drilling a proper pilot. A racked carcass is pulled square by its back panel: glued and pinned 6mm ply holds a bookcase true for decades. Blotchy finish comes back by sanding to 180 grit and sealing before you re-stain. Older pieces with loose joints or lifting veneer need a different approach — start with repairing wood furniture.
When to stop and call someone
The line between a project you learn from and one that ends badly is not about skill level. Everything below belongs to a trade; the rest of our Tools & Workshop guides will keep you on the right side of it.
- •Anything structural — notching or drilling floor joists, cutting roof timbers, altering studwork in a load-bearing wall. Building Regulations apply, and so does your insurance.
- •Staircases, balustrades and loft ladders. Part K sets specific rules on rise, going and guarding, and non-compliant work is flagged at every future sale.
- •New circuits in a garage or garden workshop: notifiable under Part P in England and Wales, so it needs a registered electrician.
- •Valuable, antique or veneered furniture. Sanding through a 0.6mm veneer takes four seconds and cannot be undone.
- •Fitted wardrobes in a house with badly out-of-square walls, unless you are happy scribing every panel. A joiner charges £180–260 a day and will beat your third attempt.
Found this useful?
There's plenty more — hundreds of guides and honestly-tested product reviews for every corner of your home.
Browse All Guides