Tools & Workshop · 6 min read · 26 June 2026
How to Repair Wood Furniture: UK Costs, Glue-Ups and When to Stop
A wobbly dining chair and a ring-marked table look like the same problem. One is a 45-minute glue-up with £5 of materials; the other can become a £400 job that halves what the piece is worth.
By the Nims Casa editorial team — written from professional cleaning experience and checked against our editorial standards.
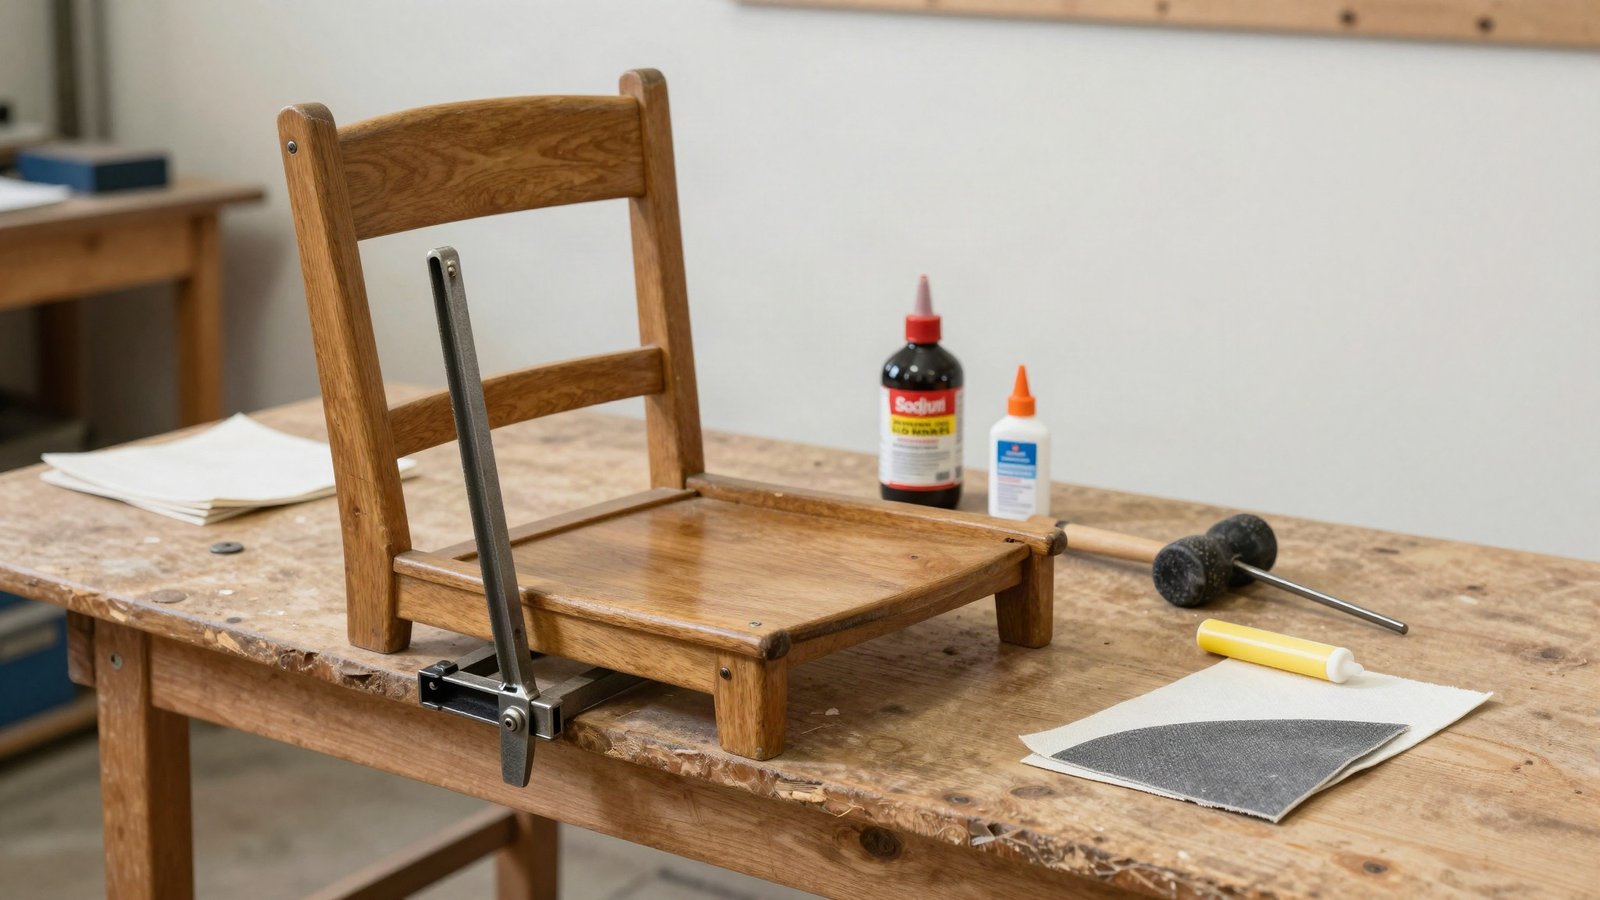
Furniture in UK homes falls into three groups, and telling them apart decides everything that follows. Solid timber built before roughly 1960 used animal glue and cut joints: it comes apart cleanly and goes back stronger than new. Mid-century and modern pieces use PVA, harder to reverse but still repairable. Flat-pack chipboard on cam locks rarely repays the effort.
Central heating is why so much of it loosens: a UK living room sits at 30–40% relative humidity in a January cold snap, nearer 25% beside a radiator. Timber fitted at 55% shrinks across the grain, joint shoulders open a fraction of a millimetre, and every lean-back works them looser. Holding indoor humidity at 40–60% preserves old furniture better than any polish.
Safety First: Dust, Solvents and the Old Finish
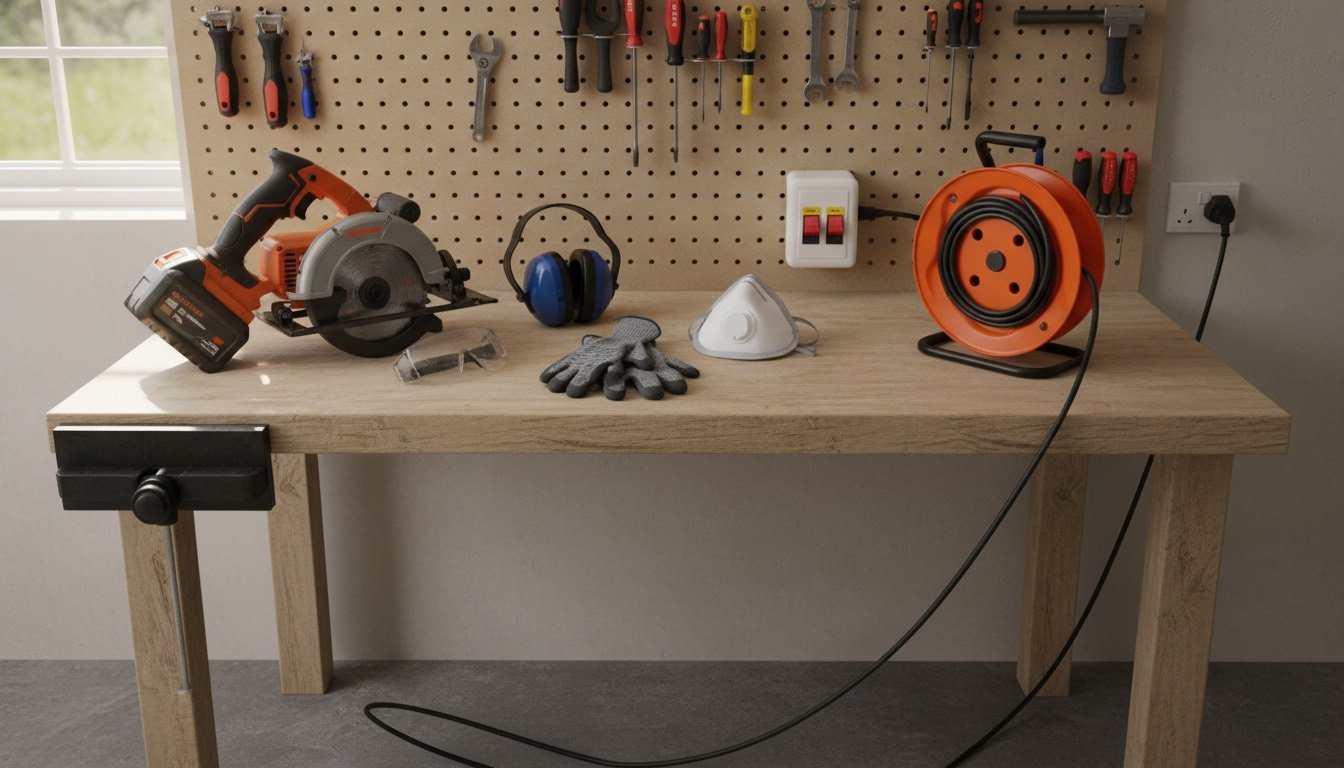
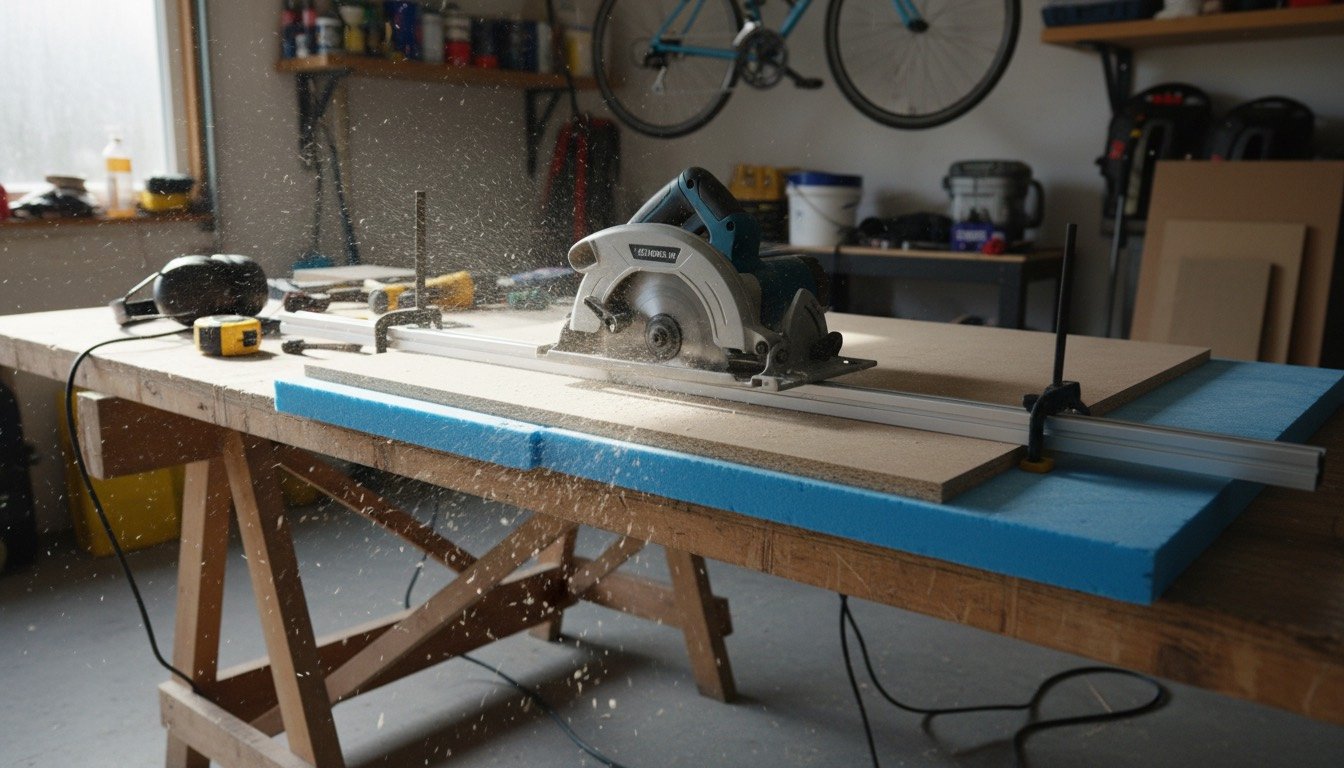
Hardwood dust is a recognised carcinogen with a workplace exposure limit of 3 mg/m³, and five minutes with an orbital sander in a shut garage puts you past it. Painted furniture made before 1992 may carry lead; a £10 swab kit settles that, and a positive result means wet stripping or leaving it alone.
- •FFP3 mask for all sanding and scraping, not a paper nuisance mask, and work with the door open.
- •Methylated spirit, white spirit and cellulose thinners give off vapour heavier than air. Never near a pilot light or heater.
- •Rags soaked in Danish, teak or linseed oil self-heat as they cure and start fires. Dry them flat outdoors.
- •Check for live woodworm first: fresh 1–2mm holes with pale gritty frass beneath, most obvious April to August.
Tools and Materials You Actually Need
Around £120 of kit covers 80% of domestic furniture repair, and you keep most of it for life. Clamps are the only real outlay — two days' hire costs about what a pair costs to buy.
- •Two 900mm sash clamps (£18–28 each), a webbing clamp (£10–15), and a rubber mallet with softwood softening blocks.
- •Liquid hide glue for pre-1960 pieces (£10–14 for 240ml), reversible so the next repairer can undo your work; D3 PVA (£6–9) for modern.
- •A cabinet scraper (£6) and a sharp chisel for paring glue off tenons.
- •Abrasives in 120, 180 and 240 grit, 0000 wire wool, and colour-matched hard wax filler sticks (£7–10) for chips.
Realistic Time and Cost: DIY Versus a Restorer's Invoice
Furniture repair is almost entirely labour. Materials to re-glue a dining chair come to under £5 once you own the clamps; everything else on a quote is somebody's time. Restorers charge £35–55 an hour across most of the UK and £60–85 in London and the South East, and a good one does a chair in 45 minutes spread over two days of clamping.
That gives you a sanity check. A chair re-glue at £60–120 is normal; six dining chairs, £350–700. French-polishing a six-seater table top is £300–600 — 8–12 hours of bodying up — while a sprayed lacquer refinish runs £250–450. A veneer patch is £80–200; collection within 30 miles adds £40–120.
Treat a quote as suspect when it is given firmly over the phone with no photographs, when it never says whether stripping is included, or when the deposit exceeds 50%. Be equally wary of the opposite: sanding back and re-spraying a pre-1900 piece removes the patina that carries most of its value. As with refinishing a hardwood floor, the cheap quote and the right quote are often different jobs wearing the same words.
Step by Step: Re-Gluing a Loose Chair or Table Joint
The commonest error is squirting glue into a wobbly joint without taking it apart. New adhesive will not bond to old, so it holds a few months then fails worse — a classic among woodworking mistakes beginners make.
- •1. Photograph from three angles and number every joint with tape — chair rails are rarely interchangeable.
- •2. Knock the joints apart with a mallet against a softening block, striking in line with the joint. Never lever.
- •3. Clean both faces to bare timber. Hide glue softens under a hot damp cloth; PVA must be pared off dry. Shim a slack tenon with a slip of veneer and let it dry.
- •4. Dry-fit and set clamp length before opening the glue: 20–30 minutes of open time with hide glue, under 10 with PVA.
- •5. Brush glue onto both mating faces, tenon and mortise, clamp at moderate pressure, then measure the diagonals — more than 2mm out and the chair rocks forever.
- •6. Wipe squeeze-out at once, then leave clamped 24 hours at 15°C or above; PVA cured in an 8°C garage never reaches strength.
- •7. Refit corner glue blocks in the seat frame, glued and screwed, before it returns to use.
Surface Damage: Rings, Dents and Lifting Veneer
Most surface faults sit in the finish, not the timber — you are repairing a coating a few tenths of a millimetre thick. Identify it first: methylated spirit on a cotton bud softens shellac or French polish in seconds, acetone attacks cellulose lacquer, and polyurethane shrugs off both.
White rings are moisture trapped in the finish, not damage to the wood, and rubbing along the grain with 0000 wire wool and wax clears most in ten minutes. Dark rings mean water reached the timber; only oxalic acid lifts them, and it bleaches everything around. Dents are crushed fibres and steam back up under a damp cloth and a hot iron in five-second bursts; cut fibres will not, so fill those. Slit lifting veneer along the grain, work thin PVA underneath, and clamp overnight against a caul.
Troubleshooting: When the Repair Does Not Hold
Nearly every failure traces back to one of these, all fixable if you diagnose rather than add more glue.
- •Loose again within weeks — old glue was not fully removed, or the tenon is undersized. Dismantle, clean, shim with veneer.
- •Chair rocks after gluing — assembled out of square. The only cure is re-clamping to equal diagonals inside the open time.
- •Pale patches under a new finish — dried squeeze-out sealing the grain. Scrape to bare timber and recoat.
- •Finish craters or beads — silicone from decades of spray polish. Degrease, then lay a shellac barrier coat.
- •Filler reads as a hard dark line — match wax to the lightest tone in the grain; it darkens once oiled.
- •Still creaks — failure has migrated to the next joint. Do all eight on a chair at once.
When to Stop and Call a Professional
Get a valuation before touching anything pre-1900, or with marquetry, inlay, gilding or an original hand-applied finish. Patina is not dirt: stripping a period surface can destroy more value in an afternoon than a restorer charges in a decade. Active woodworm needing permethrin treatment (£250–600 professionally), and joints broken through the timber rather than at the glue line, belong with a professional.
The other boundary is economic. Flat-pack chipboard with a blown cam lock is not worth a restorer's hour or yours: the substrate crumbles and will not hold a new fixing. Knowing what to repair and what to rebuild is where basic woodworking joints and the right wood glue earn their keep. Outdoor pieces follow different rules, covered in garden furniture care: timber that moves with every rainstorm needs joints that can move too.
Found this useful?
There's plenty more — hundreds of guides and honestly-tested product reviews for every corner of your home.
Browse All Guides