Kitchens & Bathrooms · 6 min read · 7 June 2026
How to Clean the Kitchen's Small Appliances: Microwave, Kettle, Toaster, Air Fryer
Four appliances, four five-minute methods — steam for the microwave, citric acid for the kettle, gravity for the toaster and patience for the air fryer.
By the Nims Casa editorial team — written from professional cleaning experience and checked against our editorial standards.
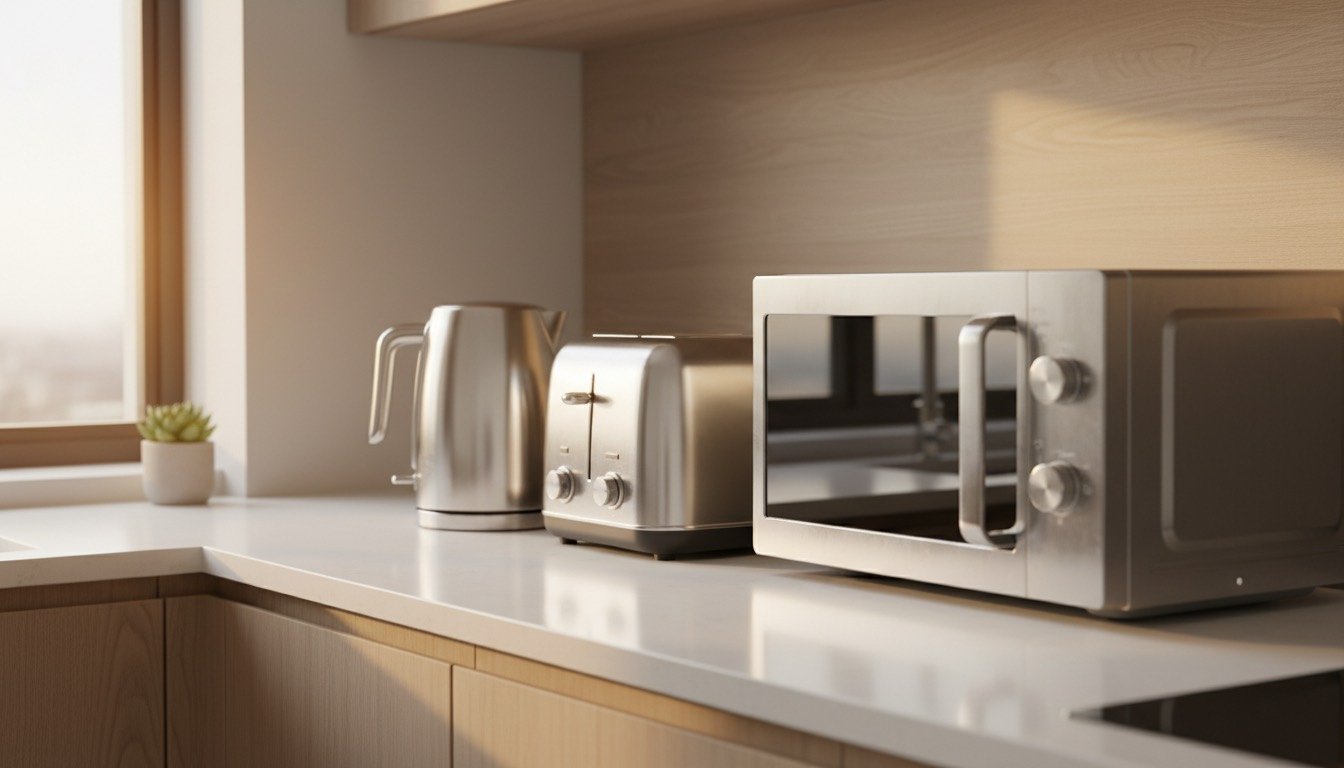
The microwave, kettle, toaster and air fryer are the hardest-working appliances in a UK kitchen and, going by most worktops, the most neglected. Each gets used daily and wiped down maybe once a month, which is how a kettle ends up furred with limescale, a toaster starts smelling faintly of bonfire, and an air fryer basket goes dull under a grease film nobody remembers spilling.
None of the four need scrubbing or specialist sprays. Each has one correct method — mostly steam, acid or gravity doing the work — and getting it right first time means five minutes a fortnight instead of a Saturday fighting baked-on grime with a scourer that's wrecking a non-stick coating.
This guide covers the exact steps for each appliance, the kit worth keeping under the sink, the mistakes that shorten an appliance's life, and when a fault stops being a cleaning problem and becomes a repair one. These four are only part of the picture — for the rest of the room in the right order, see our professional's guide to deep cleaning a kitchen.
Microwave: the steam-and-wipe method
Dried-on splatter comes off far more easily with steam than with a cloth and pressure. The method takes ten minutes, most of it hands-off.
- •Fill a microwave-safe bowl with around 300ml water and add a sliced lemon, or two tablespoons of white vinegar.
- •Microwave on high for 5 minutes, then leave the door shut a further 5 so the steam works on splatter.
- •Wipe the roof, walls and door seal with a damp microfibre cloth — grime lifts away without scrubbing.
- •Remove the turntable and glass tray and wash in the sink or dishwasher.
- •For lingering smells, wipe the interior with bicarbonate of soda solution (one tablespoon to 500ml water) and leave the door ajar overnight.
Kettle descaling: citric acid and how often hard water demands it
Scale on a kettle's element isn't cosmetic — it increases boil time and energy use, which is why an old kettle can take noticeably longer to boil than it did when new.
A tablespoon of citric acid in a boiled kettle of water, left 30 minutes then rinsed twice, clears scale for pennies. In hard-water regions — much of southern and eastern England — do this monthly; soft-water areas can stretch to quarterly. A filter jug for the kettle, around £20–£28, cuts scale build-up further. For the same method on shower screens and taps, see our full limescale removal guide.
- •Half-fill the kettle with water and bring it to the boil.
- •Add a tablespoon of citric acid (around £1.50 for a 200g tub) and leave to stand for 30 minutes.
- •Empty, rinse twice, then boil once more with plain water before making a drink, to clear any residual taste.
- •Wipe the exterior spout and lid seal, where hard water often leaves the first visible crust.
Toaster: clearing crumbs and grease without the fire risk
A toaster that's never emptied doubles as a small fire risk and is the reason toast keeps catching — trapped crumbs char and taste burnt well before the bread itself is done.
- •Unplug it, always, before anything touches the slots.
- •Slide out the crumb tray and wash it in warm soapy water.
- •Turn the toaster upside down over the sink and shake firmly; months of crumbs dislodge in seconds.
- •Clear the slots with a soft, dry paintbrush — never a knife or fork, and never while plugged in.
- •Wipe the exterior with a damp cloth; on stainless steel, a few drops of olive oil buffed in lift fingerprints.
Air fryer: the soak-not-scrub rule that protects the coating
The UK's favourite kitchen gadget has a grease problem that rarely comes up at purchase. Fat coats the basket, the crisper plate and — less visibly — the element above them, and abrasive scourers wreck the non-stick coating that makes it work.
Skip 'air fryer liners' that block airflow, and clean after fatty cooks rather than waiting — pooled grease under the element is the biggest cause of a smoking air fryer.
- •Unplug and let the unit cool fully before cleaning.
- •Remove the basket and crisper plate and soak in hot water with washing-up liquid for 10 minutes.
- •Clean with a soft sponge, never a scourer or steel wool — non-stick coatings scratch permanently in seconds.
- •Once cool, wipe the heating element and interior roof with a barely damp, soapy cloth; this is where aerosolised grease actually collects.
- •Dry everything fully before reassembling, to stop the basket rusting at the rivets.
Kit worth keeping under the sink
None of the above needs a cupboard of specialist sprays — a handful of cheap basics covers all four appliances. For ready-made alternatives, our review of eco cleaning products that actually work rounds up greener options than the usual supermarket sprays.
- •Citric acid, 200g tub — around £1.50; doubles as a descaler for kettles, showerheads and taps.
- •White vinegar, 1 litre — around £1; general-purpose descaling and deodorising.
- •Bicarbonate of soda, 500g — around £1; a mild, abrasive-free deodoriser.
- •Microfibre cloths, pack of 5 — around £5; safe on non-stick and stainless finishes.
- •A soft-bristled brush (an unused pastry or paintbrush) — around £3; for slots and crevices.
Mistakes that shorten a small appliance's working life
Most damage to these four happens during cleaning, not cooking.
- •Scrubbing non-stick air fryer parts with anything abrasive — the coating doesn't grow back.
- •Ignoring a kettle element until scale visibly flakes into cups — it's already increased boil times and energy use.
- •Leaving a crumb tray in 'for later' — damp, trapped crumbs are as much a moth attractant as a fire risk.
- •Using bleach or oven cleaner inside a microwave — both leave residues that can off-gas next use.
- •Cleaning any of the four while still plugged in, the most skipped line in every manual.
When it's a repair, not a cleaning job
Cleaning solves grime, not faults. A kettle that clicks off before boiling, a microwave that sparks, a scorched toaster cord, or an air fryer that trips the electrics points to a fault, not dirt — unplug it and don't attempt a DIY repair. Appliances still under warranty, typically one to two years, should go back to the retailer rather than a local repair shop, which can void the cover. For the wider habits that quietly damage kitchen kit, see our guide to cleaning mistakes that damage your home.
Frequently asked questions
How often should I clean a microwave? Wipe spills as they happen and do the full steam clean weekly if it's used daily, fortnightly if it isn't — grime left for a month turns into a scrubbing job rather than a five-minute wipe.
Can I use a dishwasher tablet to clean a kettle? No — dishwasher tablets contain surfactants meant for crockery, not something you boil water in and drink from. Stick to citric acid or a food-safe descaler.
Why does my air fryer smell of burning plastic even after cleaning? Usually it's grease on the heating element rather than the basket, easy to miss as it isn't visible from above. If the smell persists after a proper clean with the appliance unplugged and cool, treat it as a possible wiring fault and stop using it until checked.
Is it safe to put a toaster's crumb tray in the dishwasher? Most metal and plastic trays are dishwasher-safe — check the manual — but never submerge the toaster body itself, since it's an uninsulated heating element.
Does hard water damage more than just the kettle? Yes. The same limescale that furs a kettle also affects dishwashers and shower fittings, and pushes up the energy needed to heat water across the kitchen — see our guide to energy efficient appliances for how that adds up over a year.
How do I get rid of a lingering microwave smell for good? Combine the steam clean with an overnight bicarbonate of soda wipe-down, then leave the door ajar rather than fully shut when idle — a sealed, damp interior lets smells build up, the same logic behind airing a freshly cleaned fridge, covered in our fridge deep clean and organisation guide.
Found this useful?
There's plenty more — hundreds of guides and honestly-tested product reviews for every corner of your home.
Browse All Guides