DIY & Maintenance · 6 min read · 8 July 2026
How to Install Wainscoting on UK Walls (Step by Step, With Real Costs)
Panelling looks like a weekend job until you meet a bowed Victorian wall, a socket that no longer sits proud, and a cable running exactly where your pins want to go. Here is how it actually goes.
By the Nims Casa editorial team — written from professional cleaning experience and checked against our editorial standards.
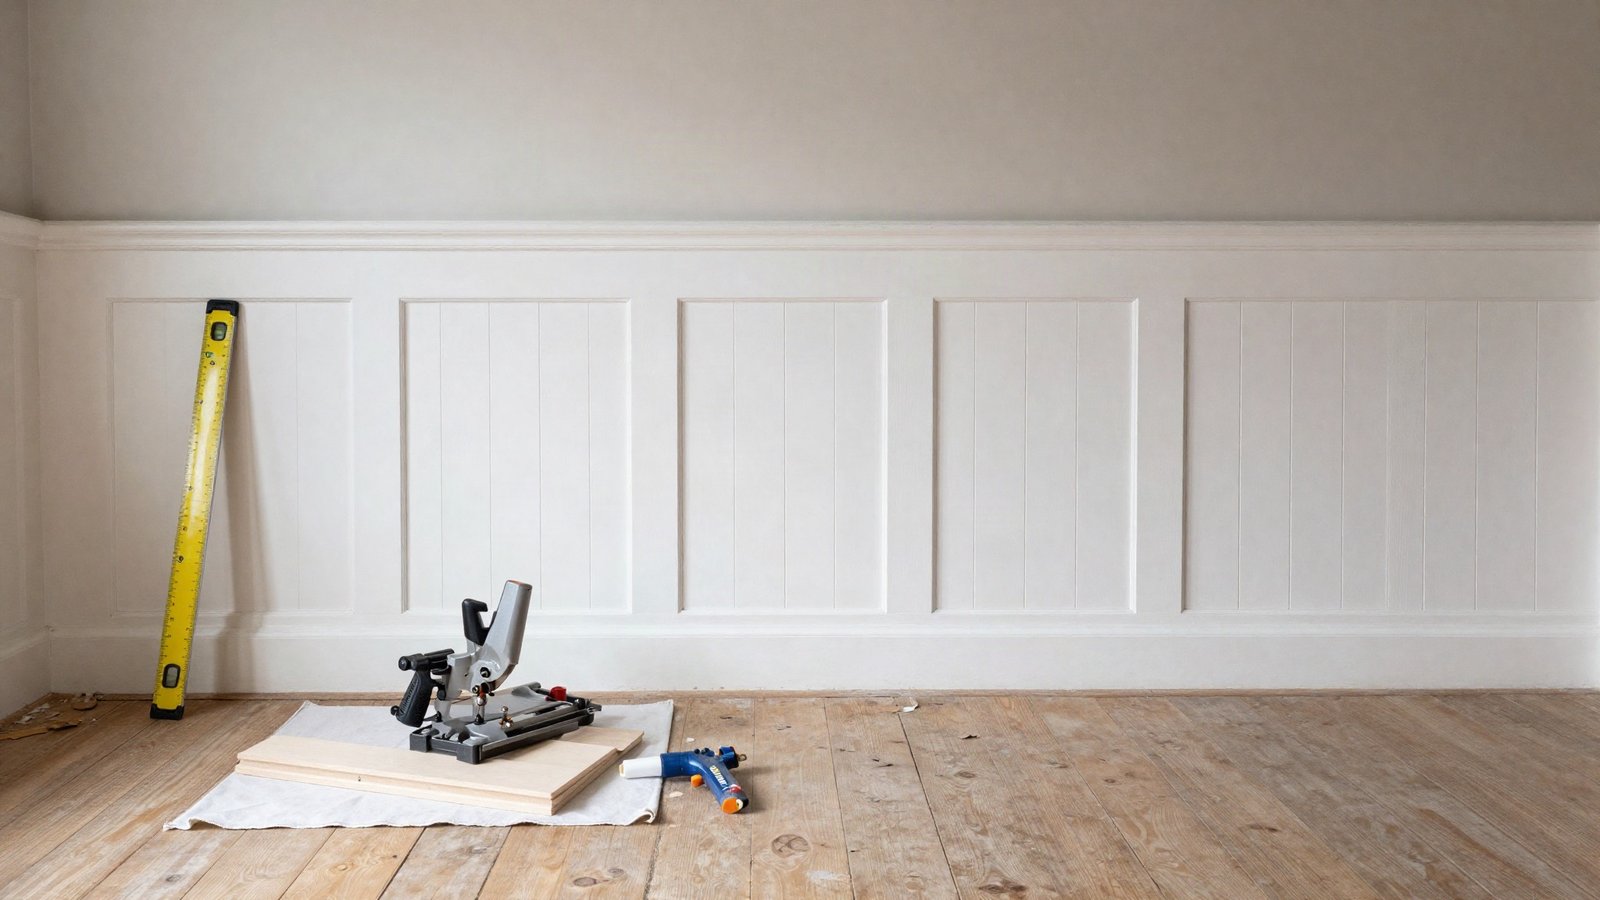
Almost nobody fails at panelling because of a bad mitre. They fail at the setting out, or bond 9mm MDF to a wall 14mm out of plumb, or find the cable feeding the upstairs lights only after the pin goes in. The joinery is the easy part.
Here is the sequence a second-fix carpenter uses on a typical UK room: reading the wall first, dividing it so the panels look deliberate, what it costs in 2026, and the British rules that apply to work most people assume is unregulated.
Safety first: what is behind the wall
Wainscoting puts fixings in at exactly the height where cables and pipes live. BS 7671 keeps cables in permitted safe zones — 150mm bands from ceiling and corners, plus the zones above, below and beside a socket — but in a house rewired twice since 1965 they often are not. Sweep every run with a multi-detector. On stud walls, the tapping trick from our guide to finding a stud without a stud finder works above the rail line.
Then test the wall. A 2m straightedge at rail height showing more than 5mm of gap means you cannot bond panels to bare plaster and get a flat face. If a damp meter reads wet on an external solid wall, stop: panelling over damp and mould turns a fixable problem into rotten MDF behind a sealed face.
Tools and materials
Moisture-resistant (green core) MDF earns its extra couple of pounds a sheet in hallways and bathrooms — the plywood versus MDF choice matters more here than people expect.
- •Sliding compound mitre saw, or a mitre box and tenon saw for short runs
- •1.2m spirit level, chalk line, laser level if you can borrow one
- •Multi-detector for live cable, metal and timber
- •18g brad nailer with 32-50mm brads, or a pin hammer, 40mm lost-head pins and a punch
- •Grab adhesive (Gripfill, Stixall): three to five 350ml tubes
- •Decorator's caulk, four to six tubes, plus fine surface filler
- •FFP3 mask and on-tool extraction — MDF dust is a COSHH hazard at 5mg/m3
- •Pre-primed MR MDF panel moulding (2400 x 70 x 9mm), dado rail, skirting if replacing
Skill level, time and cost
Intermediate. The patience goes into filling and caulking, where the finish is won. Allow 10 to 16 hours for a first room across three days so adhesive and filler cure; a carpenter does it in a day and a half.
Materials for a 3.5m x 3m room panelled to 1m all round — about 13 linear metres — run £180-£320 at 2026 Wickes or B&Q prices, including primer and two coats; add £120-£220 if you need a mitre saw. Carpenters charge £180-£280 a day plus VAT outside London and £250-£400 inside it, so supplied, fitted and painted expect £900-£1,800 for a dining room and £1,200-£2,500 for a hall and staircase.
The steps
Stack the MDF flat in the room for 48 hours first — cold boards move once the heating comes on.
- •1. Set the height. In a 2.4m UK room, dado panelling lands at 900-1000mm to the top of the rail; a 2.7m Victorian room takes 1.1-1.2m. If the floor slopes more than 8mm, level the rail and let the skirting absorb it; the eye reads the rail.
- •2. Set out the grid on paper. Subtract stile widths, divide the rest into equal 400-600mm panels, and adjust until nothing falls below 350mm. A sliver panel in a corner is the clearest sign of a rushed job. Mark a story stick so every wall matches.
- •3. Fit the skirting first if replacing it, scribing internal corners rather than mitring — a scribed joint stays closed when timber shrinks in winter.
- •4. Fix the top rail: adhesive plus two brads per 600mm, into studs where you have them. Butt it into corners, do not mitre.
- •5. Cut vertical stiles one at a time to the measured gap between skirting and rail — never batch-cut, that gap changes along the wall — then fit cross rails last.
- •6. Bring sockets forward with a spacer (pattress) so the faceplate sits flush. Never pull one forward on long screws over a recessed back box.
- •7. Fill nail holes and mitres, run flexible caulk into every junction with wall and skirting, sand at 180 grit once cured, then vacuum.
- •8. Prime bare MDF edges properly, then two coats of eggshell or satinwood — check how paint sheens read room by room, as eggshell hides an imperfect wall better than satin.
Troubleshooting
- •Panel drums or rocks: bowed wall. Shim behind with hardboard, or batten out with 25 x 38mm treated softwood at 400mm centres.
- •Adhesive will not grab: chalky plaster. Vacuum, seal with a stabilising primer, then refix.
- •Mitres opening in winter, or hairline cracks at the wall junction: use flexible caulk, not hard filler. Rake out and re-caulk.
- •MDF edges furring after painting: under-primed. Sand back, two coats of primer, then top-coat.
- •Level but still looks wrong: a set-out error. Check your stile widths.
The UK rules that genuinely apply
Internal panelling needs no planning permission, and permitted development is irrelevant — those rights govern the outside of a building. Building control and three other regimes are not.
Electrics fall under Part P in England and Wales. A spacer on an existing back box is not notifiable, but relocating a socket, adding a spur, or any work in a room with a bath or shower is — that needs a registered electrician or building control sign-off. Scotland has its own Building Standards.
Fire spread is the rule people miss. Approved Document B sets wall lining standards for circulation spaces — halls, landings and stairs forming a means of escape. Extensive timber panelling in a flat's internal hallway or HMO common parts can fall foul of it, and flame-retardant board may be needed. Landlords carry this under the Regulatory Reform (Fire Safety) Order 2005 too.
Gas: under the Gas Safety (Installation and Use) Regulations 1998 and BS 6891 you may not enclose a gas pipe in an unventilated void, or panel over an air vent serving an open-flued appliance.
Listed buildings: altering internal features, including stripping original panelling or mouldings, needs listed building consent, and doing it without is a criminal offence. Conservation area status covers the exterior only. In pre-1970s houses, test old trim for lead paint before sanding.
When to stop and call a professional
Call a carpenter for staircases: raking cuts along a stair string are a different order of difficulty, and a botched stair panel is visible from everywhere in the hall. Call one too if walls are more than 15mm out over 2m, or if you want raised-and-fielded panelling rather than applied moulding — that is joinery, not DIY trim.
Call an electrician before panelling a bathroom or moving any accessory, a Gas Safe engineer before boxing in pipework, and a damp specialist before covering a wall that reads wet. In a listed property, ring the conservation officer first.
Still choosing a style? Work through panelling ideas and the trim installation mistakes that spoil otherwise decent work.
Found this useful?
There's plenty more — hundreds of guides and honestly-tested product reviews for every corner of your home.
Browse All Guides