Plumbing · 6 min read · 19 June 2026
How to Replace a Toilet Fill Valve (UK Cistern Guide)
The fill valve is the most-replaced part in a British bathroom, and a £12 component fixes what most people pay £120 to have looked at. Here is the job done properly, plus the version a tenant can safely do.
By the Nims Casa editorial team — written from professional cleaning experience and checked against our editorial standards.
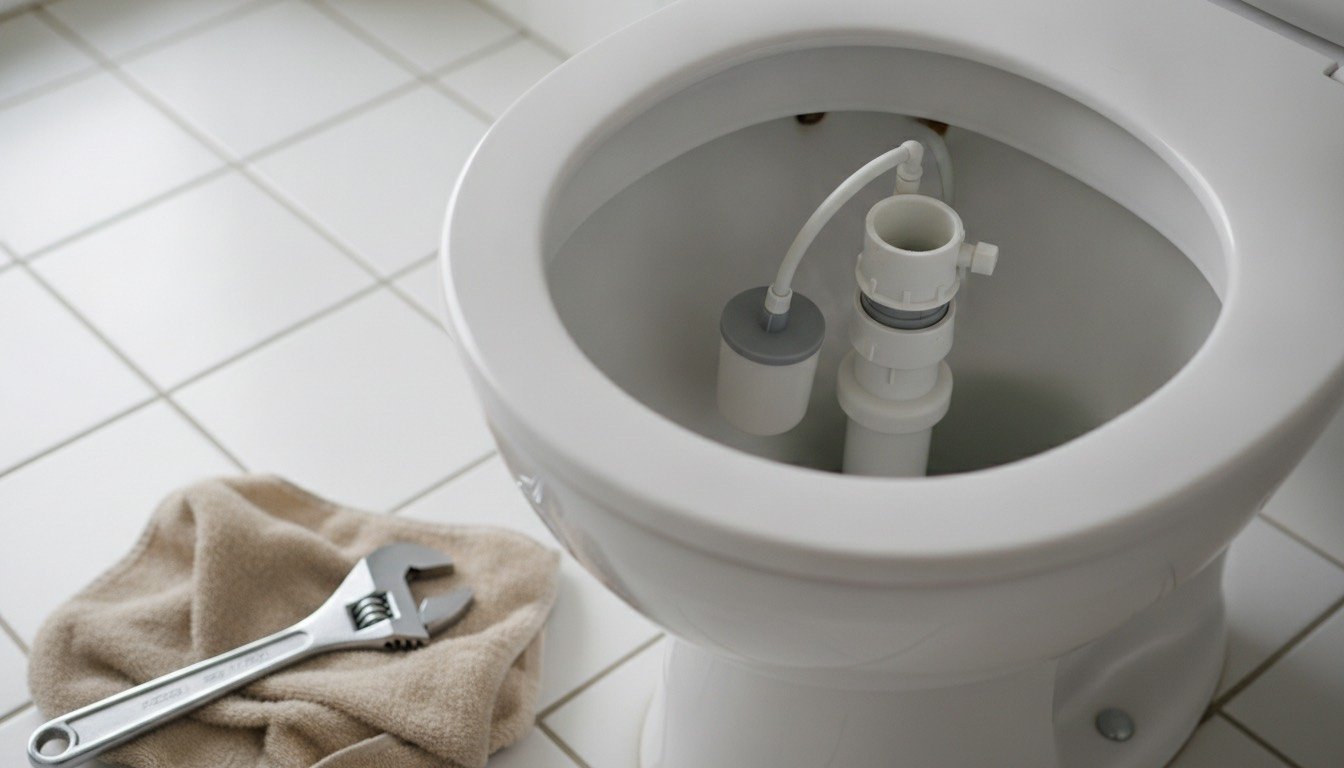
When a cistern hisses forever, dribbles down the overflow, or refuses to refill after a flush, the fill valve has almost always failed. It is a plastic part that spends its life submerged in hard water, and across most of England it gives up between year five and year twelve.
The confusion is nearly always about which valve to buy, not how to fit it. Get that right and the swap takes half an hour with one spanner. First, be sure the fill valve is the culprit rather than the flush valve — if water is escaping into the pan rather than the cistern refilling endlessly, start with our guide to a running toilet.
Safety First
No electricity is involved, which makes this one of the safer plumbing jobs in the house. The two real risks are water damage and cracked ceramic — both avoidable.
- •Isolate the supply. Nearly every UK toilet fitted since the late 1990s has a service valve within 300mm of the cistern: turn the screw slot with a screwdriver, in line with the pipe is open, across is closed.
- •No service valve? Use the internal stopcock, usually under the kitchen sink.
- •Flush, hold the handle down, then sponge the last 20mm out. A wet base makes the backnut slip.
- •Never lever a spanner against the ceramic. Cisterns crack at the inlet hole, and a replacement is £60-£150 plus fitting.
- •Put towels and a bowl under the inlet first — there is always more water in that pipe than expected.
Tools and Materials
Skill level: beginner, provided you identify the inlet type before buying. Bottom entry means the supply pipe meets the cistern underneath (most modern close-coupled suites); side entry means it enters the left or right face. They are not interchangeable. Check pressure too: a gravity-fed loft tank may give only 0.1-0.2 bar, so the valve must be rated for it. Mains-fed combis take anything.
- •Adjustable spanner, plus a cistern spanner if the backnut sits tight to a wall
- •Flat-bladed screwdriver, old towels, washing-up bowl and sponge
- •Replacement fill valve, WRAS approved — Fluidmaster PRO45B, Torbeck Ecofil and Siamp Ballade are what plumbers carry, £9-£18
- •The washers supplied with the new valve; never reuse the old ones
- •A new flexible tap connector, £5-£8, if the existing one is stiff or chalky
- •Optional: a full toilet repair kit at £20-£30 if the flush valve is tired too
Realistic Time and Cost
First time, allow 45 minutes including a trip back to the merchant if you buy the wrong entry type. Anyone who has done a few will finish in 15-20 minutes. A concealed cistern adds 15 minutes for the duct panel.
Parts total £12-£25. A plumber is typically £70-£120 across most of the UK and £120-£190 inside the M25, because it is charged as a minimum call-out rather than by time — see our breakdown of what a plumber costs by job. An overflowing cistern also wastes 200-400 litres a day on a meter.
Step by Step
Take your time at steps 4 and 8 — that is where cisterns get cracked and joints overtightened.
- •1. Close the service valve, flush, hold the handle down, and sponge the cistern dry.
- •2. Position the bowl and towels under the inlet.
- •3. Undo the flexible connector nut from the valve tail, holding the valve body still so you are not twisting the ceramic.
- •4. Undo the plastic backnut clamping the valve through the cistern wall. If limescale has seized it, ease it gently.
- •5. Lift the old valve out, photographing the assembly and water level mark before you bin it.
- •6. Clean the inlet hole with a plastic scraper. Washer residue and limescale will stop a new washer sealing.
- •7. Fit the new valve with its rubber washer inside the cistern and the fibre washer outside, as the packet shows. No PTFE tape on a washer seal.
- •8. Tighten the backnut hand-tight, then a quarter turn with the spanner. Plastic backnuts split if you crank them.
- •9. Reconnect the flexible connector to the tail, again hand-tight plus a quarter turn.
- •10. Set the fill height by twisting the float cup or sliding the clip: 20-25mm below the overflow tube, or the CWL line moulded into the cistern.
- •11. Open the service valve a quarter turn only and watch it fill, checking both joints.
- •12. Open fully, flush twice, dry the joints and re-check after ten minutes. A slow weep will not show immediately.
The Renter-Safe Version
Under Section 11 of the Landlord and Tenant Act 1985, sanitary fittings are the landlord's repairing responsibility. You are entitled to have this fixed free, so report it in writing first — a running cistern on a water meter is a strong argument if they drag their feet.
If you would rather just fix it, a fill valve swap is one of the few plumbing jobs that is fully reversible, which is what keeps it deposit-safe: nothing is cut, drilled or glued. Keep the old valve bagged, photograph before and after, choose a WRAS-approved valve so the fitting still complies with the Water Supply (Water Fittings) Regulations 1999, and email the landlord the receipt.
What a tenant should not do: fit a service valve where there is none, cut or reroute pipework, use sealant on the cistern, or prise off a tiled duct panel not designed to lift out. Those belong to the landlord. The same reversibility principle governs everything else in a let, as our guide to rental-friendly changes sets out.
Troubleshooting After the Swap
Nearly every post-fitting complaint is one of these five.
- •Fills at a trickle: on gravity systems the valve may be pressure-mismatched, so check the packet for a 0.1 bar minimum. Then check the inlet filter for grit.
- •Loud bang on shut-off: the valve closes faster than the pipework likes. A delay-fill model cures it, as does easing the service valve back.
- •Weeping backnut: undo it, check the rubber washer has not rolled in the hole, refit hand-tight plus a quarter turn.
- •Lid will not sit down: modern valves are often taller than what they replace. Shorten the telescopic stem rather than propping the lid.
- •Still trickling into the pan next day: the fill valve was not the fault — the flush valve seal has gone. Water on the floor points instead to a leak at the base.
When to Call a Professional
Stop and phone someone if there are hairline cracks radiating from the inlet hole, if the ceramic flexes when you force a seized backnut, or if the supply pipe is lead. Lead needs replacing by a professional, not disturbing.
Also call if there is no isolation valve and no accessible stopcock, if the valve sits inside a concealed wall frame, or if you find green corrosion on the supply pipe. None of that is worth a flooded floor. If the whole house is affected rather than this one fitting, start with the causes behind low water pressure — a new fill valve will not fix a supply problem.
Found this useful?
There's plenty more — hundreds of guides and honestly-tested product reviews for every corner of your home.
Browse All Guides