Energy & Insulation · 6 min read · 9 July 2026
How to Weatherstrip a Door: Diagnose the Draught First, Then Seal It
Most draughty doors get the same £4 roll of foam tape, and most are still draughty by February. Here is the order a joiner works in, and how to find out what is actually leaking.
By the Nims Casa editorial team — written from professional cleaning experience and checked against our editorial standards.
The standard response to a whistling front door is a roll of foam tape pressed into the frame in one pass. By February half of it is hanging off and the door rattles again. Foam tape is rarely the problem; fitting a seal sized for a 2mm gap into a 6mm gap is.
Done properly, a door takes under an hour and £20 to £40 of materials. The difference is made before any fitting, working out where the air is actually getting in — half the doors we are called to are not leaking through the rebate at all.
Step one: diagnose which draught you actually have
Shut every window, open the internal doors, and run the kitchen extractor and bathroom fan on full for five minutes. That depressurises the house slightly and drags outside air in through every gap — a crude blower-door test. Trace the door with a lit incense stick and watch the smoke.
Then close the door on a strip of A4 at six points — both top corners, mid-height on each stile, both bottom corners — and pull. Where it slides free, nothing is sealing. Match the result to one of these before buying anything.
- •Air along the bottom only: a door-bottom job — brush or blade excluder, often a threshold bar, not frame tape.
- •Draught all round the rebate and rattling in wind: the compression seal is missing or gone hard. The classic self-adhesive EPDM job.
- •Draught down the hinge side while the door binds on the lock side: the leaf has dropped and sits skew. No seal spans that.
- •Whistling at the letterplate, keyhole or cat flap: hardware, not the door, and under £15 to fix.
- •Cold you can feel but no air movement: radiant cold off single glazing or a thin panel. Weatherstripping will not touch it.
- •Air arriving at the skirting beside the frame: the leak is behind the architrave or under a suspended floor, and wants caulk.
Safety first: the doors you should not seal
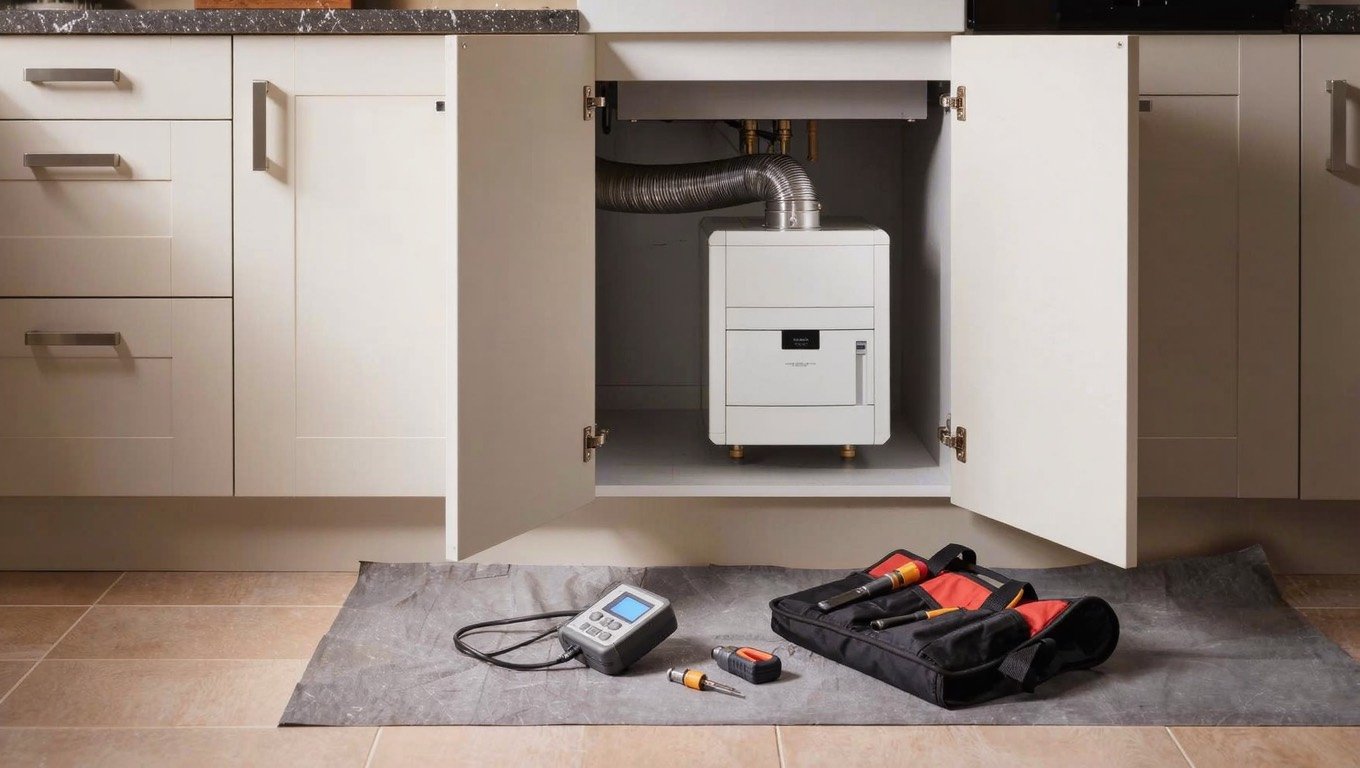
Any room with an open-flued appliance — an older gas fire, back boiler or solid fuel stove — depends on air getting in, including under the door. Cut that supply and you risk incomplete combustion and carbon monoxide. Never block an airbrick or wall vent, and if you are unsure whether an appliance is room-sealed, ask a Gas Safe engineer first.
Fire doors are the other one. Flat entrance doors and doors onto protected stairways are certified assemblies; the only seal that belongs on them is a combined intumescent and cold-smoke strip in the machined groove.
Tools and materials, with UK prices
All of it is shelf stock at Screwfix, Toolstation, B&Q or Wickes. Buy the profile that matches the gap you measured, not whatever is on multibuy — our round-up of the best weatherstripping for doors compares them.
- •Tape measure, bradawl, sharp scissors, safety glasses, cordless driver and a 2mm HSS pilot bit
- •Junior hacksaw and mitre block for aluminium carriers (£10), meths or IPA wipes, low-modulus silicone
- •Self-adhesive EPDM: E-profile for 1–3.5mm gaps, P-profile for 3–5mm, D-profile for uneven old frames. £4–£8 per 5–6m roll
- •Silicone blade or brush seal in an aluminium carrier for exposed external rebates: £8–£15 per metre
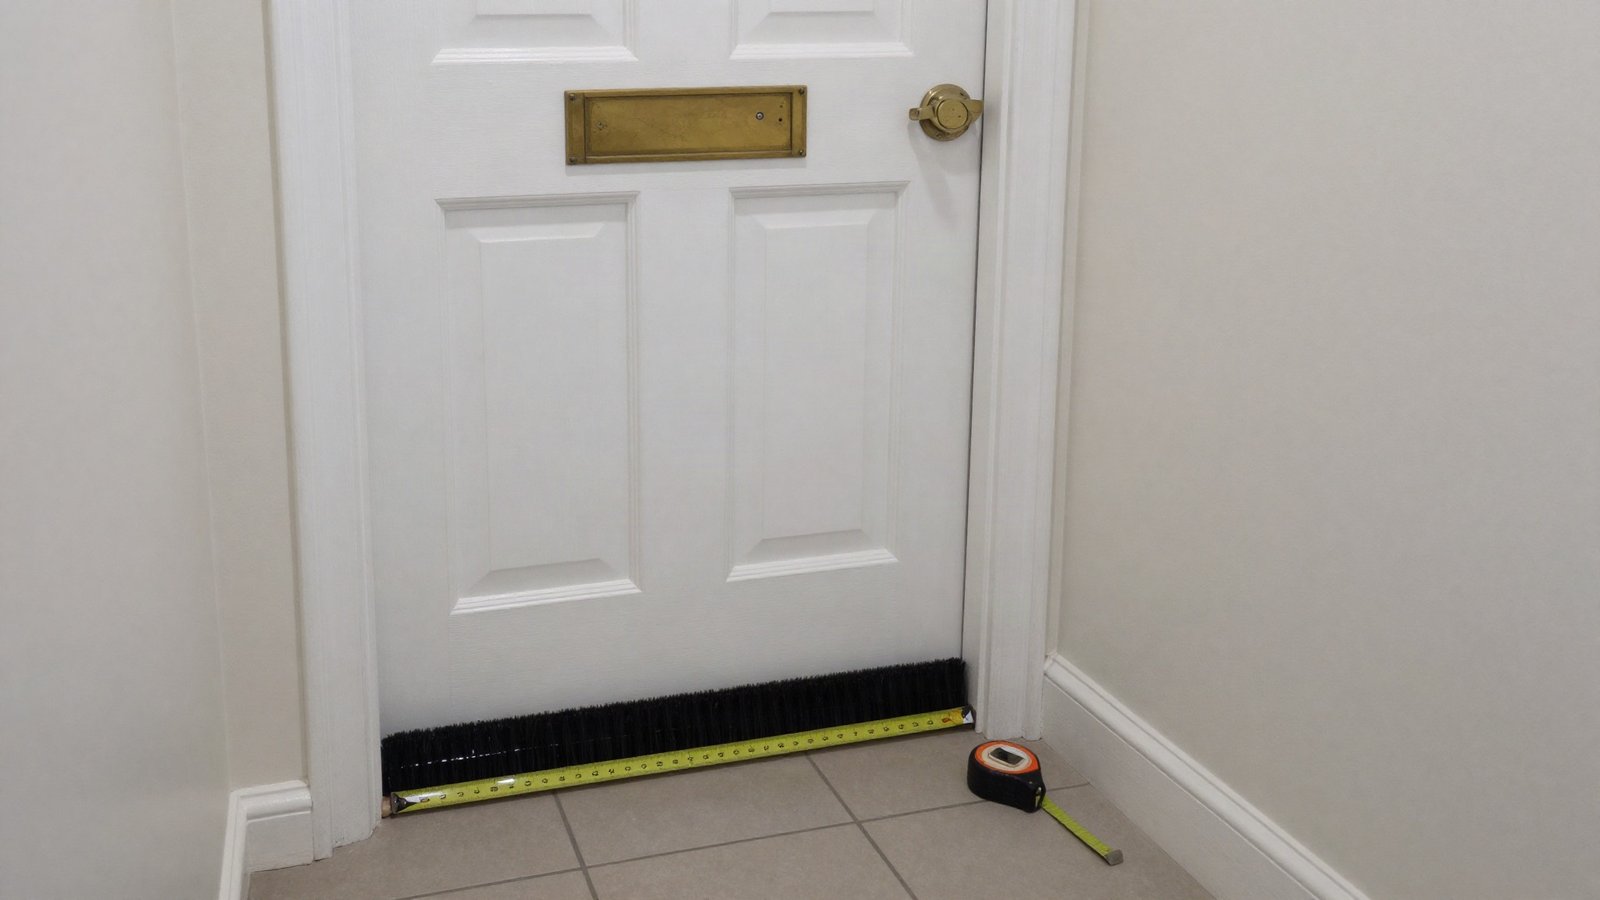
- •Door-bottom excluder — brush for carpet, twin rubber blade for tile or vinyl: £10–£20
- •Threshold bar or rain deflector for external doors £15–£30; letterplate brush £8–£12; keyhole escutcheon £4–£6
Realistic time, cost and skill level
Beginner work, with one caveat: measure accurately. An internal door with EPDM in the rebate and a stick-on bottom seal is 20 minutes and about £8. A front door done properly — rebate seal, screwed excluder, threshold bar, letterplate brush — is 60 to 90 minutes and £35 to £55 in materials. A three-bed semi throughout lands between £60 and £120.
A joiner charges £35 to £55 an hour outside London and £50 to £75 inside it, usually with a half-day minimum, so batch every door into one visit. The Energy Saving Trust puts the yearly saving from draught-proofing doors and windows at around £40 — materials repay in a winter, though comfort is the honest reason most people bother.
The step-by-step method
Work in this order. Jumping straight to step four is why most DIY draught-proofing fails.
- •1. Sort the hanging first — tighten loose hinge screws and ease any binding, as covered in our guide to sticking and slamming doors.
- •2. Measure the gap at head, both jambs and threshold with folded card. It can vary 3mm along one jamb; size for the widest point.
- •3. Clean the rebate with meths and leave five minutes. Seals fail on waxy or damp timber far more often than on gap size.
- •4. Fit the head seal in one unbroken length where the door face lands, then both jambs butted hard to it, cut square. Never stretch EPDM; thumb each length for 30 seconds to bond.
- •5. Mark the bottom excluder with the door shut, drill 2mm pilots, and set the brush to just kiss the floor. 1–2mm interference is plenty.
- •6. External doors: bed the threshold bar and its fixings on low-modulus silicone, sloping outward, so water cannot track down the screw holes.
- •7. Fit the letterplate brush and keyhole cover — two minutes, and often more air saved than the whole frame was losing.
- •8. Test: a firm push over the last 15mm, latching without a slam. Points still loose on a repeat paper test need a thicker profile, not a second layer.
Troubleshooting the usual failures
One outcome matters more than the rest. If condensation or black spotting appears on the reveal a few weeks after sealing, you have removed ventilation the house relied on: open the trickle vents, run the extractors, and read our guide to damp and mould before sealing anything else. Cold with no traceable air movement is glazing — see fixing a draughty window.
- •Will not latch, or needs a shoulder: profile too thick. Step down from P to E rather than doubling the rebate.
- •Seal peeled off within a fortnight: EPDM wants roughly 10°C to bond. Warm the timber, re-clean, re-fit.
- •Whistling at one corner: the butt joints have opened. Cut a 20mm patch in; corners hold most residual leaks.
- •Brush snagging the carpet: raise it 2mm, or switch to a drop-down excluder that lifts as the door opens.
When to stop and call a joiner
Stop if the gap varies by more than about 6mm top to bottom — that is a dropped or racked frame and no seal spans it. Stop if a bradawl sinks into the frame timber, if the door is a certified fire door, or if there is an open-flued appliance in the room. Stop too if the leaking door is uPVC or composite: those seal by gasket and hinge compression, so the fix is adjusting the flag hinges and keeps, which is easy to overdo.
Be honest about the door itself. If the leaf is twisted or the bottom rail is soft with rot, weatherstripping is a plaster — check what a replacement door costs first. The same diagnose-then-seal method carries through the rest of the house, and our guide to draught-proofing your home covers where the next hour is best spent.
Found this useful?
There's plenty more — hundreds of guides and honestly-tested product reviews for every corner of your home.
Browse All Guides